Table of Contents
Ever been mesmerized by the intricate beauty of henna art? You're not alone! Many find themselves drawn to the elegant swirls and delicate patterns, especially those of Arabic designs. But, if you've ever felt intimidated thinking it's too complicated, think again! This article is your friendly guide to the world of "arabic easy henna designs." We’re ditching the idea that henna is only for pros. I’ll show you that creating stunning henna patterns is totally achievable, even if you're just starting out. We will explore simple designs that are perfect for beginners. Get ready to discover the beauty of floral and geometric patterns. We will also look at how to create special occasion designs. Plus, I'll share my best tips and tricks for making your henna application smooth and enjoyable. So, grab your henna cone and let's get started. You might just surprise yourself with what you can create!
Simple Arabic Henna Designs for Beginners
Simple Arabic Henna Designs for Beginners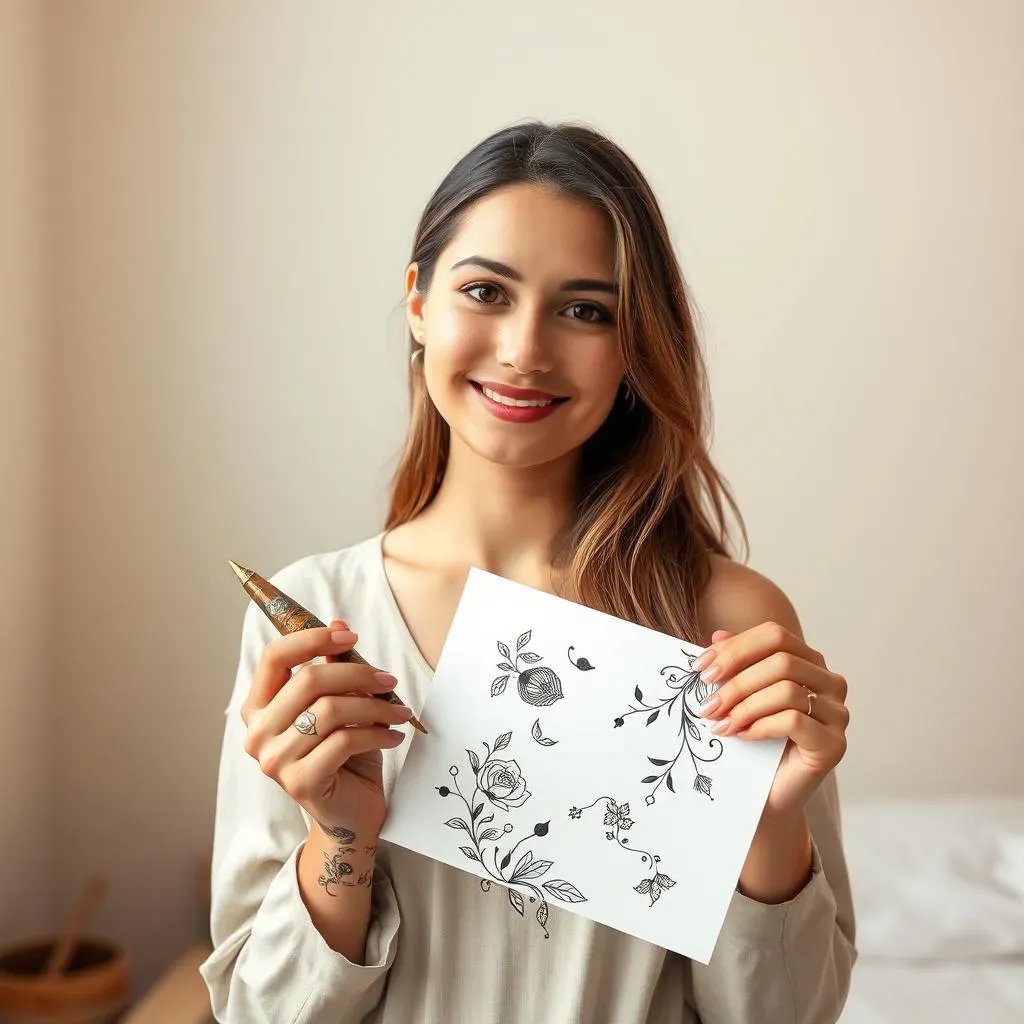
Starting with the Basics
Okay, so you're itching to create some beautiful henna art, but maybe you're a little nervous? That's totally normal. Forget about those super complex patterns you see online for now. We're going to start with the absolute basics. Think simple lines, dots, and gentle curves. These are the building blocks of all henna designs, and mastering them will give you a solid foundation. Don't feel like you need to be an artist right away. It’s more like learning to write, you start with simple shapes before you create sentences and paragraphs. Start with a practice sheet before you even think about putting it on your skin.
Grab a piece of paper and a pencil. Practice drawing lines. Straight, curved, wavy, you name it. Then try making dots of different sizes. It’s like learning to play a video game you need to practice to get better. Once you're comfortable with these, try combining them. A line with dots on either side, or a series of curves that make a simple leaf shape. These are the kinds of simple elements you'll use to make gorgeous, easy henna designs. Remember, it's about having fun and getting comfortable with the flow of the henna.
Easy Patterns to Try
Now that you've got the basics down, let's try some actual patterns. One super easy one is a simple vine. Just draw a curved line and add small leaves along it. No need for perfect shapes, just let the leaves flow naturally. Another good one is a series of dots arranged in a circular pattern. You can start with a large dot in the center and then add smaller dots around it. Or try a simple flower design: a circle in the middle with some rounded petals around it. These are all super easy, but they look really pretty once you put them together.
Another cool thing you can try is using geometric shapes. Think triangles, squares, or diamonds. You can create a line of triangles going up your hand or make a diamond shape on your wrist. It's all about keeping it simple and having fun. You don't need to be a pro to create something that looks beautiful and feels rewarding. The goal is to gain confidence and get comfortable with the flow of henna. So, don’t be afraid to experiment and see what you can create.
Pattern | Description | Difficulty |
|---|---|---|
Simple Vine | Curved line with small leaves | Easy |
Circular Dots | Dots arranged in a circle | Easy |
Simple Flower | Circle with rounded petals | Easy |
Geometric Shapes | Triangles, squares, diamonds | Easy |
Floral and Geometric Arabic Easy Henna Designs
Floral and Geometric Arabic Easy Henna Designs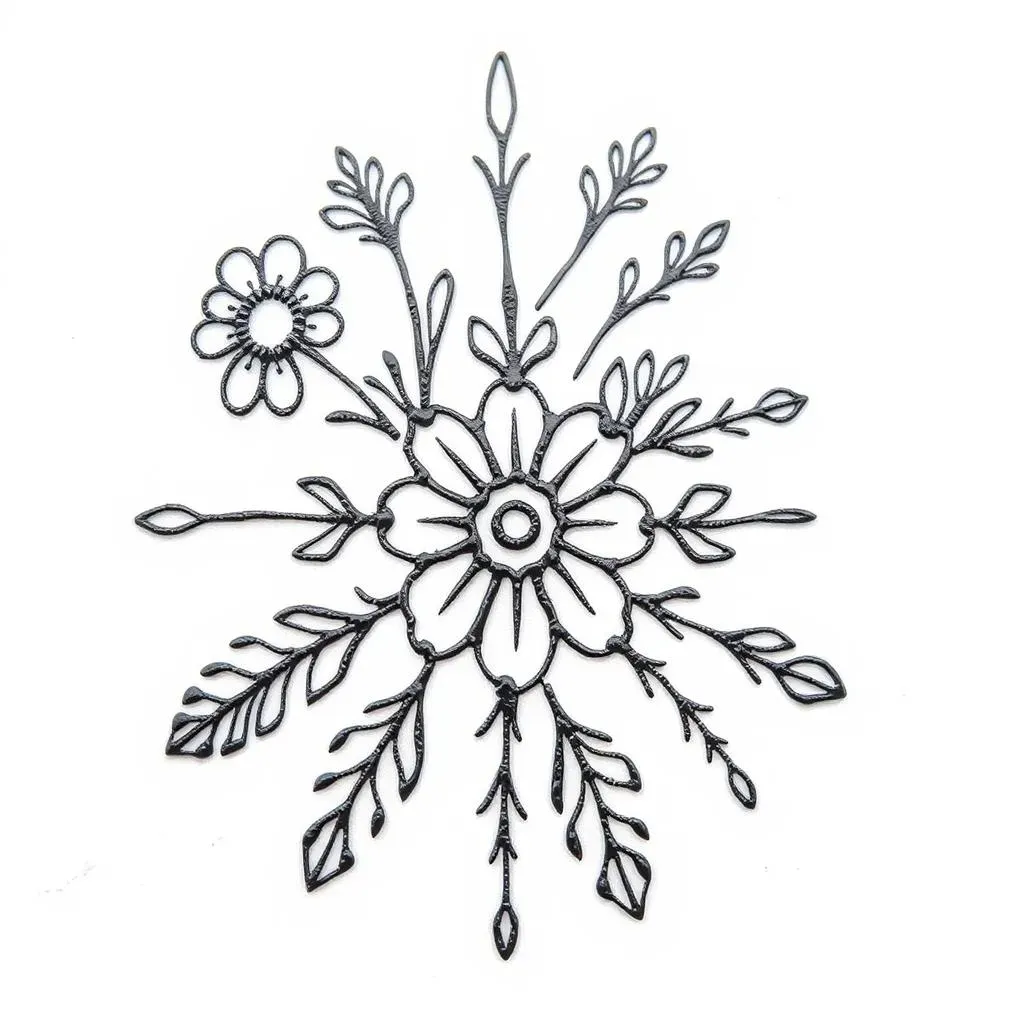
Floral Patterns for Beginners
Alright, let's talk flowers! When you think of henna, you often picture beautiful floral designs. But don't worry, we're not jumping into complex roses right away. We're starting with simpler versions. Think of daisies or small, five-petal flowers. These are fantastic for beginners. You can make them by drawing a small circle for the center and adding simple, rounded petals around it. It’s like drawing a sun, but with less pointy rays. You can practice making these flowers all over a piece of paper to get a feel for the shape and how the henna flows.
Another great way to start with floral patterns is to focus on leaves. They can be as simple as a curved line with a pointy end, or you can add some small details like little curves along the edges. You can combine these leaves with your simple flowers to create a vine pattern. It's really about keeping it relaxed and organic. Don't try to make every leaf perfect; let them have their own unique shape. It's like a garden, each leaf is different and that's what makes it interesting. The key is to practice these basic shapes until you feel comfortable with the flow of the henna. Then, you can start combining them to make your own unique designs.
Geometric Shapes in Henna
Now, let's switch gears and talk about geometric shapes. These are awesome because they're super straightforward, and they look amazing when combined with floral elements. Start with simple shapes like triangles, squares, and diamonds. You can create a row of triangles going up your finger or make a diamond pattern on your hand. These shapes are easy to draw and give your henna design a modern, structured look. Think of it as building with blocks; you are combining simple shapes to create something cool.
You can also experiment with lines and dots to create geometric patterns. Try making a series of straight lines that crisscross each other, or add dots in a specific pattern around your floral designs. These geometric shapes provide a nice contrast to the flowing, organic nature of flowers and leaves. Don't be afraid to mix and match. Try using a geometric shape as a border for a floral design. It’s all about exploring and seeing what combinations you like best. It’s like mixing different flavors in cooking you find something that taste great.
Pattern | Description | Difficulty | Style |
|---|---|---|---|
Daisy | Simple circle with rounded petals | Easy | Floral |
Simple Leaves | Curved lines with pointy ends | Easy | Floral |
Triangles | Series of three-sided shapes | Easy | Geometric |
Diamonds | Four-sided shapes with equal sides | Easy | Geometric |
Arabic Henna Designs for Special Occasions
Arabic Henna Designs for Special Occasions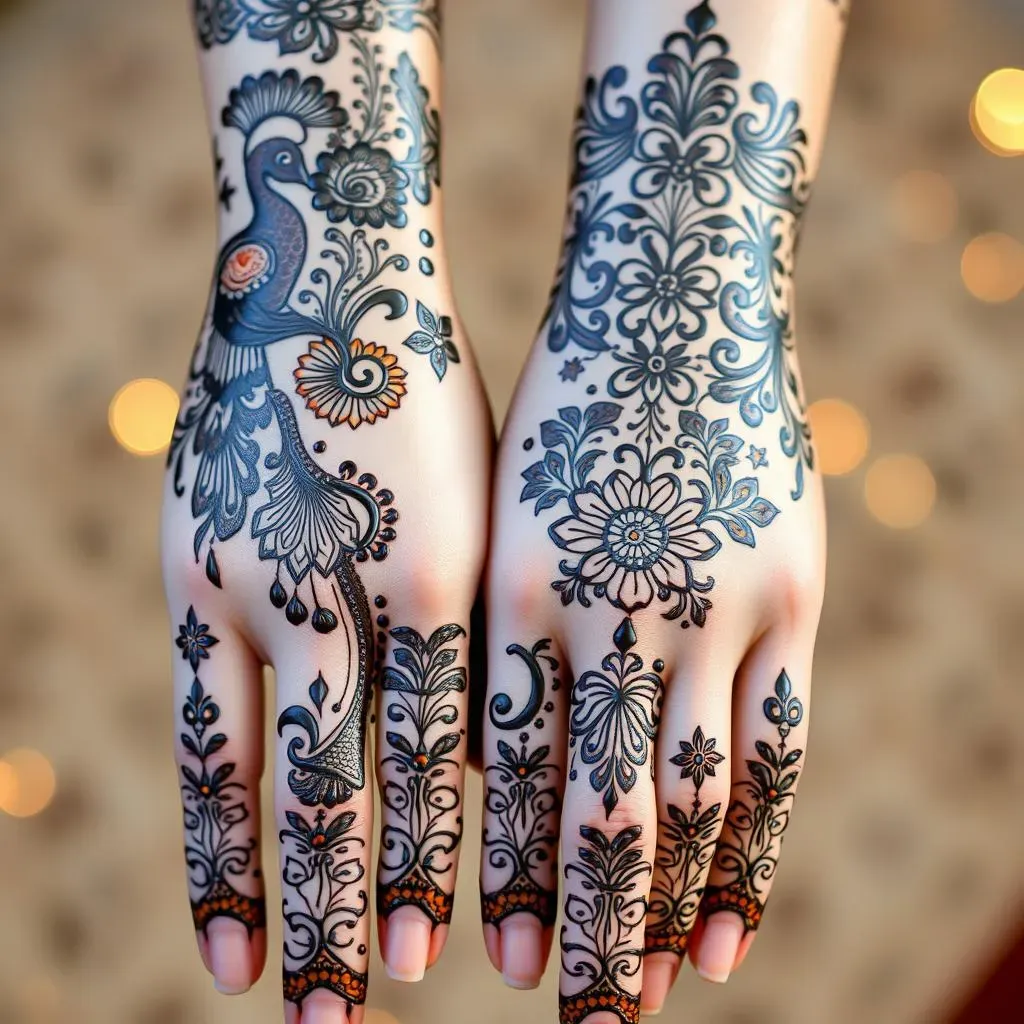
Henna for Weddings
Okay, let's talk weddings! When it comes to special occasions, weddings are where henna really shines. It's not just about decoration; it's a beautiful tradition. For brides, henna designs are often more intricate and detailed, covering not just the hands but also the arms and sometimes even the feet. Think of it as a beautiful story told through art on the skin. Common patterns for weddings include peacocks, paisley patterns, and elaborate floral designs. These aren’t just random drawings; they’re symbols of love, luck, and prosperity. The henna application itself is a cherished event, often done with close friends and family, making it a memorable part of the wedding celebrations.
Now, if you're not the bride, but still want to get in on the fun, there are plenty of beautiful, simpler designs you can choose. Think of elegant vines, delicate flowers, or geometric patterns. You can have henna on the back of your hand, your wrist, or even just a small design on your finger. It’s a way to honor the occasion and feel part of the celebration. The idea is to choose a design that you feel comfortable and confident wearing. So, whether you’re the star of the show or a beloved guest, henna is a fantastic way to add a touch of beauty and tradition to the wedding festivities.
Henna for Eid and Other Celebrations
Beyond weddings, henna is also a big part of other celebrations, especially Eid. Eid is a time of joy and togetherness, and henna designs are a way to express that happiness. For Eid, you'll often see designs that are a mix of traditional and modern styles. Think of patterns that include stars, crescents, and geometric shapes, combined with floral elements. It’s a way to blend the old with the new, and to celebrate the occasion with style. The great thing about henna for Eid is that you can really let your creativity shine. You can choose designs that reflect your personality or that have a special meaning for you.
Henna isn't just for these major occasions, though. You can get henna for any celebration, big or small. Maybe you're going to a family gathering, or a birthday party, or maybe you just feel like it’s a fun day. It’s a way to add a little something special to the day. You can go for a simple design on your hand, or something more elaborate that covers your whole arm. The best thing about henna is that it’s temporary, so you can try new patterns and designs whenever you want. It’s like having a new accessory that you can change up to match your mood. So, don’t wait for a big event; celebrate the everyday moments with a touch of henna.
Occasion | Common Henna Designs | Design Complexity | Meaning |
|---|---|---|---|
Weddings | Peacocks, paisley, elaborate florals | Intricate | Love, luck, prosperity |
Eid | Stars, crescents, geometric patterns with florals | Varied | Joy, celebration |
Other Celebrations | Simple florals, vines, geometric shapes | Simple to Moderate | Personal expression, beauty |
Tips and Tricks for Applying Easy Arabic Henna Designs
Tips and Tricks for Applying Easy Arabic Henna Designs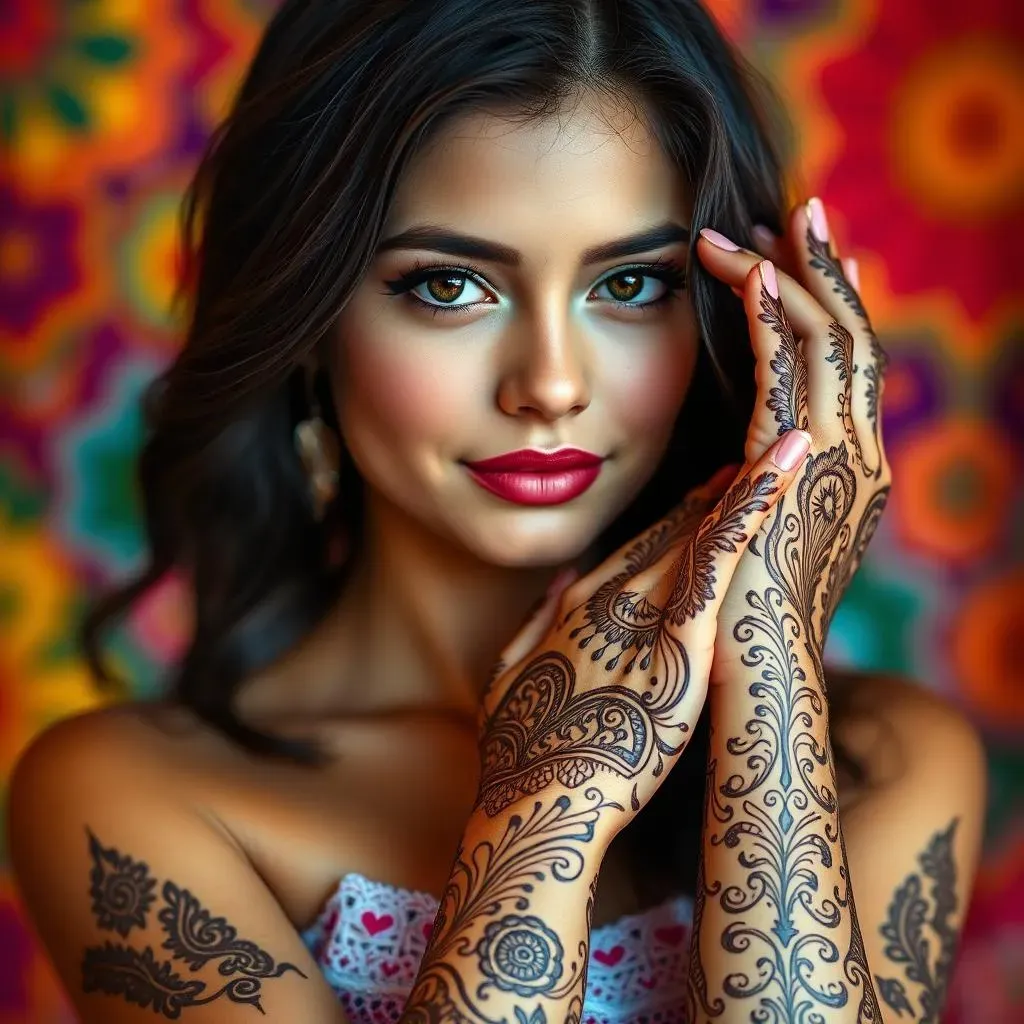
Preparing Your Skin and Henna
Alright, before we get to the fun part of drawing, let's talk prep. Just like a painter needs a clean canvas, you need to make sure your skin is ready for henna. Start by washing the area with soap and water. This removes any oils or dirt that could prevent the henna from staining properly. It's like making sure your car is clean before you wax it. You also want to avoid using lotions or creams right before applying henna, as they can create a barrier. Next, let's get your henna ready. If you're using a pre-made cone, make sure the tip is clear. If it's clogged, use a pin to open it up. For henna paste you’ve mixed yourself, make sure it’s smooth and creamy, like thick yogurt. This consistency is key for getting nice, even lines.
Another important thing is to do a small test patch of henna on your skin. This way you can see if you have any allergic reactions. It’s like testing a new food to make sure you're not allergic to it. Apply a small dot of henna on your wrist or inner arm and wait for about 30 minutes. If you don’t see any redness or itching, you’re good to go. Also, remember that henna stains differently on different parts of your body. The skin on your palms and soles of your feet tends to stain darker than the skin on your arms and legs. So, if you want a really dark stain, focus your design on those areas. Now that you’re prepped, you’re ready to start creating!
Application Techniques and Aftercare
Okay, now for the actual application. When you’re drawing with henna, think of it as painting with a very, very small brush. Hold the cone lightly, like you're holding a pencil. Don’t squeeze too hard, or you’ll get a big blob of henna. Instead, use gentle and consistent pressure. It's like writing in cursive; you need a smooth and even flow. When you're drawing lines, try to make them in one continuous motion, without stopping and starting. This will help prevent your lines from looking shaky. If you make a mistake, don’t panic! Just gently wipe it away with a damp cotton swab and try again. It’s like erasing a pencil mark; just clean it up and keep going.
After you've finished your design, it's super important to let the henna dry completely. This usually takes about 30 minutes to an hour. Once the henna is dry, you want to keep it on your skin for as long as possible. The longer the paste stays on, the darker the stain will be. Some people even leave it on overnight. It's like marinating meat; the longer it sits, the better it tastes. After the henna paste is dried and has sat on the skin, gently scrape off the dried paste. Avoid washing with water for the first few hours, as this can prevent the stain from developing. You should see a light orange stain at first, and it will darken over the next 24 to 48 hours. Remember, the aftercare is just as important as the application, so be patient and let the henna do its thing!
Tip | Description | Why it Helps |
|---|---|---|
Clean Skin | Wash area with soap and water | Removes oils and dirt for better stain |
Smooth Paste | Make sure henna is creamy | Ensures even lines |
Test Patch | Apply a small dot and wait | Checks for allergic reactions |
Gentle Pressure | Squeeze cone lightly | Prevents blobs and uneven lines |
Long Dry Time | Let henna dry completely before scraping | Ensures a darker stain |