Table of Contents
Ever looked at those intricate henna designs and thought, "Wow, I wish I could do that!"? Well, guess what? You totally can! Forget about needing years of practice or fancy art skills. This guide is all about beginner easy simple henna designs, the kind that anyone can try—yes, even you! We're not talking about crazy complicated patterns here, but cool, achievable designs that’ll make your hands (or feet, or wherever you want!) look amazing. This article will walk you through the basics, from picking the right henna to mastering a few simple designs. I'll share some tips and tricks that'll make you feel like a pro in no time. We'll start with the easiest patterns, then I’ll show you how to make them your own. By the end, you’ll be ready to show off your new henna skills. So, grab your henna cone, get comfy, and let’s get started with these beginner easy simple henna designs, it’s going to be fun!
Getting Started with Beginner Easy Simple Henna Designs
Getting Started with Beginner Easy Simple Henna Designs
What You'll Need
Okay, so you're ready to jump into the world of henna? Awesome! First things first, let's talk about what you'll need to get started. Don't worry, it's not a huge list. You'll want a good quality henna cone. You can find these online or at most stores that sell art supplies. Make sure you grab one made for skin, not hair dye, as that's a completely different thing. Next, grab some paper towels or wipes for cleaning up any mistakes (and trust me, you’ll make a few!). And lastly a design idea, but don't stress about it, we'll get to that soon. Think of it like baking, you need the right ingredients before you can make a cake.
Before you even think about putting henna on your skin, it's a great idea to practice a little. Grab a piece of paper and your henna cone. Start by just making dots, lines, and curves. This will give you a feel for how the henna flows. It's like learning to ride a bike: you start with training wheels before going full speed. You don't need to be perfect; it’s just about getting comfortable with the cone. Once you’ve got the hang of it on paper, you can try a few practice designs there. This way, when you do it on your skin, you'll be a lot more confident. Trust me, your skin will thank you for the practice run.
Supply | Why You Need It |
|---|---|
Henna Cone (for skin) | To apply the henna paste to your skin |
Paper Towels or Wipes | To clean up mistakes |
Practice Paper | To get comfortable with henna application |
Choosing Your First Design
Now that you've got your henna supplies ready and you've done some practice, it’s time to pick your first design. Forget about those super complex patterns for now; we're going for simple and easy. Think of basic shapes: dots, lines, circles, and simple curves. These are the building blocks of all henna art. You can start with a simple line of dots down your finger, or a small circle on the back of your hand. These might sound boring, but even the simplest design can look elegant.
Don't be afraid to look at some pictures for inspiration, but don't try to copy them exactly at first. Instead, try to break down those designs into their basic elements. See that flower? It's probably just a bunch of circles and curves put together. See that vine? It’s just a wavy line with some leaves. By focusing on the basic shapes, you'll be able to create your own unique patterns without feeling overwhelmed. It’s like learning to write; you start with the alphabet before writing novels, right?
- Simple Dots and Lines
- Small Circles and Swirls
- Basic Floral Patterns
- Geometric Shapes
Simple Henna Patterns: Easy Designs for Your First Try
Simple Henna Patterns: Easy Designs for Your First Try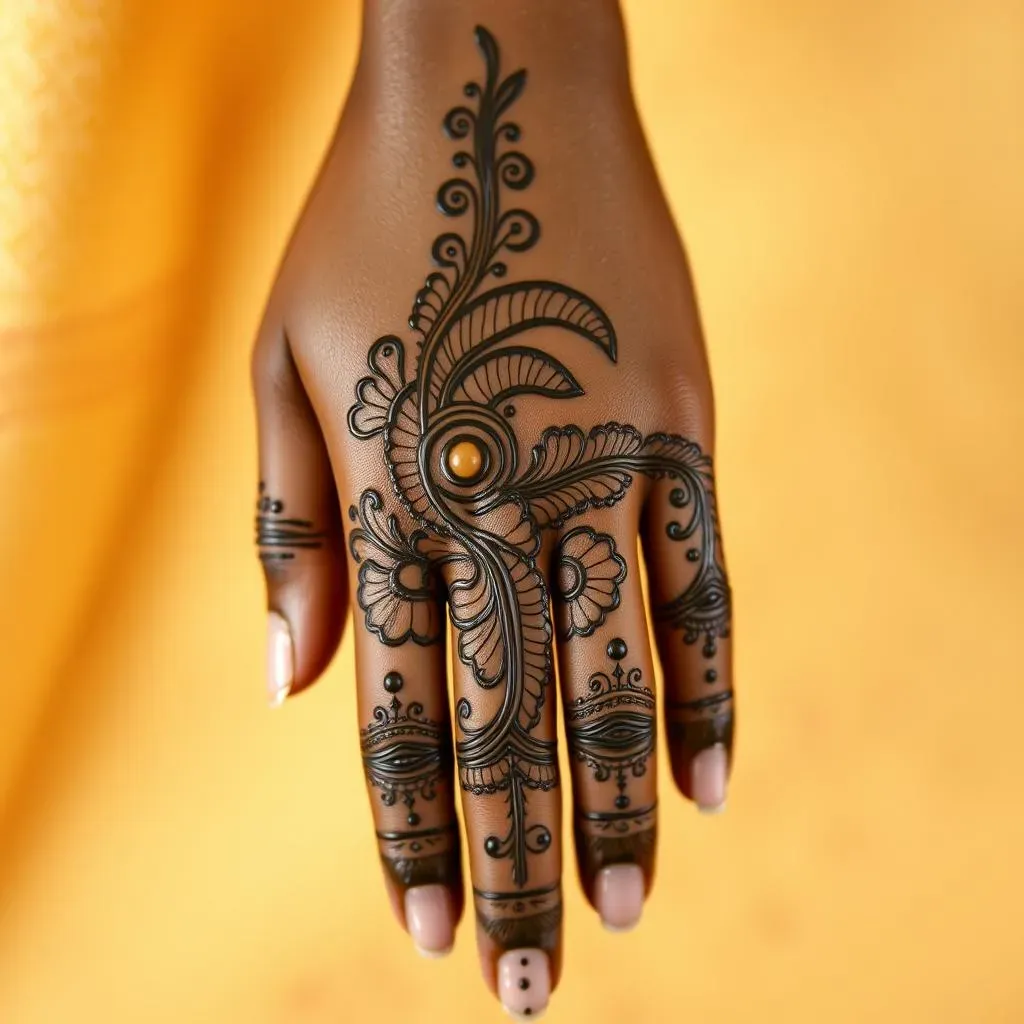
The Dot Dash Design
Alright, let's get into some actual designs you can try. First up, we've got the Dot Dash. It's super basic but looks really cool. Start with a single dot, then make a short line next to it, and then another dot. Keep going, dot, dash, dot, dash, all the way down your finger or across your hand. It’s like Morse code, but way prettier. You can make the dots and dashes as big or as small as you like. You can also try varying the thickness of the lines. It's a great way to get used to controlling the flow of the henna. This design is all about consistency and spacing.
Don't worry if your lines aren't perfectly straight or your dots aren't perfectly round. That's the beauty of henna—it's supposed to be a little imperfect. And honestly, it's those little imperfections that make it unique. You can also try adding a second line of dots right next to the first one, or maybe making a double line. Or try making a spiral of dots, starting from the center. Play around with it! The Dot Dash is like the training wheels of henna designs, it's a simple way to start, but with endless possibilities.
The Basic Leaf
Next, let’s try a simple leaf. This one’s a little more curvy, but still very doable. Start with a small curve, almost like a 'C' shape. Then, add a curve on the other side to make the leaf shape. You can make it long and thin, or short and round, whatever you prefer. Then add a line down the middle of the leaf. You can add smaller leaves around it, too, to make a little leafy pattern. This is a great way to practice your curves and get used to changing the direction of the henna flow. Think of it like drawing a simple teardrop shape, then adding a little spine.
Try making different sizes of leaves and arranging them in different ways. You can create a vine by making a wavy line and adding leaves along the way. You can also try making the leaves thicker or thinner, or even adding a few tiny dots around them. This design is great because it's versatile. You can use it to create borders, fill in spaces, or even make a whole design out of just leaves. It’s like a Lego brick of henna, you can use it to build all sorts of cool things. And remember, every leaf you make is a step closer to mastering henna art.
Design | Description | Difficulty |
|---|---|---|
Dot Dash | Simple dots and dashes in a line. | Easy |
Basic Leaf | Curved leaf shapes with a center line. | Easy |
Tips and Tricks for Beginner Easy Simple Henna Designs
Tips and Tricks for Beginner Easy Simple Henna Designs
The Right Henna Paste
Okay, let's talk henna paste. It's not all created equal, you know? You really want to make sure you're using a good quality paste that's specifically made for skin. Avoid anything that's labeled "black henna" because that stuff can be seriously harmful and cause nasty reactions. Look for a natural brown henna paste, it's the safest and gives the best results. Also, make sure that the henna cone is not too old, because the henna might be dry, and it won't flow nicely. Think of it like using the right kind of paint for a canvas, you don't want to use house paint on a fine piece of art, right?
Another thing, check the consistency of the paste before you start. It should be smooth and creamy, like toothpaste. If it's too thick, it won't flow well, and if it's too runny, it'll be hard to control. If you find that the paste is too thick, you can add a tiny drop of lemon juice or water to thin it a bit, but do it very carefully. It’s like Goldilocks and her porridge, you want it just right, not too thick and not too thin. The right paste can make all the difference in your henna designs.
The Importance of Patience
Alright, so you've got your paste and your design in mind. Now, here's the big secret: patience is key. Don't rush it! When you’re applying the henna, go slow and steady. It’s better to take your time and get it right than to rush and make mistakes. If you try to go too fast, your lines will be messy, and it won't look as good. It's like trying to write a beautiful letter, you can't just scribble it down, you have to take your time and make each word count.
Also, don't be discouraged if your first few tries aren't perfect. It takes practice to get the hang of it. The more you do it, the better you'll get. It’s like learning to play an instrument, it takes time and effort to get good. So, be patient with yourself, and don’t give up. And if you do mess up, that's okay! You can always wipe it off and try again. Remember, even the best henna artists started somewhere, they didn't just wake up one day and become pros. They practiced, they made mistakes, and they learned from them.
Tip | Description |
|---|---|
Use quality henna | Make sure it's natural and for skin use. |
Check consistency | Paste should be smooth and creamy. |
Go slow | Don't rush your designs. |
Be patient | Practice makes perfect. |
Aftercare is key
Okay, you’ve finished your design, it looks amazing, now what? Well, the aftercare is super important. Let the henna dry completely, and I mean completely. Don’t touch it, don’t smudge it, just let it do its thing. This can take a while, maybe 30 minutes or even longer depending on how thick you applied it. You can also use a mixture of lemon juice and sugar to dab on the design once it starts to dry. This helps the henna stain better. It's like putting a sealant on a painting, it helps it last longer.
Once the henna is totally dry, you can gently scrape it off. Don't wash it off. Just let the dry henna flake off naturally. And then, you will see the stain. The stain might be light orange at first, but it will get darker over the next 24 to 48 hours. Don’t use soap and water on the design for at least a few hours, and try not to rub it. If you want to make your henna last longer, you can moisturize the area, but try to avoid getting it wet too much. It's like taking care of a new tattoo, you want to protect it so it looks great for as long as possible.
Showcasing Your Beginner Easy Simple Henna Designs
Showcasing Your Beginner Easy Simple Henna Designs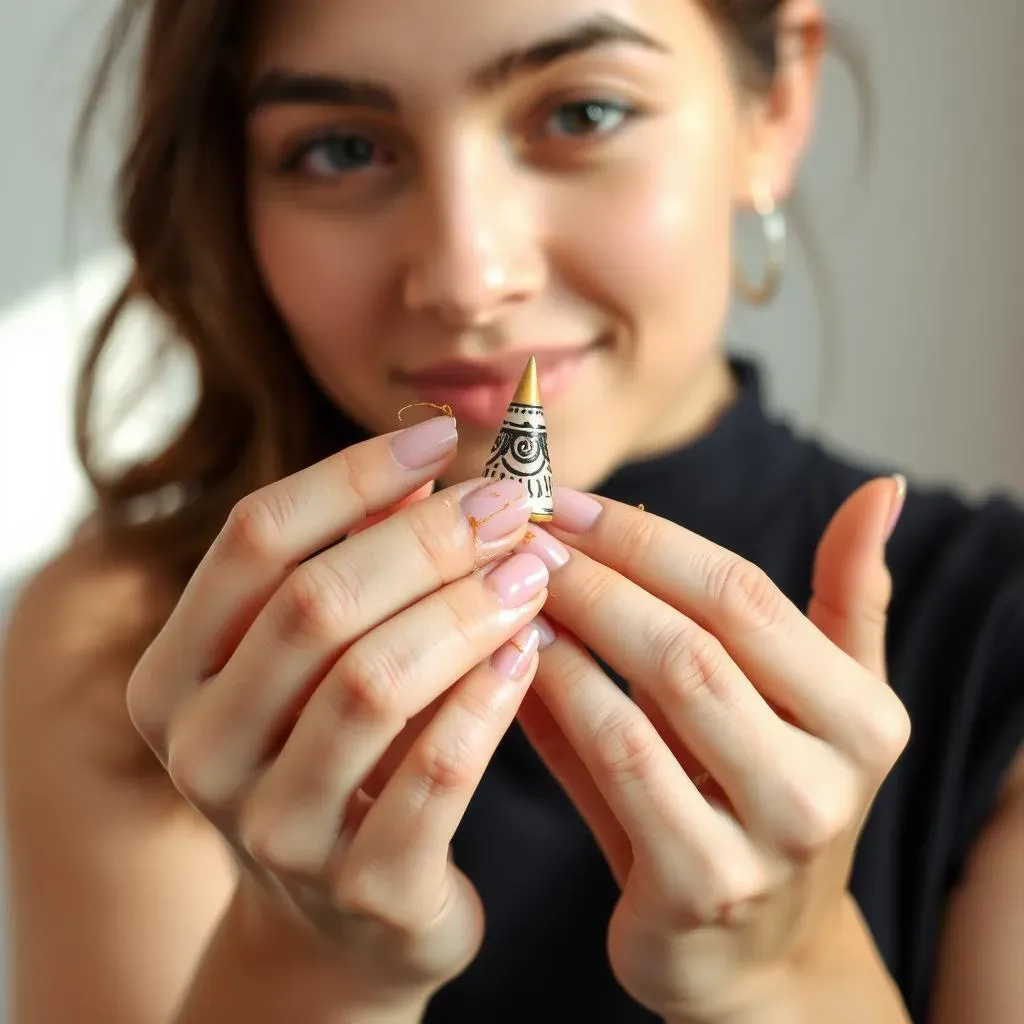
Your First Henna Photos
Okay, so you’ve practiced, you've designed, and you've let your henna dry. Now it’s time to show off your awesome work! Taking a great photo of your henna is key. Good lighting is your best friend here. Try to take photos in natural light, near a window, for example. Avoid harsh shadows, and make sure the henna design is in focus. You can also play with angles to make your photos look more interesting. It’s like taking a selfie, you want to find your best light and angle, right? You can also use a simple background to make your henna design stand out. A plain wall or a piece of fabric works great. And don't be afraid to add a little personality to your photos. You could add some jewelry or show off your outfit.
Once you’ve got some great shots, it’s time to share them! You can post them on social media, send them to your friends, or even just keep them for yourself to see how far you’ve come. When you're posting on social media, use hashtags like #beginnerhenna, #easyhennadesigns, or #hennaforbeginners. This will help other people who are interested in henna find your posts. And don’t be shy about showing off your work, even if you think it’s not perfect. Remember, you’re learning, and it’s all part of the process. It’s like showing off your first drawing, you might not be Picasso yet, but you’re proud of what you’ve created. And who knows, you might even inspire someone else to try henna for the first time!
Photo Tip | Description |
|---|---|
Good Lighting | Use natural light, avoid harsh shadows. |
Focus | Make sure your design is sharp. |
Simple Background | Use a plain background to make your design pop. |
Hashtags | Use relevant hashtags to share your work. |
Sharing Your Henna Journey
Don't just show off the final design, share your whole henna journey. Talk about the designs you tried, the challenges you faced, and the things you learned. It’s like writing a diary, but instead of words, you’re showing your progress through henna. This not only makes your content more interesting, but it also helps other beginners learn from your experiences. You can share your practice sheets, your messy attempts, and then your awesome final designs. This can inspire other people to try henna, even if they're feeling a bit scared or unsure. You’re not just showing off your skill, you’re also building a community.
And remember, the henna community is super supportive. Don't be afraid to ask questions, share your work, and give feedback to others. It’s like joining a book club, you’re all there because you love the same thing. You can learn a lot from others, and you can also help others with your own experience. The more you interact with the henna community, the more you'll learn, and the more fun you'll have. It's a great way to make friends, share your passion, and get inspired to keep creating. So, go out there and share your henna love with the world!
- Share your practice attempts
- Talk about your struggles
- Show your progress
- Engage with the henna community