Table of Contents
Ever looked at those intricate henna designs and thought, "Wow, I wish I could do that!"? Well, guess what? You can! Henna isn't just for the pros; it's a beautiful art form that anyone can learn, especially with some simple starting points. For centuries, cultures around the globe have used henna for celebrations, from weddings to festivals, and the beautiful temporary tattoos have become a form of self-expression. This guide is all about making it easy for you to get started with your own henna journey. We'll walk through everything you need to know about easy beginner henna designs, from gathering your supplies to putting those first graceful swirls on your skin. Forget complicated patterns for now, we’re focusing on building your skills with easy-to-master designs that’ll make you feel like a henna rockstar in no time. Get ready to explore the world of henna, one simple design at a time. This article will show you how to prepare, where to buy, and how to apply easy beginner henna designs.
Getting Started: Your Henna Kit and Prep for Easy Designs
Getting Started: Your Henna Kit and Prep for Easy Designs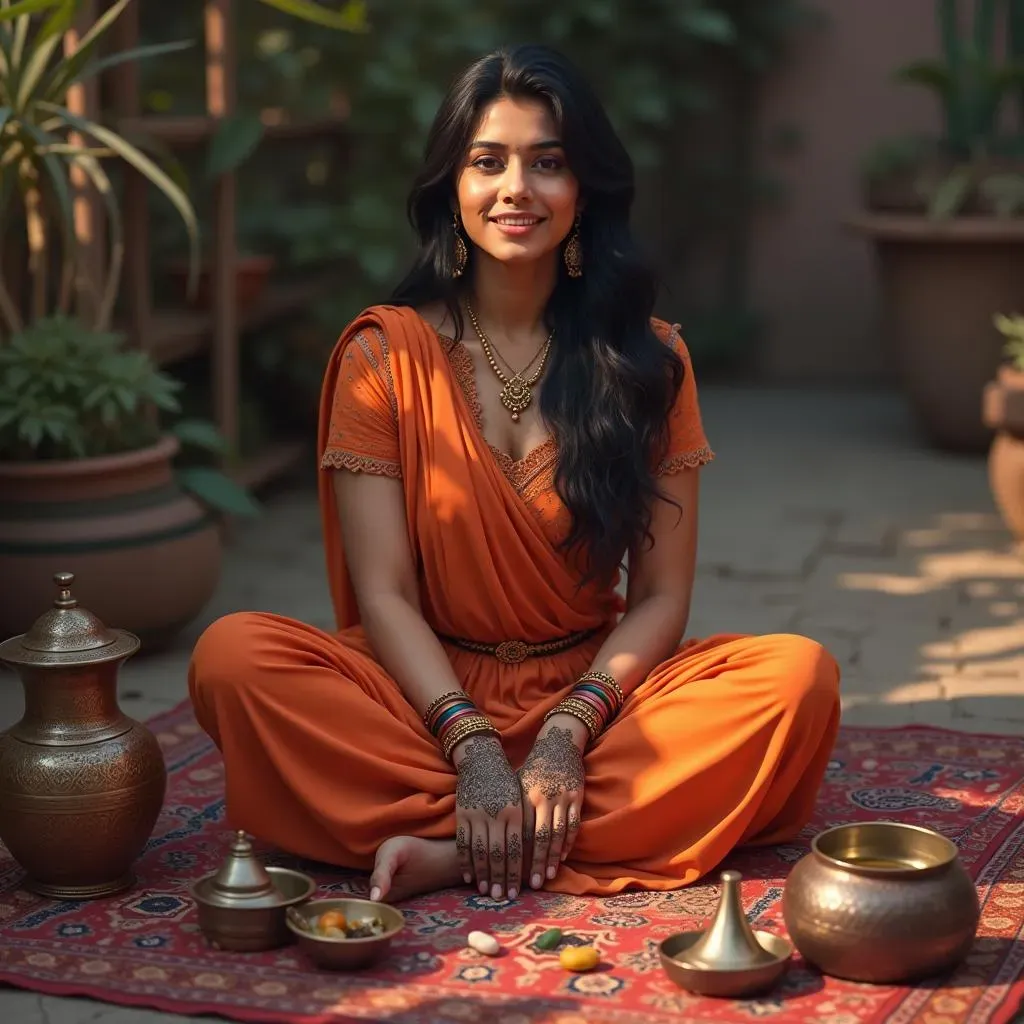
What You'll Need:
Gathering Your Henna Supplies
Alright, so you're ready to try some henna, that's awesome! First, let's talk about what you'll need. You can't just grab any old mud and start drawing, trust me. You'll need henna, of course, and you can usually find it in two forms: loose powder or pre-made cones. If you opt for the powder, you'll need to mix it yourself, which isn't as scary as it sounds, and I will cover that later. Pre-made cones are super convenient, especially if you're a beginner. You will also need some paper to practice on before trying on your skin. I recommend some thick paper, so the henna doesn't leak through it.
Besides the henna, you'll want some other things, like a small bowl for mixing if you go the powder route, a spoon, and some water or lemon juice, depending on your recipe. Some people like to use essential oils to make their mix smell nice, but that's totally optional. You may want to have some cotton swabs on hand for cleaning up any mistakes. Don’t worry; everyone makes them! And remember, it's always a good idea to test a tiny bit of henna on your skin before going all out, just to make sure you don’t have any weird reactions.
Mixing and Practice:
Preparing Your Henna Paste
Okay, so you've got your henna, whether it's in a cone or powder, now what? If you're using a cone, you can pretty much skip this part and go straight to practicing. If you have the powder, grab your bowl, and let’s get mixing. Start by adding a small amount of powder to your bowl, then slowly add your liquid, water or lemon juice. You’re going for something like a thick yogurt or toothpaste consistency. If it's too runny, add more powder, if it's too thick, add more liquid. It’s a bit of an art, not a science.
Now that you have your perfect henna paste, it's time for the fun part. Before you even think about going near your skin, grab that paper and start doodling. Practice simple lines, dots, and curves. This will help you get a feel for how the henna flows and how much pressure you need to apply. It’s all about getting comfortable before you put it on your skin. Think of it like learning to ride a bike, you wouldn't start on a mountain, would you? Start with small designs and work your way up.
Supply | Purpose | Notes |
|---|---|---|
Henna Powder or Cone | The main ingredient | Powder needs mixing, cones are ready-to-use. |
Mixing Bowl & Spoon | For powder henna | Small bowl, spoon for mixing. |
Water or Lemon Juice | For powder henna | Mix with henna to create a paste. |
Paper | For practice | Use thick paper to prevent leaking |
Cotton Swabs | For mistakes | To clean up any errors |
Simple Henna Patterns: StepbyStep for Easy Beginner Henna Designs
Simple Henna Patterns: StepbyStep for Easy Beginner Henna Designs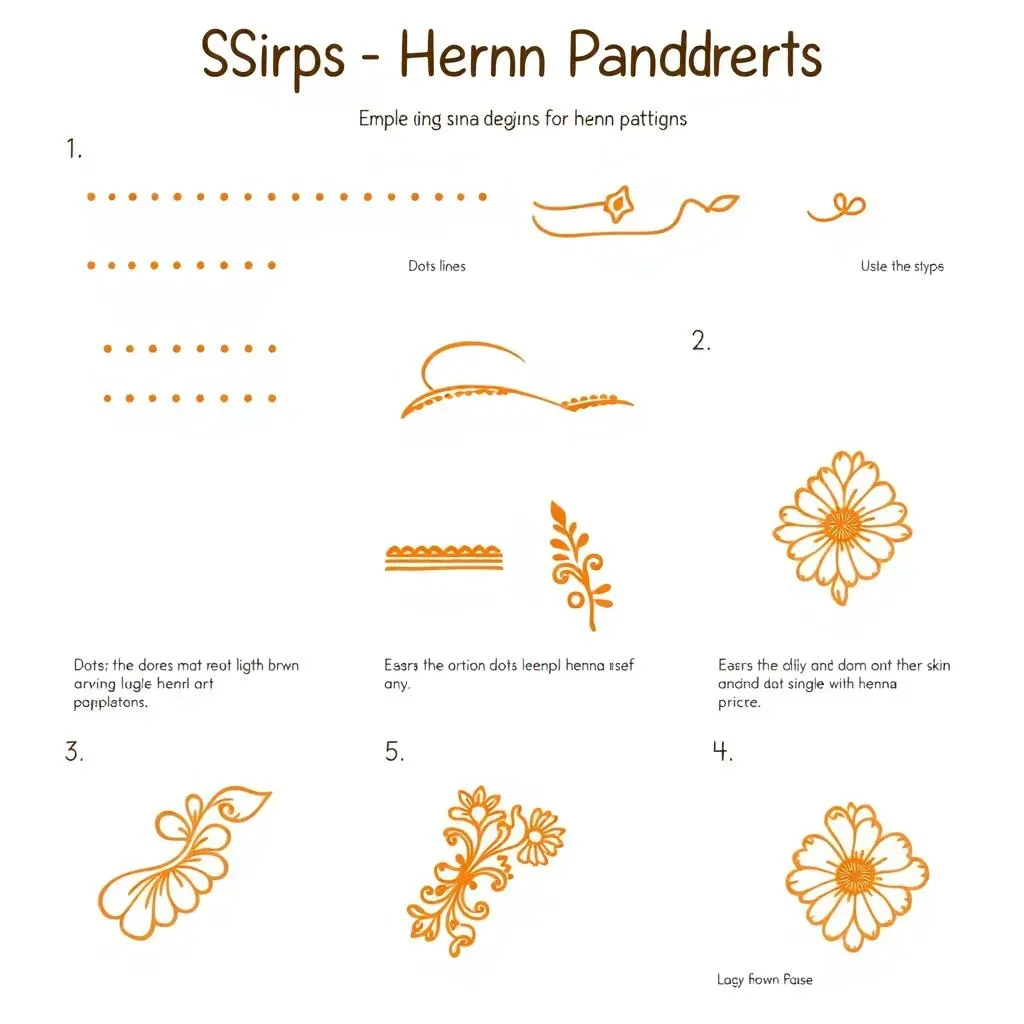
Starting Simple: Basic Shapes
Okay, now that you've got your henna paste ready and you've practiced a bit on paper, let's dive into some actual designs. Forget those super intricate patterns you see online; we're starting with the basics. Think simple shapes: dots, lines, and curves. Start by making a row of dots, then try making straight lines. Next, try some curves, like little "c" shapes. The key here is consistency. Try to make each dot or line the same size and thickness. Don’t worry if they are not perfect, that is part of the learning process, but try to be as consistent as possible. This will help you get the hang of controlling the henna.
After you feel comfortable with those, try combining the shapes. Make a line, then add dots on either side of it. Or make a curve and add dots inside it. You can even try making a simple flower by drawing a circle in the center and adding small curves around it like petals. These might sound super simple, but these are the building blocks for all those complex designs you see. It’s like learning your ABCs before writing a novel, you need to start with the basics. These simple designs are great for getting a feel for how the henna flows and how much pressure you need to apply, and they will also look great on your skin!
Building Patterns: Combining Shapes
Alright, so you've mastered those basic shapes, what's next? Now, it's time to start building patterns using those shapes. Try making a repeating pattern of dots and lines. You can make a line, then a dot, then another line, and repeat. Or, you can try making a pattern of curves, alternating them up and down. The goal here is to create a design that flows. You can also try combining different shapes into one design. You could make a line of dots, then add a line of curves above it, then a line of dots again. It's like playing with building blocks, but with henna.
Another easy pattern to try is a simple vine. Start with a curved line, then add small leaves coming off of it. You can make the leaves with little curves or dots. You can also try adding small swirls or spirals to your designs. Just start with a small circle and keep adding more circles around it. You can add a line of dots around it, and you have a simple design. These might seem very basic, but they're the foundation for more elaborate designs. With a little creativity, you can make some beautiful and unique patterns using just these simple shapes. The key is to have fun and experiment.
Pattern Type | Description | Difficulty |
|---|---|---|
Dots | Simple dots in a line or cluster | Very Easy |
Lines | Straight or curved lines | Very Easy |
Curves | "C" or "S" shapes | Easy |
Simple Flowers | A circle with curves as petals | Easy |
Vines | Curved lines with leaves | Easy |
Easy Beginner Henna Designs: Tips, Tricks, and Inspiration
Easy Beginner Henna Designs: Tips, Tricks, and Inspiration
Placement and Practice
So, you've got your basic shapes down, and you're ready to start applying henna to your skin. Where should you start? Well, the back of your hand is a great place for easy beginner henna designs. It's a flat surface, which makes it easier to draw on, and it's also a spot where you can easily see what you're doing. Plus, if you mess up, it's not the end of the world. You can always wash it off and try again. The key is to practice in a place that you feel comfortable with.
Before you start drawing on your hand, it's a good idea to do a few practice runs on paper. It might seem silly, but it really helps to get your hand moving and to get a feel for how the henna flows. When you're ready to try on your skin, start with a simple design. Don't try to do anything too complicated right away. Remember, the goal is to have fun and to learn. You can always try more complex designs later on. The most important thing is to not be afraid to make mistakes. That's how we learn!
Making it Last:
Aftercare Tips
Okay, so you’ve got your design on, and it looks awesome! Now, how do you make sure it lasts? The first thing is to let it dry completely. This can take anywhere from 30 minutes to an hour. Once it’s dry, you want to try and keep it on for as long as possible, at least 3-4 hours. Some people even like to leave it on overnight, but that’s up to you. The longer you leave the paste on, the darker the stain will be.
When you're ready to remove the henna, don't wash it off with water. Instead, gently scrape it off with a dry cloth or tissue. Avoid using water for at least 2-3 hours after that, or even better, overnight. After the paste is removed, your design will probably look a bit orange, but don't worry, that's normal. The color will darken over the next 24-48 hours. To help keep your design looking its best, you can apply some natural oil, like coconut or olive oil, to it. It also helps to avoid using harsh soaps or chemicals on the area where you have your design. With the right care, your henna design can last for a week or two, giving you plenty of time to show it off.
Tip | Description |
|---|---|
Practice Placement | Start on the back of your hand for easy visibility. |
Dry Completely | Let the henna paste dry fully before removal. |
Leave it On | Keep the paste on for 3-4 hours, or overnight. |
Avoid Water | Scrape off dry paste, avoid water for 2-3 hours after removal. |
Use Natural Oil | Apply coconut or olive oil to moisturize and maintain the design. |
Finding Inspiration
Feeling a little stuck on what to draw next? Don't worry, there are tons of places to find inspiration! The internet is a great resource, and there are tons of websites and social media pages dedicated to henna art. Pinterest and Instagram are your best friends here, but don't forget YouTube, where you can watch videos to get a feel for how the henna flows. You can search for "easy beginner henna designs," and you'll find a ton of ideas.
Don't be afraid to take inspiration from other places too. Look at the patterns on your clothes or the designs on your favorite mugs. Nature is also a great source of inspiration, with leaves, flowers, and vines all providing great ideas for henna designs. The key is to keep your eyes open and to find inspiration all around you. Once you start looking, you'll realize that there's inspiration everywhere. Remember, there's no such thing as a bad idea when it comes to art, so just have fun and let your creativity flow.