Table of Contents
Ever looked at intricate henna designs and thought, "Wow, I wish I could do that!"? Well, guess what? You totally can! Forget those complicated patterns for now, because we're starting with the basics: easy circle henna designs. These aren't just simple shapes; they're the building blocks for all sorts of beautiful artwork. Think of them like the alphabet of henna – once you know them, you can write your own stories on your skin. In this article, I'll show you why circles are the best starting point for beginners, giving you a step-by-step guide to drawing these fundamental shapes, and then, I'll unleash some creative ideas to make those circles pop. We'll go from basic dots to cool patterns, all while keeping it super easy and fun. So, grab your henna cone and get ready to create some amazing art, one circle at a time! This guide will make you feel confident enough to start experimenting with henna, and you’ll be amazed at how quickly you can create stunning results with these easy circle henna designs.
Why Circle Designs are the Perfect Start for Henna Beginners
Why Circle Designs are the Perfect Start for Henna Beginners
The Amazing Simplicity of Circles
Okay, so you're itching to create awesome henna art, but those complex designs look like a different language, right? That's where circles swoop in to save the day! Seriously, they’re the unsung heroes of henna. Why? Because they're ridiculously easy to draw. A circle is just a single, continuous line, no sharp corners or tricky angles. It's like learning to write your name before writing a novel. You wouldn’t jump into Shakespeare before mastering the ABCs, would you? Circles are your henna ABCs. They’re also super forgiving. A little wobbly? No problem! It still looks like a circle, and that's the beauty of it. We're not aiming for perfection here, we’re aiming for fun and learning.
Think of it like this: you're building a LEGO castle. You wouldn't start with the super-detailed turrets, you'd begin with the basic blocks. Circles are your henna blocks. They help you get a feel for the henna cone, the pressure you need, and the flow of the paste. It's all about building that muscle memory. Plus, the simplicity of circles lets you focus on the process, not the outcome. It’s relaxing, therapeutic even, and you get to see your progress immediately. I remember when I first started, I was so worried about messing up, but the circles just flowed. It was like a little dance between me and the henna. And trust me, once you nail these, you'll be ready to conquer any henna design that comes your way.
Circles: Your Foundation for Endless Creativity
So, circles are easy, we get that. But don’t think for a second that means they’re boring! Quite the opposite, actually. Circles are like a blank canvas. Once you master them, you can add all sorts of cool stuff around them. Think of dots, swirls, petals, lines – all these elements can stem from a simple circle. It’s like a tiny seed that grows into a beautiful flower. You can arrange them in patterns, create mandalas, or use them as the center of floral designs. The possibilities are truly endless. I've seen artists make amazing things using just circles, it’s mind-blowing!.
Beyond just patterns, circles help you understand balance and symmetry in design. They teach you how to space things out properly and how to create flow in your art. It’s like learning the rhythm of a song before you start composing your own music. And let's be honest, who doesn't love a good circle? They're pleasing to the eye, they feel complete, and they’re just plain fun to draw. You can even use them to practice different henna techniques, like filling them in with color, outlining them, or adding different types of textures. So, if you're a beginner, don't underestimate the power of the humble circle. It’s your best friend on this henna journey.
Benefit | Description |
|---|---|
Easy to Draw | Simple, continuous line, no sharp corners. |
Forgiving | Wobbly lines still look like circles. |
Building Block | Foundation for complex patterns. |
Muscle Memory | Helps develop henna application skills. |
Versatile | Can be used in various designs and patterns. |
StepbyStep Guide to Drawing Basic Circle Henna Patterns
StepbyStep Guide to Drawing Basic Circle Henna Patterns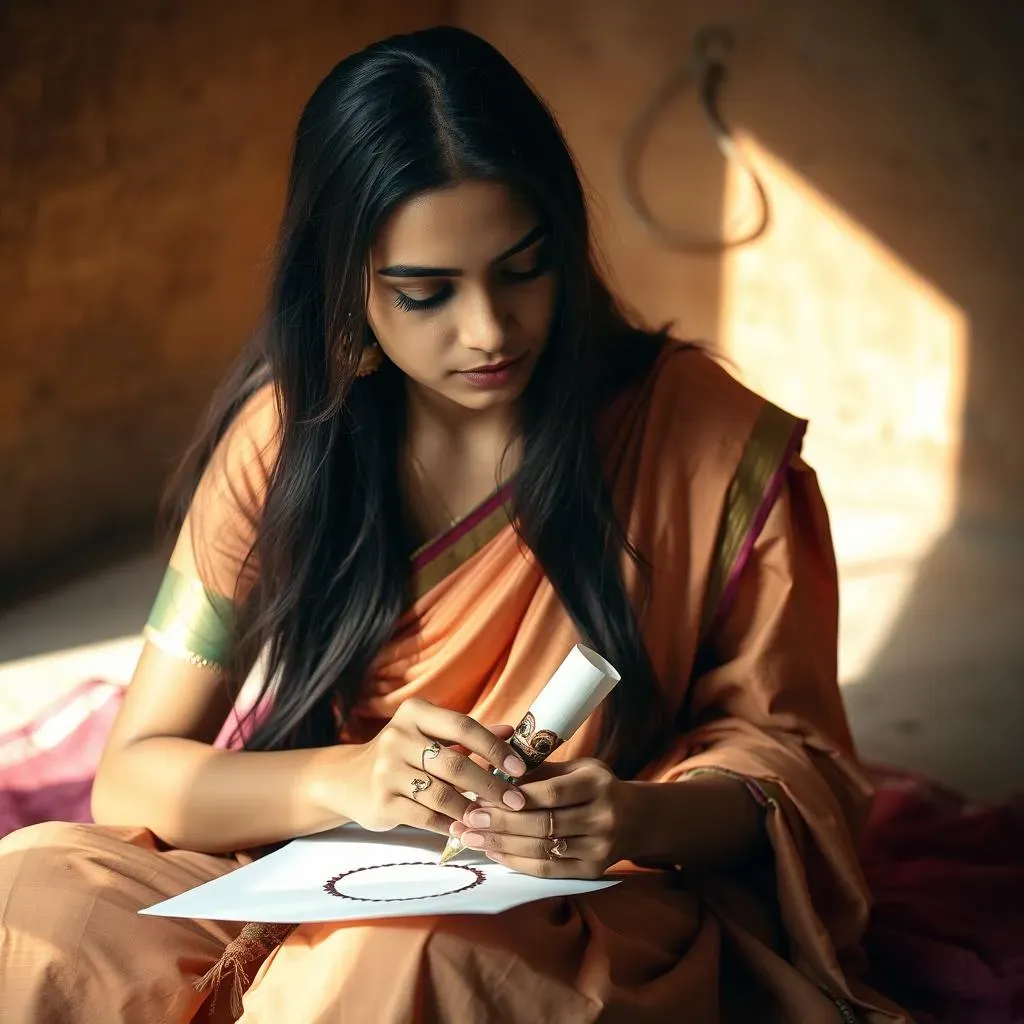
Gather Your Supplies and Get Ready
Alright, let's get down to the nitty-gritty of drawing some circles. First things first, you’ll need your henna cone – make sure it's not clogged and the paste is flowing smoothly. It's like making sure your pen has ink before you write a letter. You'll also want a clean, flat surface to practice on. I like using paper or even a piece of tile, something that won't absorb the henna paste too quickly. And, of course, some wipes or a damp cloth nearby for any little oops moments. You know, those little mishaps that turn into happy accidents? It's all part of the process. Now, find a comfy spot, maybe put on some chill music, and let's get started. This is all about having fun, so don't stress too much about making everything perfect.
The Simple Circle: A Step-by-Step Guide
Okay, so here’s the secret: there isn’t one! It's all about practice and getting a feel for it. Start by holding your henna cone like a pen, but don't squeeze too hard – you want a nice, steady flow of paste. Imagine you’re drawing a circle with a pencil, and start by gently placing the cone on your practice surface. Now, slowly and steadily, move your hand in a circular motion. Don’t worry if it's not perfect, the goal is to create a closed loop. Think of it like a car going around a roundabout, you want to complete the journey. Keep your hand moving smoothly and try to maintain a consistent pressure on the cone. If the circle feels a bit wonky, it's totally fine! Just keep practicing and you'll be surprised at how quickly you improve. It's like learning to ride a bike, a little wobbly at first, but then you're cruising!
Once you’ve drawn a few circles, try changing the size. Make some big ones, make some small ones. This will help you get a better feel for controlling the paste. Experiment with how much pressure you use on the cone, too. You’ll notice that different pressures will create different line thickness. And don’t worry about ‘messing up’ – that’s part of the process. It's like when you're cooking and you add a little too much salt, sometimes it leads to a happy discovery. So, embrace those imperfections, they're part of your unique style. After all, practice is what makes progress. Now, let's try some variations.
Step | Description |
|---|---|
1 | Gather your henna cone, practice surface, and wipes. |
2 | Hold the cone like a pen, apply gentle pressure. |
3 | Move your hand in a smooth, circular motion. |
4 | Complete the closed loop. |
5 | Practice different sizes and pressure. |
Creative Ideas for Easy Circle Henna Designs & Variations
Creative Ideas for Easy Circle Henna Designs & Variations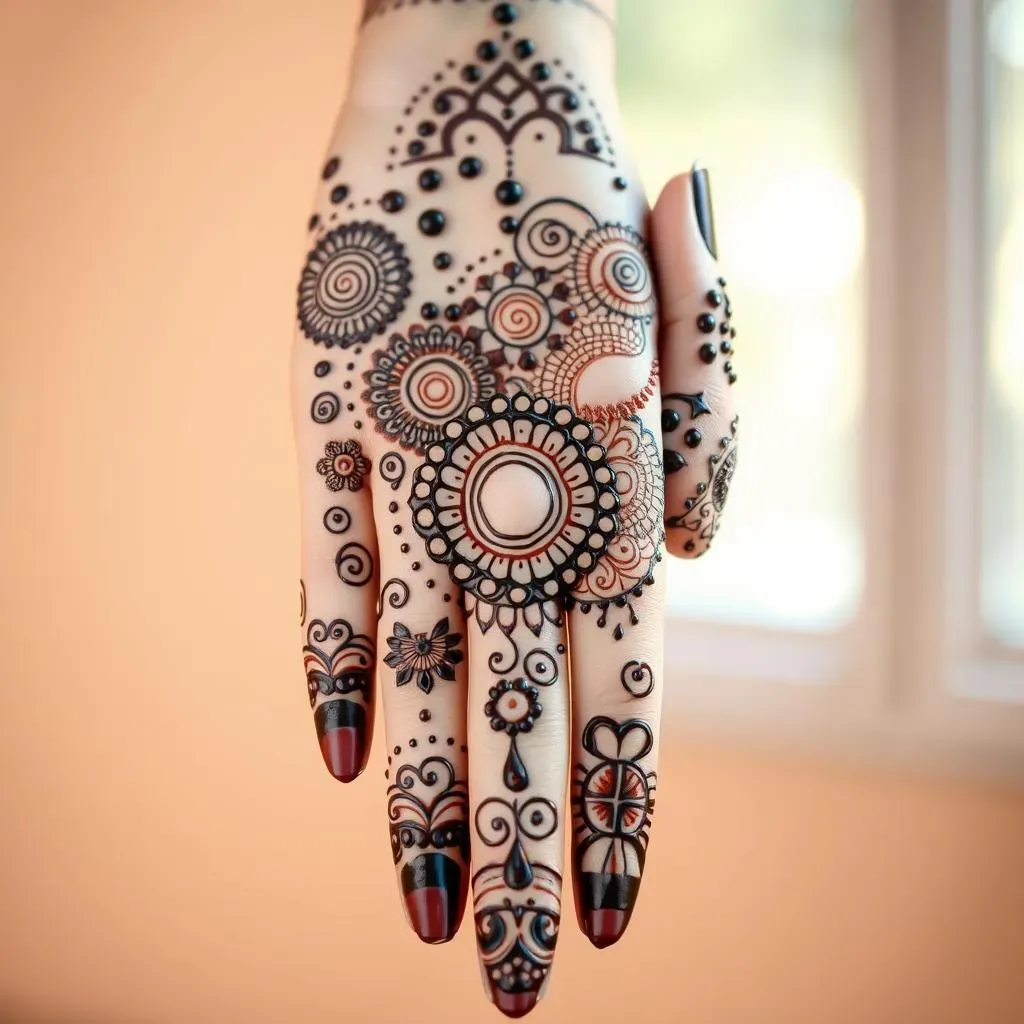
Dots, Spirals, and Swirls: Adding Flair to Your Circles
Alright, so you've got your basic circles down, now it's time to get a little fancy. Let's start with dots. Simple, right? But trust me, they can make a big impact. Try adding a series of small dots around your circle. It's like giving it a little crown of jewels. You can also vary the size of the dots for a more dynamic look. Next up, spirals! Start from the center of your circle and, using a continuous line, spiral outwards, almost like a snail's shell. Or, if you're feeling adventurous, try spiraling inwards. Swirls are like the free-spirited cousins of spirals. They're less structured and more playful. Think of them as little waves crashing around your circle. You can use them to fill in spaces or create a sense of movement. These little additions can transform a simple circle into something truly special.
I remember the first time I added dots to a circle, it was like, "Whoa, this looks way cooler!" It's amazing how much a few simple elements can change the entire vibe. Don't be afraid to experiment with different combinations. Try dots and spirals together, or swirls and dots. Maybe even try adding a tiny dot inside your circle. The possibilities are endless. It's all about playing around and seeing what you can create. Remember, there are no rules in art, only guidelines. So, go ahead, unleash your inner artist and let those circles come to life with dots, spirals, and swirls!
Floral and Geometric Patterns Using Circles
Now, let's take our circles to the next level by turning them into flowers and geometric patterns. For flowers, think of your circle as the center of the bloom. Draw small, curved lines around it to create petals. You can make them pointy, rounded, or even wavy. Each petal is like a little hug around the circle. Or, you can add more circles around your center circle to create a daisy-like pattern. Geometric designs are another fun option. Try connecting multiple circles with straight lines to make a pattern. You can also create a grid of circles and fill them in with different patterns. It's like creating your own little mosaic. These patterns might seem a bit more complex, but they all start with our trusty circle. It's all about breaking down complex designs into simple shapes. I once spent an afternoon just creating different floral patterns with circles, and it was so relaxing and rewarding. It's like watching your garden grow, but on your skin!
You can also experiment with repeating patterns. Try creating a row of circles and then adding the same pattern to each one. Or, create a circular pattern by arranging circles in a larger circle. Think of it like creating a kaleidoscope effect. The key is to keep practicing and experimenting. Don't be afraid to try new things and see what you can come up with. And remember, the beauty of henna is that it's temporary, so if you don't like something, you can always try again. So, go ahead, use your circles to create some stunning floral and geometric designs. You'll be amazed at what you can create with just a few simple shapes.
Technique | Description | Example |
|---|---|---|
Dots | Small, round marks around the circle. | A ring of dots around a circle |
Spirals | Continuous line spiraling from or to the center. | A spiral starting from the center of the circle |
Swirls | Free-flowing, curved lines around the circle. | Swirls surrounding a circle like waves |
Floral | Circles as flower centers with petals around them. | A circle with curved lines around to create petals |
Geometric | Circles connected with straight lines for patterns. | A pattern of circles connected by straight lines |