Table of Contents
Ever looked at those intricate henna designs and thought, "Wow, I wish I could do that"? Well, you totally can, especially when we're talking about easy finger henna designs. Forget the complicated patterns for now; we're starting with the basics, the fun stuff that even a total newbie can nail. This article is your friendly guide to creating beautiful henna art right on your fingertips. We'll walk you through simple designs that look amazing without needing a master's degree in art. We're going to cover some cool patterns that are perfect for beginners, give you a step-by-step on how to apply them, and even share tips on how to keep your henna looking fresh. Think of it as your crash course in finger henna, no artistic talent required—just a willingness to give it a go. Ready to turn your fingers into tiny canvases? Let's do this!
Simple Henna Patterns for Beginners
Simple Henna Patterns for Beginners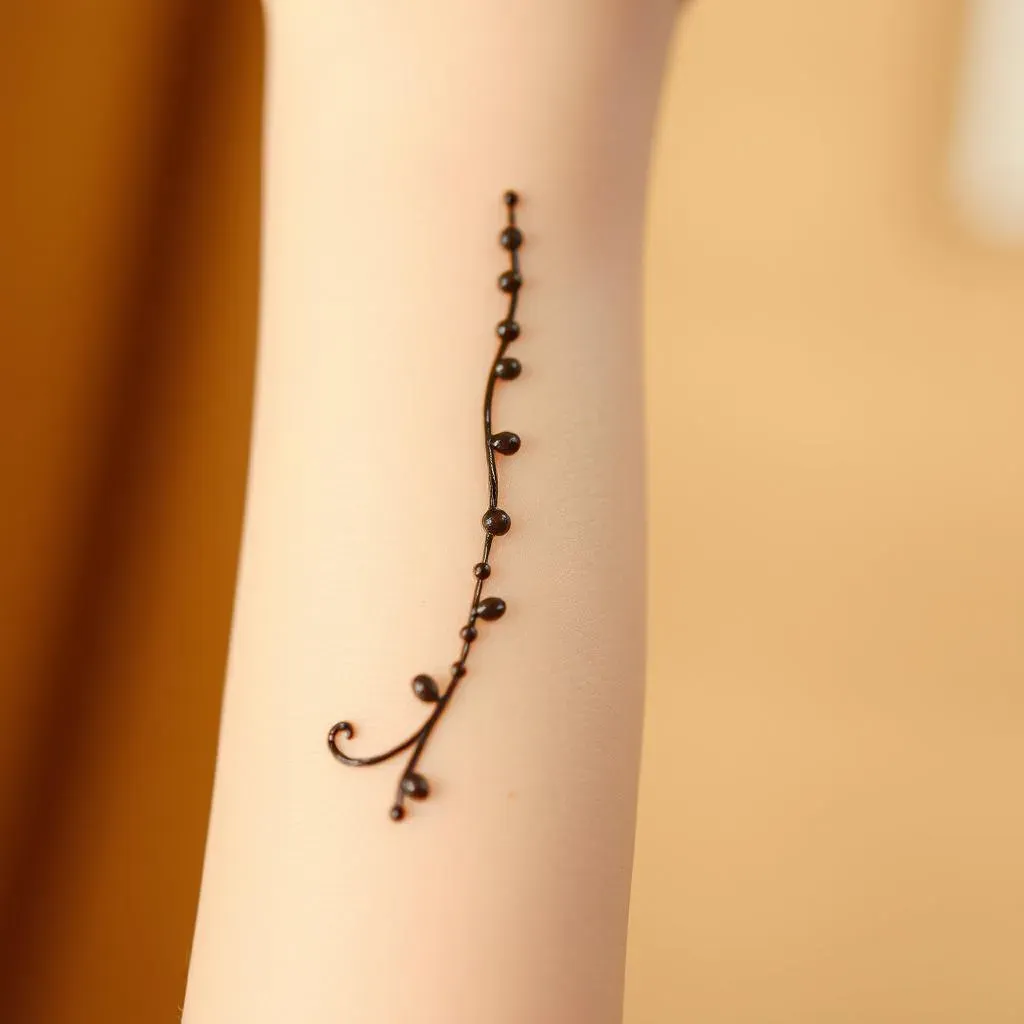
Getting Started with Henna
Okay, so you're itching to try henna, but those super detailed designs look like something out of a magic book, right? Don't sweat it! We're going to start with patterns that are so simple, you'll be like, "Wait, that's it?" Think dots, lines, and tiny curves. These are your building blocks. Forget about trying to draw a perfect peacock on your first go. Instead, imagine you're doodling on paper but with henna. Simple shapes are your best friends here, and they can look incredibly elegant when put together.
I remember the first time I tried henna, I went straight for a complicated design I saw online. Let’s just say it looked more like a blob than a beautiful pattern. So, trust me on this one, start simple. Think about it like learning to write. You don't start with Shakespeare; you start with the alphabet. Same deal with henna. We are going to be focusing on the alphabet of henna designs, which is all about small lines, dots, and curves.
Easy Peasy Design Ideas
Now, let's get into some actual design ideas. A line of dots down your finger looks chic and is super easy to do. You can try making small dashes or even tiny 'U' shapes. Another cool one is a simple vine-like pattern. Just make a slightly curvy line and add small leaves or dots coming off it. Think of it like drawing a stem and adding tiny leaves. You could also try a basic floral design, start with a small circle, and add some small petals around it. These are all things you can do with a steady hand and a bit of patience.
Don't worry if they're not perfect the first time. The beauty of henna is that it’s temporary, so you can just wash it off and try again. I've had designs that went from looking like a toddler drew them to looking pretty decent after a few tries. Just play around with it and have fun. The goal here is to get comfortable with the henna cone and get a feel for how the paste flows.
Pattern | Description | Difficulty |
|---|---|---|
Dots | Simple dots in a line or pattern. | Easy |
Lines | Straight or slightly curved lines. | Easy |
Tiny Curves | Small "U" or "C" shapes. | Easy |
Simple Vines | Curvy lines with small dots or leaves. | Easy |
Basic Flowers | Small circle with petals around it. | Easy |
StepbyStep Guide to Applying Easy Finger Henna Designs
StepbyStep Guide to Applying Easy Finger Henna Designs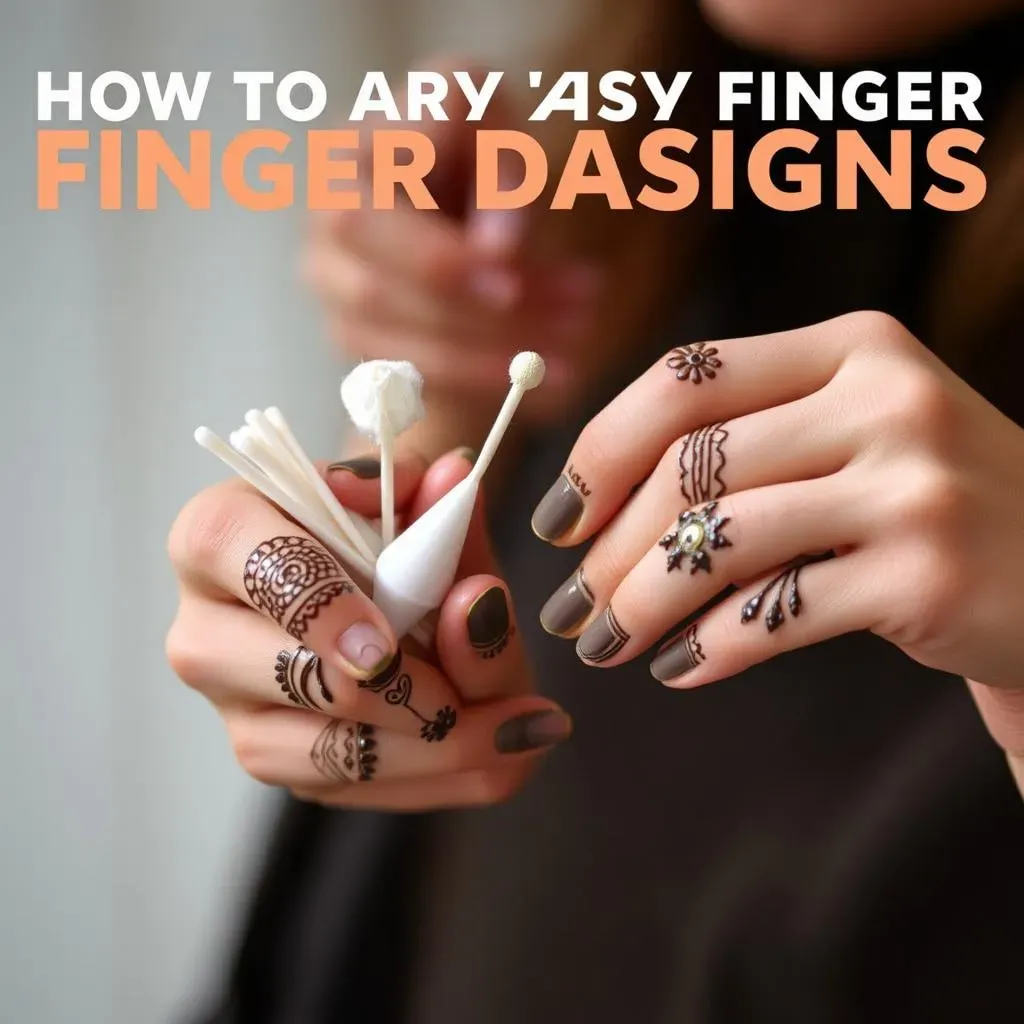
Alright, so you've got your designs in mind, now it's time to get inky! First things first, gather your supplies. You'll need your henna cone, some cotton swabs, and maybe a little bowl of water. Make sure your hands are clean and dry – no lotion or anything greasy. Now, here's the secret: start with a light touch. Don't squeeze the cone too hard; you want a smooth, consistent flow of henna. It's like icing a cake, but on a much smaller scale. Practice on a piece of paper first if you're feeling shaky. A little practice goes a long way, trust me!
Once you're comfortable, start applying your chosen design to your finger. Remember those simple patterns we talked about? Now is their time to shine. If you're doing dots, gently press the cone and lift. For lines, glide the cone smoothly, keeping the pressure even. If you mess up, no worries! Just use a damp cotton swab to quickly clean it up and try again. It's all about being patient and taking your time. You're not trying to win a speed race here; you're trying to create something beautiful. I messed up so many times, it's a normal part of the process.
Step | Action | Tips |
|---|---|---|
1 | Gather supplies | Clean hands, henna cone, cotton swabs, water |
2 | Practice | Try on paper first |
3 | Apply Henna | Light touch, steady pressure |
4 | Correct Mistakes | Damp cotton swab to clean up |
5 | Be Patient | Take your time |
Caring for Your Henna and Making it Last
Caring for Your Henna and Making it Last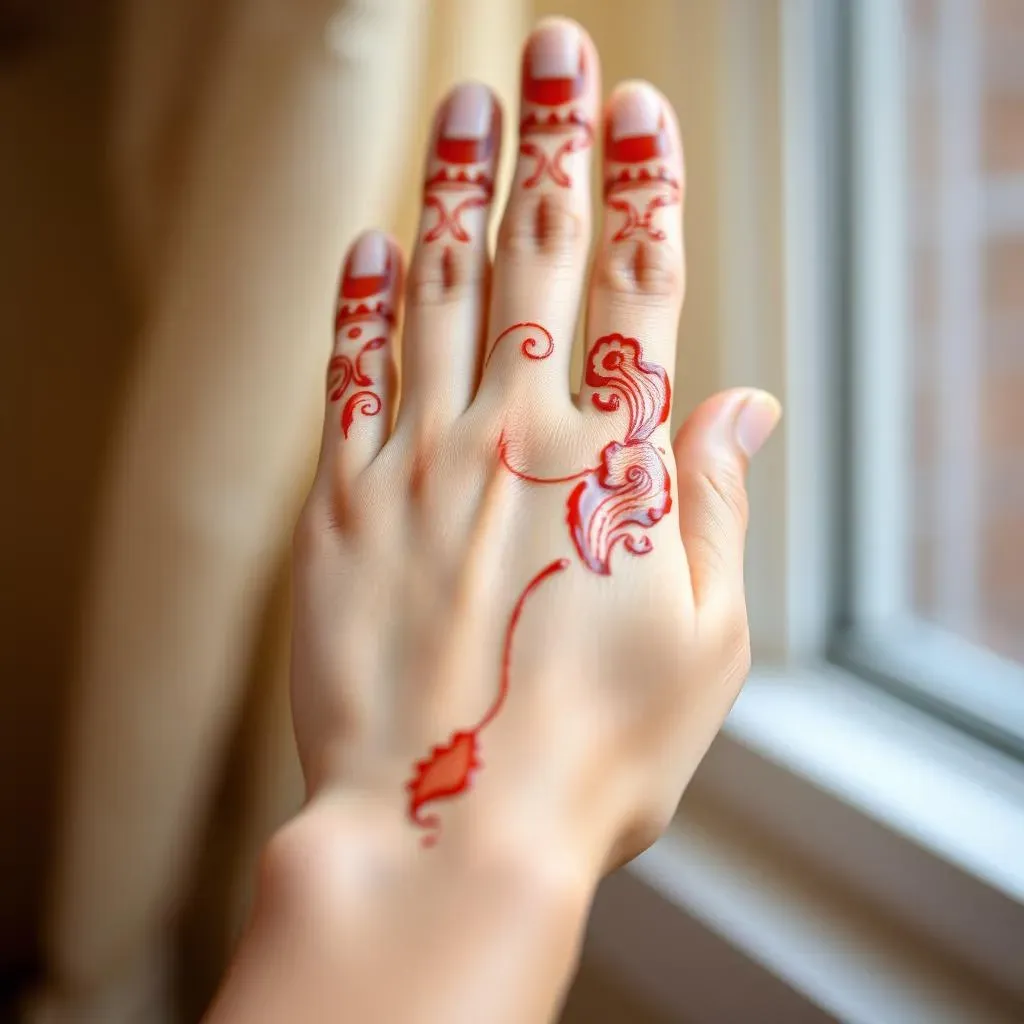
So, you’ve got your awesome finger henna designs, and they look amazing! Now, the real game starts: keeping them looking good for as long as possible. The key here is to let the henna paste dry completely. Once it's dry, try to avoid washing it off with water for at least a couple of hours, or better yet, overnight. Think of it like letting a cake set before you cut into it. The longer the paste stays on, the darker and longer-lasting the stain will be. I know it's tempting to wash it off, but patience is your friend here. You can gently scrape off the dried paste after a few hours or let it fall off naturally. Once the paste is off, avoid soap and water for the next few hours. This allows the stain to fully develop.
After removing the paste, you’ll notice the color is usually a light orange. Don't worry, that's totally normal! Over the next 24-48 hours, the color will darken to a beautiful reddish-brown. To help this process along, avoid using any harsh soaps or cleaning products on the area. Think of it as protecting a delicate work of art. Natural oils, like coconut or olive oil, can actually help moisturize the skin and keep the henna stain looking vibrant. I've found that keeping my hands moisturized really helps to prolong the life of my henna designs. It's like giving your skin a little extra love, which will help the henna look its best too.
Care Step | Action | Why it Matters |
|---|---|---|
Drying Time | Let paste dry completely | Longer dry time = darker stain |
Avoid Water | Don't wash off for hours | Allows stain to develop |
Gentle Removal | Scrape off dried paste | Avoids smudging |
Moisturize | Use natural oils | Keeps stain vibrant |
Also, try to avoid excessive hand washing or activities that might cause the henna to fade faster. Think of it like protecting a delicate tattoo. The less you scrub it, the better. The color will naturally fade over time, but with these tips, you can enjoy your beautiful henna art for several days, sometimes even a week or two. Remember, henna is a natural dye, so its lifespan depends on how well you take care of it. Just like a delicate flower, it needs a little bit of care to blossom and last. I think that the best part of henna is the fact that it is temporary. You can create a new design every week!
Lastly, if you want to make your henna pop, you can use a bit of lemon juice on the design before removing the paste. Some people swear by this trick, but it’s not for everyone. Just be careful if you have sensitive skin. And that’s it! With these simple steps, your easy finger henna designs will look fantastic, and you’ll be a henna pro in no time. Now go on, show off your gorgeous artwork and enjoy the process! It’s all about experimenting, having fun, and creating something beautiful. I'm sure you'll do great!
- Let the paste dry completely.
- Avoid water for a few hours.
- Gently scrape off the dried paste.
- Moisturize with natural oils.
- Avoid harsh soaps and cleaning products.