Table of Contents
Ever admired those intricate henna patterns and thought, "I wish I could do that?" Well, guess what? You absolutely can! This guide is all about making the beautiful art of henna accessible to everyone, especially beginners. We're going to focus on "easy flower henna designs," because what's more fun than drawing flowers? Think of it: simple petals, graceful curves, and the joy of creating something beautiful on your skin. Forget those complicated patterns that look like they need a degree to master. We're keeping it simple, fun, and totally doable. We will start by getting familiar with the basic supplies, then move into step-by-step instructions on how to make a variety of cute floral patterns. I'll share some tips and tricks I've learned along the way too, so your designs look amazing every time. Get ready to unleash your inner artist and create some stunning, easy flower henna designs!
Simple Flower Henna Designs: Getting Started
Simple Flower Henna Designs: Getting Started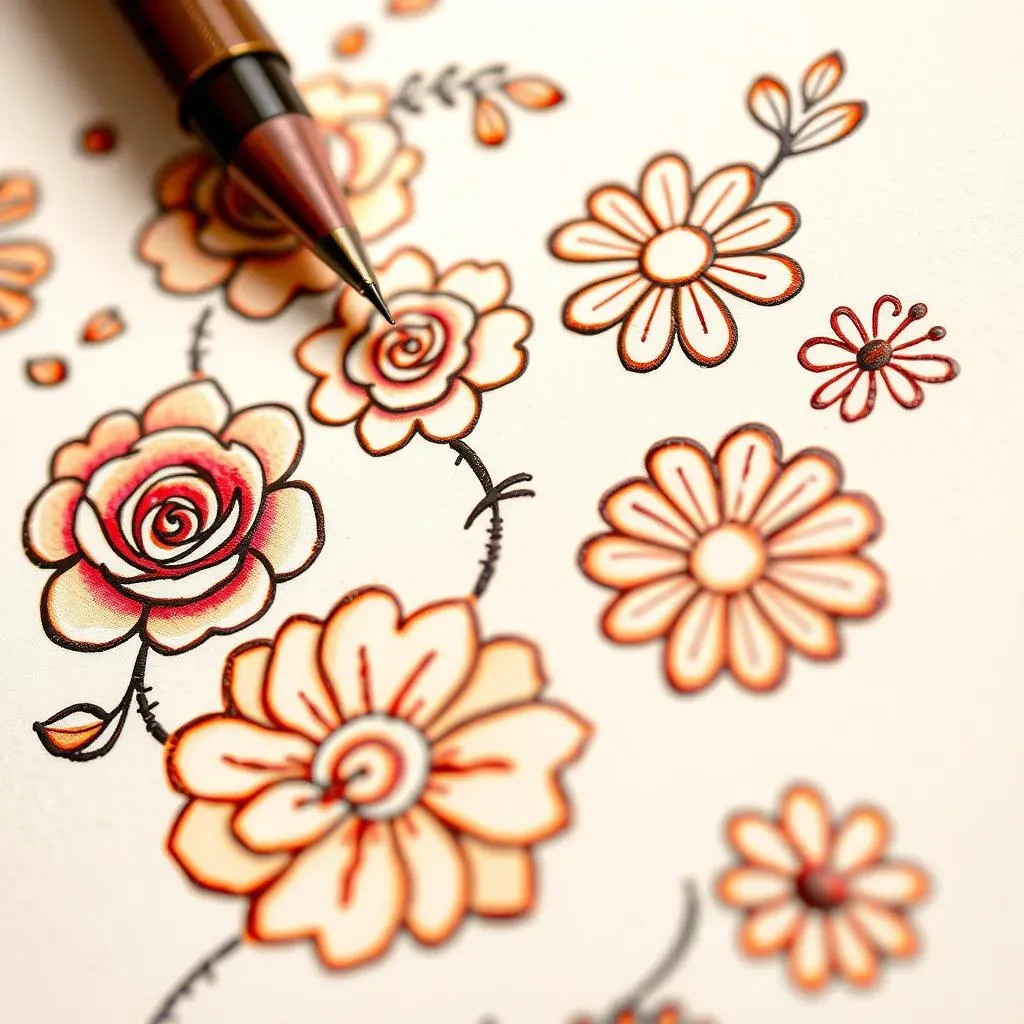
Okay, so you're itching to create some beautiful henna art, specifically with flowers? Awesome! Let's kick things off with the basics. First, you'll need your henna paste. You can buy it pre-made in a cone, which is super convenient, or you can mix your own if you're feeling adventurous. If you choose to mix your own, make sure you use good quality henna powder, and follow a reliable recipe. Now, before you get to drawing, get yourself a practice surface. Paper is your best friend when starting out. Use a fine-tipped pen or pencil to get the hang of simple flower shapes. It might sound silly, but mastering basic shapes is key! Think of it like learning the alphabet before writing a novel. Once you have your supplies and a practice space, we can get into the fun part.
StepbyStep: Creating Easy Flower Henna Patterns
StepbyStep: Creating Easy Flower Henna Patterns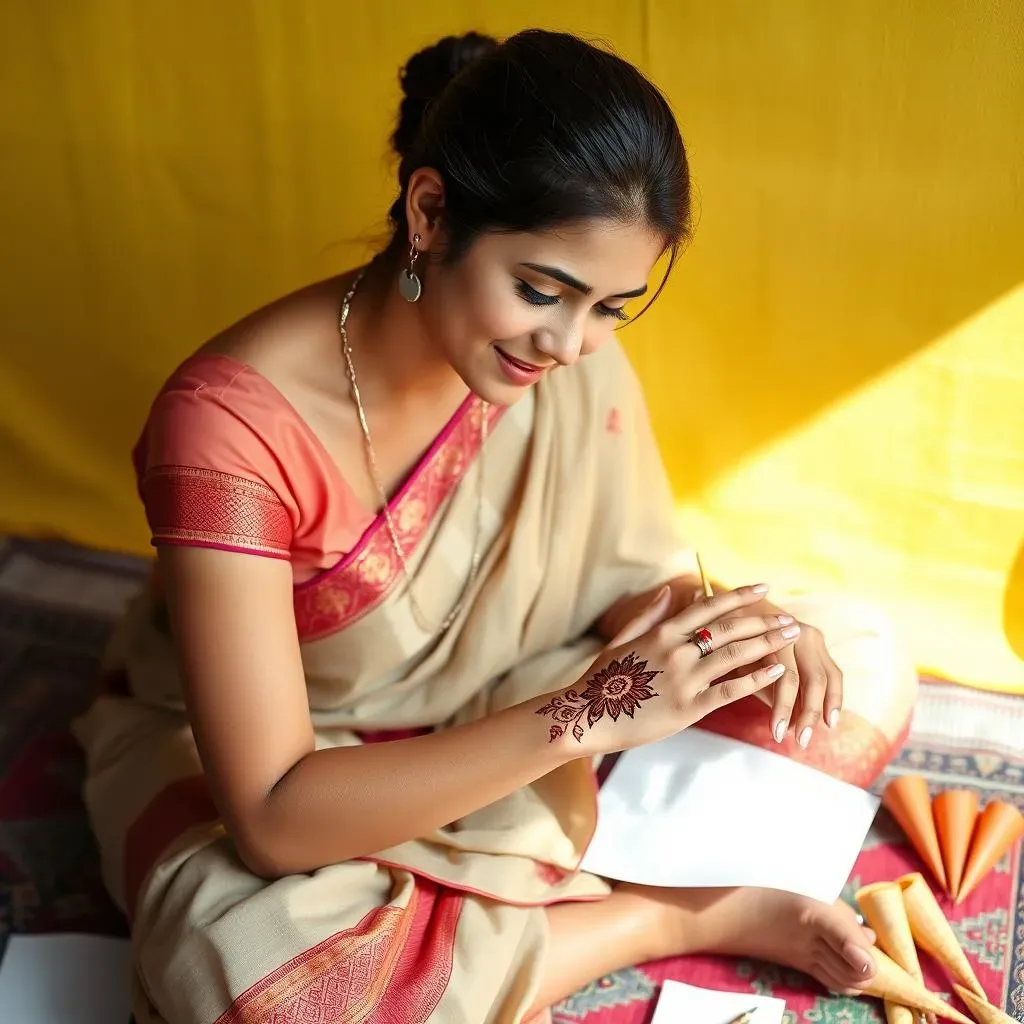
Basic Petal Power
Alright, let's get to the good stuff! First, we're going to learn the basic petal. Imagine a teardrop shape, but not too pointy. Start by making a small dot, then gently curve outwards and back in, making sure to meet that starting point. Don't worry if it's not perfect, the beauty of henna is that it's organic and natural! Practice a few of these on your paper. Once you get the hang of the teardrop, try making a few next to each other, all facing the same way, like a little daisy. Keep the petals roughly the same size and spacing, but don't stress too much about perfection. This is where your flower starts to bloom!
Remember, it's like drawing a bunch of slightly squished water balloons attached at the bottom. The key is to be gentle with your hand and not press too hard. You want a smooth, even line and not a thick blob of henna paste. If you're using a cone, a light squeeze is all you need.
Building Your Blooms
Now that you've got the hang of petals, let's create a full flower! Think of a simple five-petal flower, like a cartoon drawing. Place the petals around a central point, leaving a small gap between each one. This space is important, as it’ll allow each petal to stand out. The key here is symmetry, but it doesn't need to be perfect. Remember, nature isn't perfectly symmetrical, so your flower doesn't have to be either. Try varying the size of the petals slightly to give your flower a little extra character, and experiment with different types of flowers like roses, or even a hibiscus.
Once you've got your basic flower shape, try adding some small dots or curves between the petals. These little details can really elevate your design. You could also add a small circle in the center for the flower's core. Let your creativity flow and add your own unique touch. After you have the flower, practice drawing a few leaves. These are just elongated teardrop shapes, but with a slightly more pointed end. Place a few leaves near your flower to bring it to life, it's all about balance and aesthetics!
Flower Part | Shape | Tips |
|---|---|---|
Petals | Teardrop or curved shapes | Keep them consistent but not perfect |
Core | Small circle or dot | Center of the flower |
Leaves | Elongated teardrop | Place them near the flower |
Adding Details and Variations
Okay, so you've drawn some flowers, awesome! Let's add some spice to your designs. Try making some of the petals overlap slightly to make the flower look more dimensional. You can also vary the thickness of the lines to add depth, making some lines bolder and others finer. This is where you can get really creative. Try different patterns, some with more petals, some with less. You can also practice making vines and leaves that will make your designs flow more naturally. You can add dots, swirls, or small geometric shapes around your flowers for a more intricate look.
Remember, each flower doesn't have to be the same. You can mix and match different types of flowers, and even create a whole floral garden on your skin. The key is to keep practicing and experimenting. Don't be afraid to try new things and make mistakes. That's how you learn and develop your own unique style. And always remember, have fun with it! Henna is about expressing yourself, so let your creativity shine!
Tips and Tricks for Perfect Easy Flower Henna Designs
Tips and Tricks for Perfect Easy Flower Henna Designs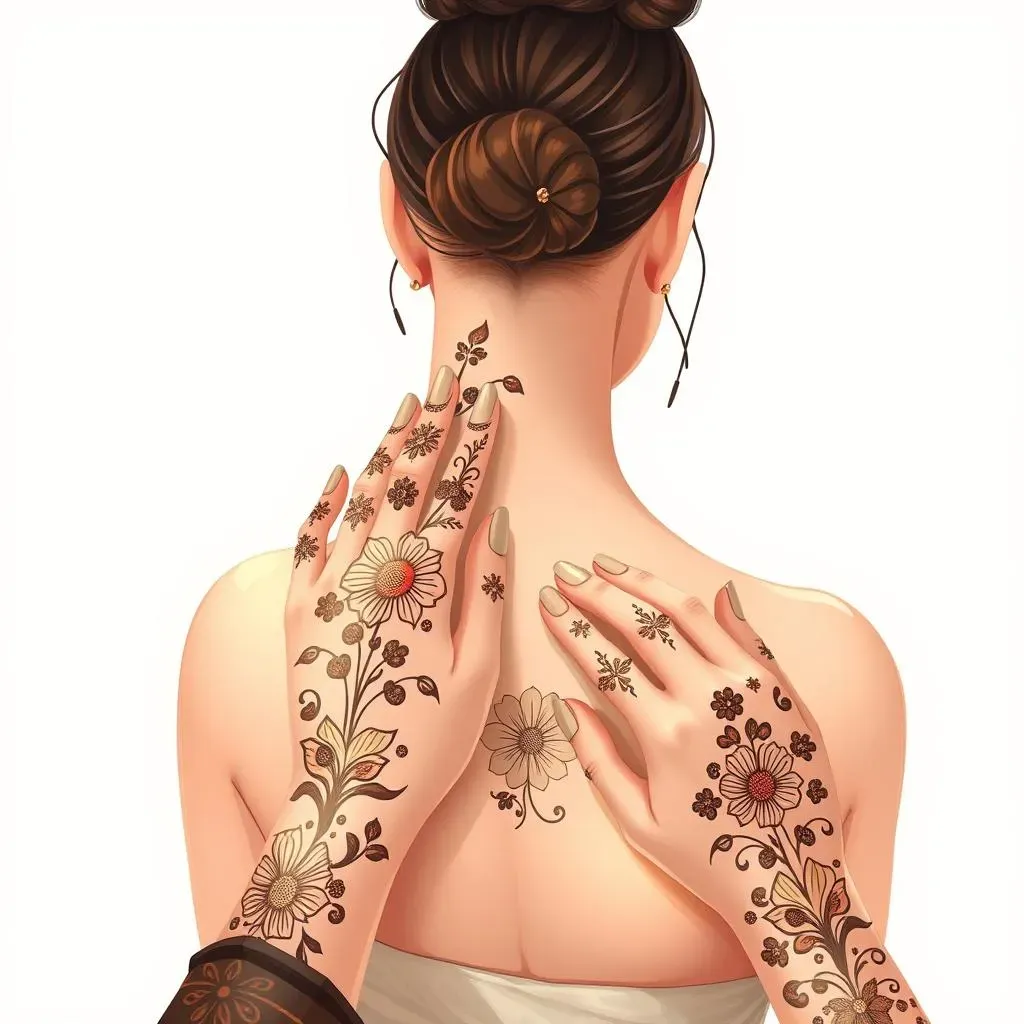
Practice Makes Progress
Okay, so you've got the basic flower shapes down, but maybe your lines are a little wobbly, or your petals aren't as smooth as you'd like. That's totally normal! The secret to amazing henna designs isn't some magical talent, it's practice, practice, practice. Don't be discouraged if your first few attempts aren't perfect. Grab that practice paper and keep going. Try different pressures on your cone or pen, and see how it affects the lines. You can try drawing flowers every day, even just for 15 minutes, and you'll be amazed how quickly your skills improve. Remember, every artist starts somewhere. And even those amazing henna artists you see online, they've all spent countless hours practicing. So, embrace the process and keep at it!
It's like learning to ride a bike, you wouldn't expect to be a pro on your first try, would you? You'll probably fall a few times, but you get back on and keep going. The same thing applies to henna. The more you do it, the more comfortable you'll feel, and the better your designs will become. And don't worry too much about making mistakes, you can always wash it off and try again. That's the beauty of henna, it's temporary, and it’s a great way to experiment!
Henna Prep and Care
Now, let's talk about making sure your henna looks its best and lasts as long as possible. Before you even start drawing, make sure your skin is clean and free of any lotions or oils. You can even wash the area with soap and water and let it dry completely. This will help the henna paste adhere properly to your skin. Once your design is complete, let the henna paste dry completely. This might take anywhere from 30 minutes to an hour, depending on the thickness of the paste and your environment. Try not to move around too much during this time, you don’t want to smudge your design, or make it crack!
Once it’s dry, you can apply a mixture of lemon juice and sugar to help keep the paste moist and allow the stain to develop. Let this mixture dry, and leave the paste on your skin for as long as possible, ideally a few hours. Avoid using water until you are ready to remove the paste. When you do, gently scrape it off instead of washing it. Washing it right away can make the stain lighter. After you remove the paste, avoid using soap or harsh chemicals on the area for at least 24 hours. This will give the stain time to fully develop. And finally, some people find that moisturizing the area helps to make the stain last longer. So, find a good oil or lotion that works for you!
Troubleshooting and Inspiration
Sometimes, things might not go as planned. Maybe your henna paste is too runny, or maybe your design just isn't turning out the way you envisioned. Don't panic! If your paste is too runny, try adding a little bit more henna powder. If it's too thick, add a few drops of water. And if your design isn't quite right, just remember that it's all part of the learning process. You can always wash it off and try again. The key is to not give up. Look online for some design inspiration, there are tons of amazing designs on Instagram and Pinterest that can inspire you to create your own masterpiece.
And finally, don't be afraid to experiment and make your own designs. Don't just copy what you see online, try to add your own unique touch. Maybe you can add little stars or hearts around your flowers, or maybe you can create your own unique petal shapes. The possibilities are endless. So, grab your henna cone, and let your creativity flow. And remember, the most important thing is to have fun. Henna is a beautiful art form, and it should be a joyful experience, so just relax, and enjoy the process!
Problem | Solution |
|---|---|
Henna paste too runny | Add more henna powder |
Henna paste too thick | Add a few drops of water |
Design not turning out | Don't give up, practice more |