Table of Contents
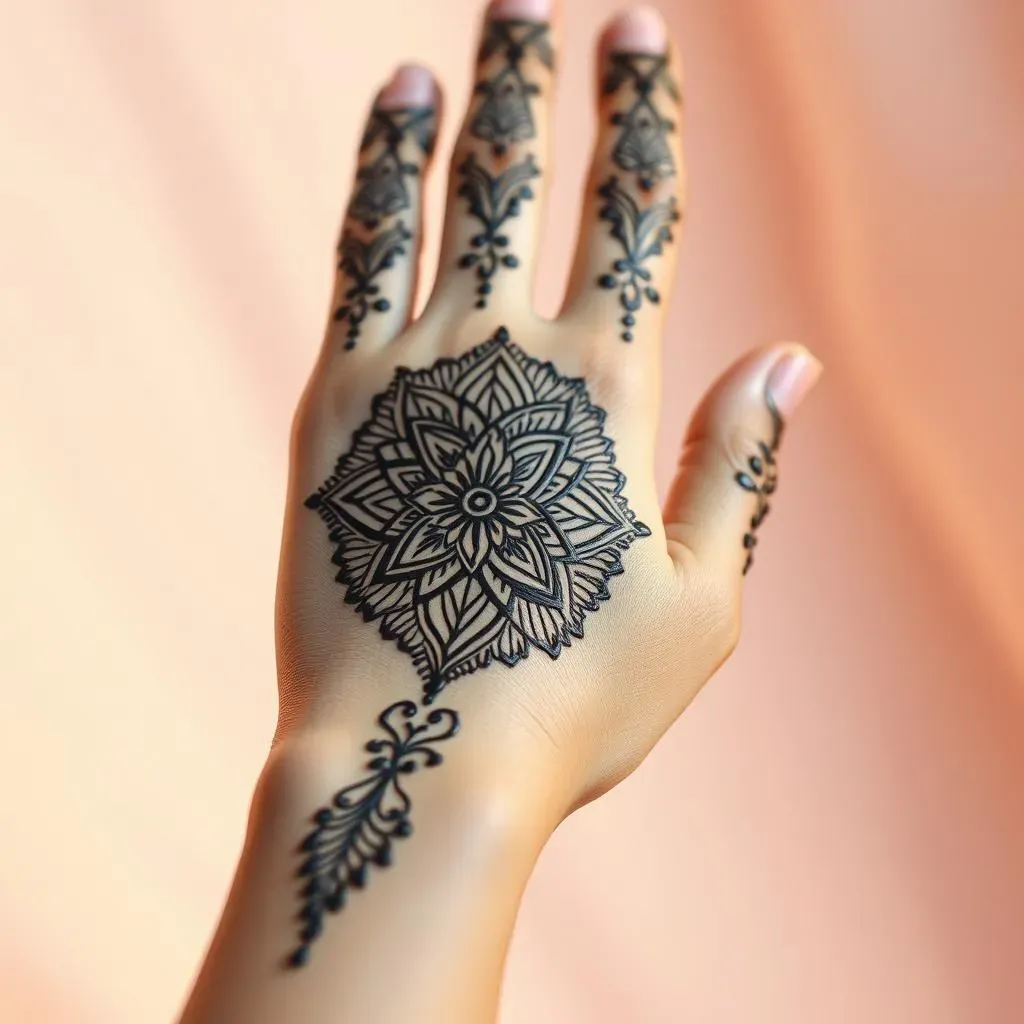
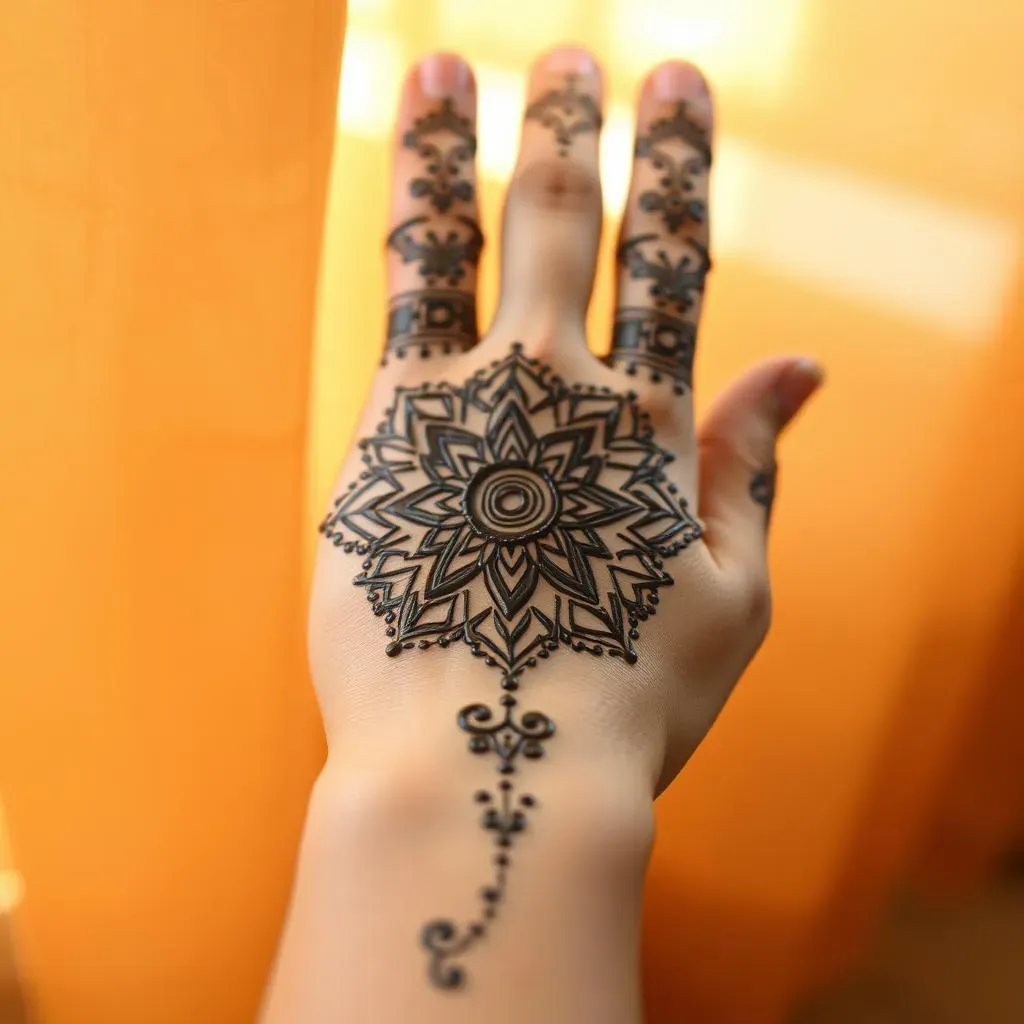
Ever looked at those intricate henna patterns and thought, "No way I could do that!"? I get it. I used to feel the same way, especially when it came to geometric designs. They looked so complex and precise, like some kind of secret code. But guess what? They're not as scary as they seem. The secret is breaking them down into simple shapes and lines. That's what I'm going to show you today. We're going to explore how to create beautiful, easy geometric henna designs, even if you're a total beginner. In this guide, I'll walk you through five different patterns, step-by-step. You'll learn how to create geometric windows, diamonds, and even some flower-like designs, all without needing to trace anything. I’ll also share some tips and tricks I picked up along the way to help you get those crisp lines and perfect symmetry. So, if you're ready to ditch the overwhelm and start creating your own stunning henna art, let's get started with these easy geometric henna designs!
Getting Started with Easy Geometric Henna Designs
Getting Started with Easy Geometric Henna Designs
Why Geometric Henna?
Okay, so you're curious about geometric henna, huh? I get it. Maybe you've seen those mesmerizing patterns online and thought they were way too complicated. But here's the thing: geometric designs are actually fantastic for beginners. Unlike floral patterns that can be a bit more free-form and tricky to get right, geometric shapes have a structure. Think of it like building with LEGOs – you're putting together simple pieces to create something awesome. Plus, the repetition in geometric patterns makes it easier to get into a flow and build confidence. It's like a puzzle that's also a work of art. You’ll find that once you grasp the basic shapes, the possibilities are endless!
The beauty of geometric henna is in its crisp lines and clean shapes. It’s all about precision, but don’t let that intimidate you. That precision comes from a steady hand and a little bit of practice. It's a different kind of challenge than trying to draw a perfect rose, and I think you might find it surprisingly relaxing. So, if you're looking for a way to start your henna journey that's both achievable and visually stunning, geometric designs are the way to go.
Gather Your Supplies
Before we start drawing, let's talk about what you'll need. First, obviously, you'll need some henna. I recommend using a good quality henna paste, not the stuff that comes in a tube. It will have a better consistency and give you richer, darker stains. You can buy pre-made paste or mix your own if you're feeling adventurous. Next, you need applicators. You can use a cone, which is what most henna artists use, or you can use a fine-tipped applicator bottle if you prefer. I suggest having both on hand to try out which ones feel better for you. Also, grab some paper towels, cotton swabs, and a small dish of water for any mistakes or cleanup. Lastly, it doesn’t hurt to have some practice sheets to get comfortable before working on your skin!
Don’t stress too much about getting the perfect supplies right away. The key is to start and learn as you go. I started with a cheap henna kit and a plastic baggie with a tiny hole poked in the corner. It wasn’t fancy, but it worked! The important thing is to have fun and experiment. Remember, every artist starts somewhere, and it’s all part of the process.
Supply | Why You Need It |
|---|---|
Good quality henna paste | For rich, dark stains and better consistency. |
Applicator cones or bottles | To apply the henna precisely. |
Paper towels, cotton swabs, water | For cleanup and mistakes. |
Practice sheets | To get comfortable with the designs. |
Start Simple, Think Shapes
Now, let's get to the fun part – actually drawing. When you’re starting out, the best thing to do is think in basic shapes. Circles, squares, triangles, lines, and dots. That's your entire toolkit for geometric henna. Don't try to do anything super fancy right away, just focus on getting those basic shapes down. Practice drawing straight lines, circles of different sizes, and sharp triangles on your practice sheets. You'll be surprised how much you can do with just these simple elements. It’s like learning the alphabet before you start writing a novel; you need those basic building blocks.
Remember, it's all about repetition and building muscle memory. The more you practice those basic shapes, the more comfortable you'll become with the henna paste and the applicator. Don’t worry if your lines aren’t perfectly straight at first. It takes time and patience. Just focus on the process, enjoy the journey, and you’ll see your skills improve with each attempt. I always say, “Practice makes progress, not perfect.” And that definitely applies here.
Five Simple Geometric Henna Patterns for Beginners
Five Simple Geometric Henna Patterns for Beginners
Alright, let's dive into some actual patterns! I've picked five designs that are not only easy to learn but also look pretty darn cool. Don't worry, we're not jumping into anything too crazy. Each of these patterns uses the basic shapes we talked about earlier. We'll start with the simplest, building up a little bit with each one. The idea here is to get you comfortable with the process and see how much you can create with just a few simple shapes. I'm telling you, once you get the hang of these, you’ll be making your own patterns in no time!
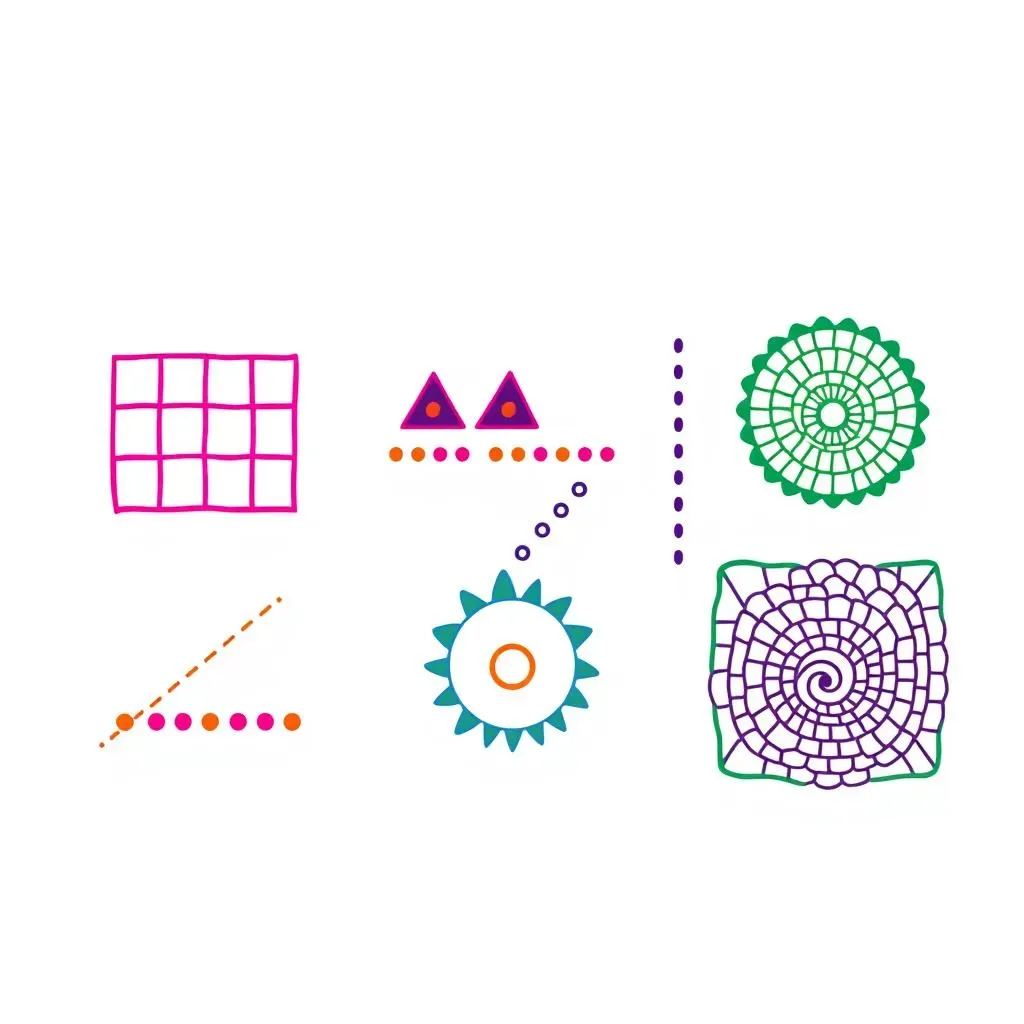
First up, we've got what I like to call the "Simple Grid." It’s just a series of straight lines that intersect to create squares or rectangles. Think of it as a mini-checkerboard. Then there’s the "Triangle Trio," which is exactly what it sounds like: three triangles clustered together. After that, we have the "Dot Dash" – a simple pattern of dots and short lines. Next, we’ll try the "Circle Chain," which is just a string of connected circles. Finally, we'll finish with the "Spiraling Square," where you start with a small square and then add squares around it, creating a spiral effect. I know it sounds like a lot but trust me, they're all super easy, and I’m going to break them down for you step-by-step. Let's get started!
Pattern Name | Description |
|---|---|
Simple Grid | Intersecting lines forming squares or rectangles. |
Triangle Trio | A cluster of three triangles. |
Dot Dash | A pattern of dots and short lines. |
Circle Chain | Connected circles in a row. |
Spiraling Square | Squares expanding outwards in a spiral. |
Tips and Tricks for Perfecting Your Geometric Henna Art
Tips and Tricks for Perfecting Your Geometric Henna Art
Okay, so you've got the basic patterns down, but how do you make them look *amazing*? That's where these tips and tricks come in! First up, let's talk about pressure. You want to apply even pressure to your applicator. Don’t press too hard, or you'll get thick, blobby lines. And don’t be too light, or you’ll end up with broken lines. Think of it like writing with a pen – it's a smooth, consistent flow. Practice on paper until you get a feel for the right amount of pressure. Also, keep your lines moving! Hesitation can lead to shaky, uneven lines. Try to draw each line in one smooth motion if you can. If you need to stop, lift your applicator and start again, rather than going back over it. It's all about confidence and smooth movements.
Next, symmetry is key for geometric designs. But don’t fret, you don’t need to be a math genius to get it right! Start by marking the center of your design, then work outwards from there. It’s like building a house – you need a solid foundation. For circles, try to make them as round as possible. It can be tricky, but practice makes progress. You can also use a small circular object, like a bottle cap, to guide you. For lines, use a ruler or the edge of a piece of paper, if you need some assistance. Remember, it's okay to use guides in the beginning. The goal is to train your eye and hand to eventually draw those shapes on your own. And lastly, don't be afraid to experiment with different line thicknesses. You can create some really interesting effects by varying the width of your lines. It’s like adding highlights and shadows to a drawing.
Tip | Description |
|---|---|
Even Pressure | Apply consistent pressure to your applicator. |
Smooth Movements | Draw lines in one continuous motion. |
Center Point | Start from the center for symmetrical designs. |
Use Guides | Use rulers or objects to help with shapes. |
Vary Line Thickness | Experiment with different line widths for unique effects. |
Now, what about mistakes? They happen! The good news is, henna is pretty forgiving. If you mess up, just grab a cotton swab dipped in water and gently wipe away the mistake. Be careful not to smudge the surrounding design. You can also use a damp paper towel, but be very gentle. The sooner you correct the mistake, the better. Once the henna dries, it's harder to remove without smearing. And hey, don’t get discouraged if your first few tries aren't perfect. It’s all about learning and growing. I've been doing henna for years, and I still make mistakes sometimes. The important thing is to keep practicing and to learn from each attempt. Remember, every mistake is just a step on the path to mastery.
Finally, let's talk about practice. The more you practice, the better you'll become. It’s like learning a musical instrument, the more you play, the more natural it feels. Try to practice a little bit every day, even if it's just for 15 minutes. You can use paper, practice skin, or even draw on your own skin if you’re feeling brave! Don’t be afraid to try new patterns and combine different elements. The world of geometric henna is vast and full of possibilities. So, keep practicing, keep experimenting, and most importantly, keep having fun. And who knows, maybe you’ll discover a new pattern that I can learn from you!
"The beautiful thing about learning is that nobody can take it away from you." - B.B. King