Table of Contents
Ever looked at those intricate henna designs and thought, "Wow, I wish I could do that!"? Well, guess what? You can! I'm here to tell you that creating beautiful henna art on your palm isn't some magical, impossible feat. It's totally doable, even if you're a complete beginner. Forget about those complicated patterns for now; we're starting with the basics—easy henna designs for beginners palm. This article is your friendly guide to getting started. We'll explore simple patterns that are perfect for your first try, and I'll share some super useful tips to make the process smooth and fun. You'll learn how to handle the henna cone like a pro (or at least a confident newbie), and you'll be creating your own gorgeous palm designs in no time. So, if you're ready to unlock your inner artist, let's get started on this exciting journey into the world of henna! We'll cover everything from basic shapes to how to keep your lines clean. Get ready to impress yourself!
Getting Started with Easy Henna Designs on Your Palm
Getting Started with Easy Henna Designs on Your Palm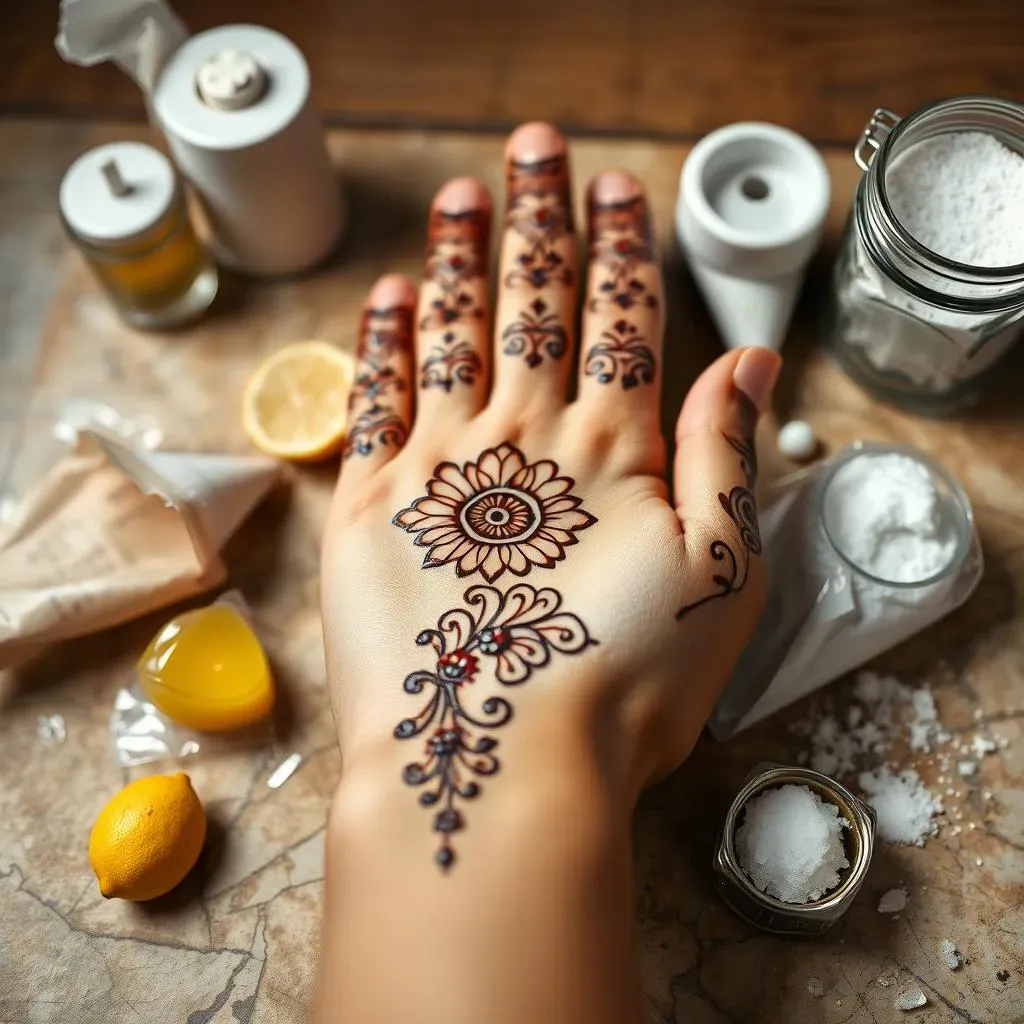
Gathering Your Supplies
Okay, so you're ready to jump into the world of henna, awesome! First things first, let's talk about the stuff you'll need. You don't need a fancy art studio to get started. A good quality henna cone is your main player. Make sure it's specifically made for body art. Don't grab that stuff you use for your hair! You'll also want some paper towels or wipes, just in case things get a little messy. A design idea is helpful too; you can find tons of inspiration online or in books. I like to keep a simple design in my head before I start, it helps to keep things flowing. And lastly, grab some lemon juice and sugar; we'll use that later to make your design last longer. It’s like a little spa treatment for your henna.
Now, let's be real, finding the right cone can be a bit of a quest. Some cones have a really thick tip, which is like trying to draw with a marker instead of a fine-point pen. Others might have henna that's too watery or too thick. It's a bit like finding the perfect pair of jeans – it might take a few tries. Don't get discouraged if the first one isn't perfect. Once you find a cone that feels right in your hand, you’ll be amazed at how much easier it is to draw. Practice a bit on paper first to get a feel for how the henna flows. It's all about finding that sweet spot.
Supply | Why You Need It |
|---|---|
Henna Cone (Body Art) | For applying the henna paste |
Paper Towels/Wipes | For cleaning up mistakes |
Design Idea | For guidance and inspiration |
Lemon Juice & Sugar | To help the henna stain last longer |
Preparing Your Palm
Before you start making art on your hand, it's good to prep your canvas. Think of it like painting a wall: you wouldn't just slap paint on without cleaning it first, right? The same goes for your palm. Wash your hands thoroughly with soap and water. Make sure there's no lotion or oil on your skin, as those can create a barrier and stop the henna from staining properly. If you've got any dead skin cells hanging around, give your palm a gentle scrub. You don't need to go crazy with it, just a quick once-over. This will help the henna adhere to your skin and give you a bolder and more even design.
Once your palm is clean, you're pretty much good to go. You can sit in a comfy spot, get all your supplies within reach, and get ready to have some fun. It's a good idea to have a damp cloth nearby to wipe away mistakes or excess henna. Sometimes, I like to put on some chill music or a podcast to relax and enjoy the process. It's all about creating a good vibe. You want this to be a fun experience, not a stressful one. Remember, it's okay to make mistakes. It's all part of the learning process. Just keep that damp cloth handy, and you'll be set.
Simple Henna Patterns Perfect for Beginner's Palm
Simple Henna Patterns Perfect for Beginner's Palm
Basic Shapes and Lines
Okay, let's talk patterns! When you're starting out, the best approach is to keep it simple. Think of basic shapes like dots, lines, and curves. These are your building blocks for more complex designs later on. Start by practicing a series of dots along your palm, or maybe a straight line down the center. You can even try making small, simple curves that look like little waves. These might seem too basic, but trust me, mastering these simple shapes is key. It's like learning your ABCs before you write a novel. Don't underestimate the power of practice; the more you do these, the steadier your hand will become. Think of it as training your hand to listen to your artistic vision.
Another great idea is to try making a simple flower. Start with a dot in the middle, then draw a circle around it. Now, add some petals by drawing small curves around the circle. Don't worry about making them perfect; each flower is unique. You can also try making a simple vine by drawing a wavy line and adding small leaves along it. These designs are easy to do, but they look really nice on your palm. It's all about playing around and finding what feels comfortable for you. It's like discovering your own artistic signature. Remember, no one starts as a pro. It's the journey that counts!
Shape | Description | How to Practice |
|---|---|---|
Dots | Small, round marks | Practice making dots of consistent size |
Lines | Straight or curved marks | Draw straight lines and wavy lines |
Circles | Round shapes | Try drawing circles of different sizes |
Simple Flower | A circle with petals | Start with a dot, make a circle and add curves for petals |
Easy Floral and Geometric Designs
Now that you've got the basics down, let's step it up a tiny notch. Don't worry, we're not going full Picasso just yet. Simple floral designs are super beginner-friendly and look amazing on the palm. You can create a basic flower pattern by drawing a circle in the middle of your palm and then adding little petals around it. You can use dots or small curves for the petals. You can also try creating a simple vine pattern by drawing a wavy line down your palm and adding small leaf shapes along the vine. These designs are easy to do, but they add a touch of elegance to your henna art. It's like adding a little sparkle to your everyday outfit.
Geometric patterns are also fantastic for beginners. Think of simple shapes like triangles, squares, and diamonds. You can create a repeating pattern by drawing a row of triangles or a grid of squares. These patterns look very modern and stylish, and they're also very forgiving. If you make a mistake, it's easy to just turn it into another shape. It's like having a little bit of freedom within structure. Remember, henna art is all about expressing yourself. So don't be afraid to experiment and see what you can create. It's your palm, your rules!
"The most beautiful things are often the simplest." - Unknown
Tips for Applying Easy Henna Designs on Your Palm
Tips for Applying Easy Henna Designs on Your Palm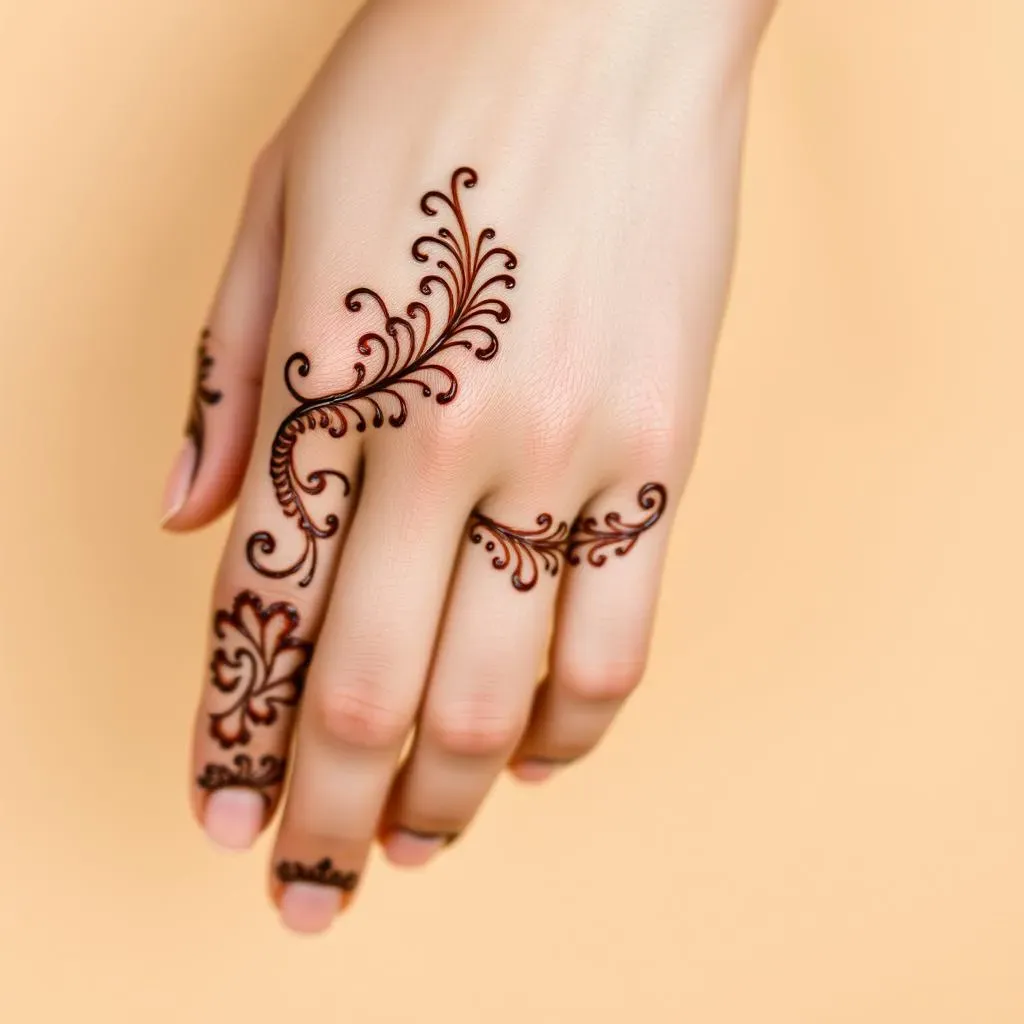
Holding the Cone and Applying Pressure
Alright, let's talk about the actual application. How you hold the henna cone can make a huge difference. Think of it like holding a pen – you want a grip that's firm but relaxed. Don’t death-grip that cone! Hold it at a comfortable angle, like you're writing or drawing. The key is to maintain a steady pressure. You don't want to squeeze too hard, or you'll end up with a blobby mess. Start with light pressure and gradually increase it until you get a smooth, consistent flow of henna. It's all about finding that sweet spot – not too much, not too little. Practice on a piece of paper first to get the hang of it. It's like learning to ride a bike; you might wobble a bit at first, but you'll get the hang of it soon enough.
Another thing to keep in mind is the speed. Don’t rush it! The slower you go, the more control you'll have over your lines and shapes. Imagine you're a slow-motion artist, creating your masterpiece with deliberate strokes. If you go too fast, the lines might get shaky, and it's harder to correct any mistakes. It’s better to take your time and enjoy the process. If you need to take a breather, do it! Don’t be afraid to pause between lines or shapes. It’s not a race, it’s a creative process. You can always pick up where you left off. Now, try making some dots on your palm using light pressure. Feel how the henna cone responds to your touch. This is your chance to play around and get comfortable with your tool. Remember, consistency is key!
Tip | Description |
|---|---|
Grip | Hold the cone like a pen, firm but relaxed. |
Pressure | Apply light, consistent pressure for smooth lines. |
Speed | Go slow for more control and accuracy. |
Practice | Practice on paper first to get comfortable. |
Aftercare for a Lasting Stain
So, you’ve finished your design, and it looks awesome! Now, the real work begins. The aftercare is super important for getting that dark, rich stain you're hoping for. First things first, let the henna paste dry completely. This can take about 20 to 30 minutes, depending on how thick you applied it. Once it's dry, don’t wash it off with water! Instead, make a mixture of lemon juice and sugar. This is your secret weapon for a long-lasting stain. Apply the lemon-sugar mix gently over the dry henna paste. It helps to keep the paste moist, which allows the dye to penetrate deeper into your skin. You can use a cotton ball or just your fingers to apply it. It might feel a bit sticky, but it’s worth it!
Leave the lemon-sugar mix on for about an hour, or even longer if you can. The longer you leave it, the darker and more vibrant your stain will be. After that, you can gently scrape off the dried henna paste. Don't wash it with water just yet! Avoid water for at least 2 hours after scraping the paste. This gives the stain more time to develop. When you finally do wash it, use lukewarm water, not hot. And try not to scrub too hard. Over the next 24 to 48 hours, your henna stain will continue to darken. It's like magic happening right on your skin! Remember, good aftercare is just as important as the application itself. Take care of your henna, and it’ll take care of you.
"Patience is not the ability to wait, but how you behave while you're waiting." - Joyce Meyer