Table of Contents
Ever been mesmerized by the intricate beauty of henna art? It looks so magical, doesn't it? Like it's something only super-skilled artists can do. Well, I'm here to tell you a secret: creating stunning henna designs is way easier than you think, especially when you take it step by step. This guide will take you by the hand, showing you how to make your own beautiful henna art, even if you've never held a henna cone before. We'll start with the basics, focusing on easy henna designs step by step, so you can build your confidence and skills. We'll cover simple shapes, essential techniques, and even a few cool tricks to make your designs pop. Get ready to unleash your inner artist, and let's make some henna magic together, one step at a time. Plus, we'll chat about how to make sure your henna looks its best and lasts a good while. Let's get started!
Getting Started: Simple Henna Designs for Beginners
Getting Started: Simple Henna Designs for Beginners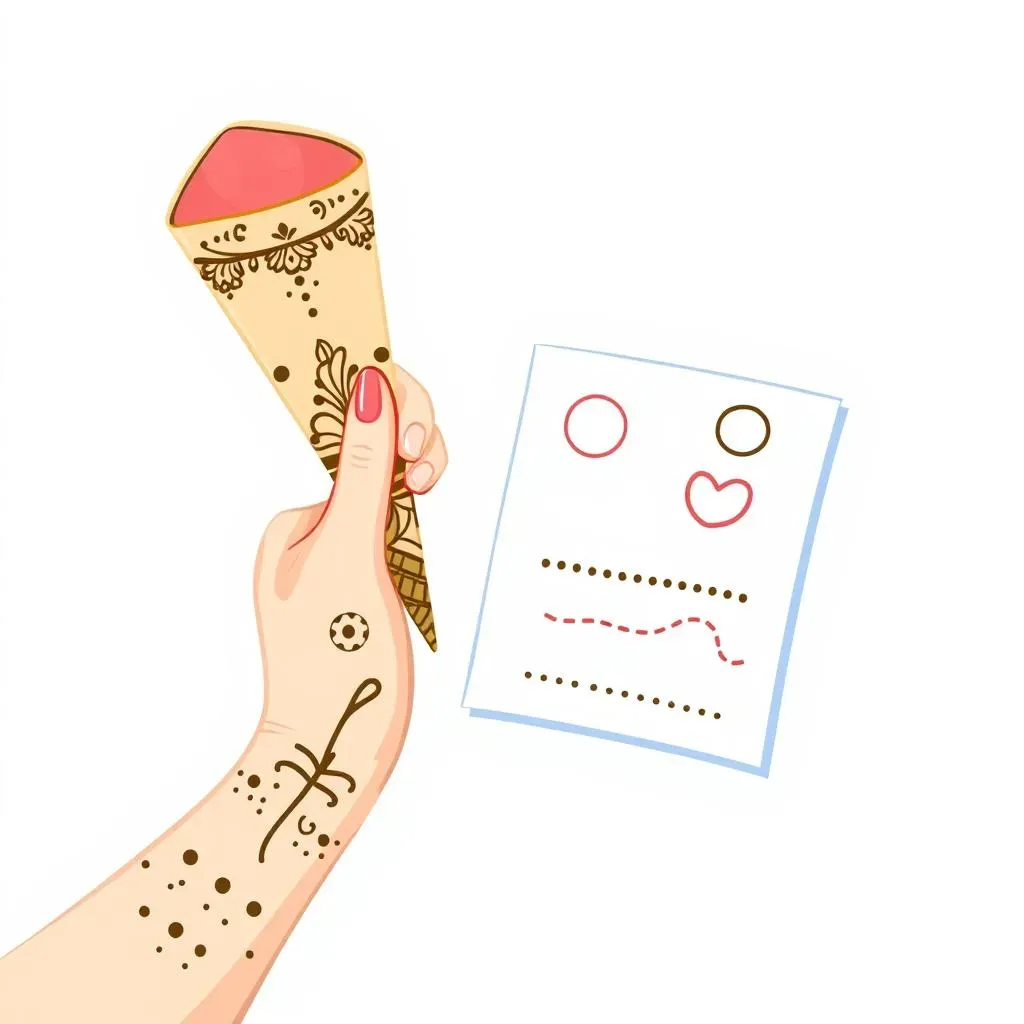
Gather Your Supplies
Okay, so you're ready to dive into the world of henna, that's awesome! First things first, we need to get our hands on the right gear. You don’t need a ton of fancy stuff. Think of it like baking: you need a few key ingredients to make something amazing. For henna, it's the same thing.
You'll need a good quality henna paste – you can buy it pre-made or mix your own. If you're mixing your own, make sure you get a reputable henna powder, not the "black henna" stuff; that's a big no-no because of the chemicals they add to it. You'll also need something to apply it with. Many people use a cone, which you can make yourself from cellophane or buy ready-made. And that’s pretty much it for the basics. Oh, and maybe some paper towels for those little mishaps, because trust me, there will be mishaps!
Basic Shapes: Your Henna Toolkit
Now, let's talk shapes. You don't need to be a Picasso to start with henna. It's all about mastering the simple stuff. Think of circles, dots, lines, and little curves. These are the building blocks of pretty much every henna design. Start by practicing these on some paper. It's like learning to write, you don't jump straight to writing a novel. You start with the alphabet. I remember when I first started, my circles looked more like squished potatoes, but practice makes perfect. So, grab your cone and some paper and get doodling. No pressure, just have fun with it!
Once you get a feel for those basic shapes, you can start putting them together. A bunch of dots can become a line, a circle with petals around it becomes a flower, and so on. Think of it like Lego, you combine simple pieces to make something cool. And don’t forget to play around with the pressure you put on the cone. More pressure will give you thicker lines, less pressure will give you finer ones. It’s all about playing and discovering what works for you!
Shape | Description | How to Practice |
|---|---|---|
Circle | A closed loop | Draw a circle, try different sizes |
Dot | A small point | Press the cone gently, lift |
Line | A straight or curved path | Draw straight, curved, and wavy lines |
Curve | A gentle bend | Practice making 'C' and 'S' shapes |
Starting Simple: Your First Design
Okay, so you've got your supplies, you've practiced your basic shapes, now it’s time for your first henna design. Let’s not go crazy. Start with something super easy, like a simple vine with leaves on your wrist or a little flower on your finger. Don't try to replicate those crazy intricate designs you see on Instagram right away, because that's setting yourself up for failure. Start small, think simple, and focus on getting the basics down.
Remember, the goal isn't perfection, it's to have fun and learn something new. So, pick a spot on your body, take a deep breath, and just go for it. If it doesn’t come out perfect, who cares? That's the beauty of henna, it's temporary. You can always try again. And, don't forget to take photos of your creations. Even if it's a bit wonky, it's still something you made with your own two hands, and that’s pretty awesome!
Easy Henna Designs: StepbyStep Techniques
Easy Henna Designs: StepbyStep Techniques
Simple Swirls and Lines
Alright, let's get into some actual techniques, shall we? You've got your basic shapes down, now it's time to combine them into something a little more interesting. One of the easiest and most versatile techniques is creating simple swirls and lines. Start with a gentle curve, like a 'C' shape, then continue to swirl it around, making it bigger or smaller as you go. Try varying the thickness of the line by applying more or less pressure to the cone. It’s like drawing a spiral, but with a little more flair. Once you've mastered the swirl, try combining it with straight lines. Start with a line, add a swirl at the end, and you’ve got a simple yet elegant design. These little combos can be used for borders, accents, or even as the main part of your design.
Think of these swirls and lines as the basic ingredients for more complex designs. They're the foundation upon which we'll build. I remember when I first started, I'd just spend ages drawing swirls on my arms, trying to get the pressure right. It’s like learning to control a paintbrush, but with henna. And the great part is, there isn’t a right or wrong way to do it. It’s all about what looks good to you. So, grab your henna, take a deep breath, and let’s swirl away!
Creating Basic Flowers and Leaves
Okay, now for some nature-inspired designs: basic flowers and leaves. These are surprisingly simple to create, and they add so much to your henna art. For a basic flower, start with a small circle in the center. Then, add petals around it, one by one. You can make them rounded, pointed, or even wavy. Don't worry about making them perfect. The slightly imperfect, hand-drawn look is part of the charm of henna. Try adding more layers of petals, or changing the size of the petals to create different types of flowers. It's like building a flower from the inside out. Leaves are equally simple. Start with a line, then add a little curve on each side to make the leaf shape. You can add a stem too, to complete the look.
Once you’ve got the hang of it, you can play with leaf arrangements. Try clustering them together, or adding them to a vine. Flowers and leaves can be used to fill in spaces, create patterns, or as the main focus of your design. I remember the first time I drew a flower that actually looked like a flower, I was so proud of myself. It’s like finally getting the hang of a new dance move. So, grab your cone, and lets add some floral beauty to your design!
Technique | Description | How to Practice |
|---|---|---|
Simple Swirls | Spiraling lines | Draw C-shapes, connect them |
Basic Flower | Center circle with petals | Start with a circle, add petals |
Simple Leaf | Line with curved sides | Draw a line, add curves |
Tips and Tricks for Easy Henna Designs
Tips and Tricks for Easy Henna Designs
The Right Pressure: Getting the Flow Just Right
Okay, let's talk pressure, not the kind that makes you sweat, but the kind you apply to your henna cone. Getting the pressure right is key to creating clean, even lines. Too much pressure and you'll end up with big blobs of henna, too little and you'll get scratchy, uneven lines. It’s like trying to squeeze the last bit of toothpaste out of the tube, you need just the right amount of force. The trick is to find that sweet spot where the henna flows smoothly without any sudden bursts. Practice on paper first. Try different levels of pressure until you find what feels comfortable. Remember, it’s not about squeezing as hard as you can, it's about gently guiding the henna.
It's like learning to ride a bike, you need to find your balance. When you get the hang of it, you’ll be able to create lines of consistent thickness and your designs will look way more polished. And don’t worry if you get it wrong at first. It takes time and practice. I remember one time, I squeezed way too hard and the henna went everywhere! It looked like a crime scene, but I learned my lesson. So, take it easy, practice your pressure, and you’ll be a pro in no time.
Practice Makes Perfect: Using Paper First
Alright, let's be real, no one starts out as a henna master. We all have to start somewhere, and that somewhere is usually with paper. Before you go decorating your body with henna, grab a sheet of paper and practice your designs there. It’s like sketching before you paint a masterpiece. This will help you get a feel for the cone, the pressure, and the flow of the henna. You can also experiment with different shapes and patterns without the pressure of messing up your skin. It’s like doing a rehearsal before the big show. Start with simple shapes and lines. Then try out some of the designs we talked about earlier. If you mess up, no biggie, it’s just paper.
I've spent hours doodling on paper before I ever attempted a design on my skin. It’s the best way to build confidence and try out new things. Plus, it helps you get into the flow of things, making your henna application smoother and more precise. Think of it as your henna bootcamp. No one's judging your paper designs, so feel free to get creative and experiment. And, remember, every henna artist started here, so embrace the paper practice and get ready to level up your henna game.
Tip | Description |
|---|---|
Pressure Control | Use gentle, consistent pressure for even lines. |
Paper Practice | Always practice on paper before applying to skin. |
Slow and Steady | Take your time and don’t rush the process. |
Easy Henna Designs: Troubleshooting and Aftercare
Easy Henna Designs: Troubleshooting and Aftercare
Common Mistakes and How to Fix Them
Alright, so you're rocking your henna cone, feeling like a pro, and then... disaster strikes. Maybe your lines are blobby, your swirls are wonky, or your design just looks like a hot mess. Don't panic! We all make mistakes, it's part of the learning process. One common issue is the dreaded "blob." This usually happens if you apply too much pressure to the cone, or if the henna paste is too thick. The fix? Try applying less pressure, and if your paste is too thick, add a tiny bit of lemon juice or water to thin it out. Another issue is inconsistent lines. This could be because you're not holding the cone at a consistent angle or because your hand is shaky. The key is to practice your grip and try to keep your hand steady. It’s like learning to draw a straight line, it takes time and patience.
And what about those times when your design just doesn’t look like what you envisioned? Well, sometimes it's just a matter of practice. But other times, it could be that you're trying a design that's too complex for your current skill level. Don't be afraid to simplify it, or to try a different design altogether. Remember, it's about having fun and learning, not achieving perfection right away. I remember one time, I was so frustrated with my blobby lines, I almost gave up. But then, I decided to try a simpler design, and it turned out great! So, don't let the mistakes discourage you, instead, learn from them and keep going. It’s all part of the henna adventure!
Caring for Your Henna: Getting the Best Stain
Okay, so you've created your masterpiece, and now it's time to take care of it so you get the best stain possible. First thing's first, let that henna paste dry completely. This can take anywhere from 30 minutes to an hour, depending on how thick the paste is. Once it's dry, it'll start to crack and flake off. Try not to pick it off, let it fall off naturally. The longer the paste stays on your skin, the darker the stain will be. Some people like to wrap the area with a bandage or cloth to keep the paste in place, but I find that it’s not always necessary.
After the paste has come off, avoid washing the area with water for as long as possible. Water can prevent the stain from developing properly. If you need to wash your hands, try to avoid washing the henna area directly. You can also apply a little bit of natural oil, like coconut or olive oil, to help moisturize the skin and protect the stain. And remember, the stain will continue to darken over the next 24 to 48 hours, so don't be alarmed if it looks light at first. I remember the first time I did henna, I was so impatient to see the stain, I kept washing it off too soon. Let me tell you, patience is key! So, let your stain develop, avoid water, and enjoy your beautiful henna art!
Problem | Solution |
|---|---|
Blobby lines | Use less pressure, thin paste |
Inconsistent lines | Practice grip, steady hand |
Light stain | Keep paste on longer, avoid water |
Cracked paste | Apply a sugar and lemon mix |