Table of Contents
Ever looked at intricate henna designs and thought, "Wow, I wish I could do that," but then felt overwhelmed? You're not alone! Many people admire full hand henna designs, but assume they're super difficult to create. I'm here to tell you that's not true! This article is your guide to achieving beautiful, easy full hand henna designs, even if you're a total beginner. We’ll walk through some simple yet stunning design ideas perfect for your first try, making sure you don't get lost in complicated patterns. I'll break down the process step-by-step, from prepping your skin to applying the henna paste, so you feel confident each step of the way. Plus, we'll chat about how to keep your design looking fresh and vibrant for as long as possible. Forget those intimidating, complex patterns; we're focusing on "full hand henna designs easy" that anyone can do. Let’s get started and unleash your inner artist!
Simple Full Hand Henna Designs for Beginners
Simple Full Hand Henna Designs for Beginners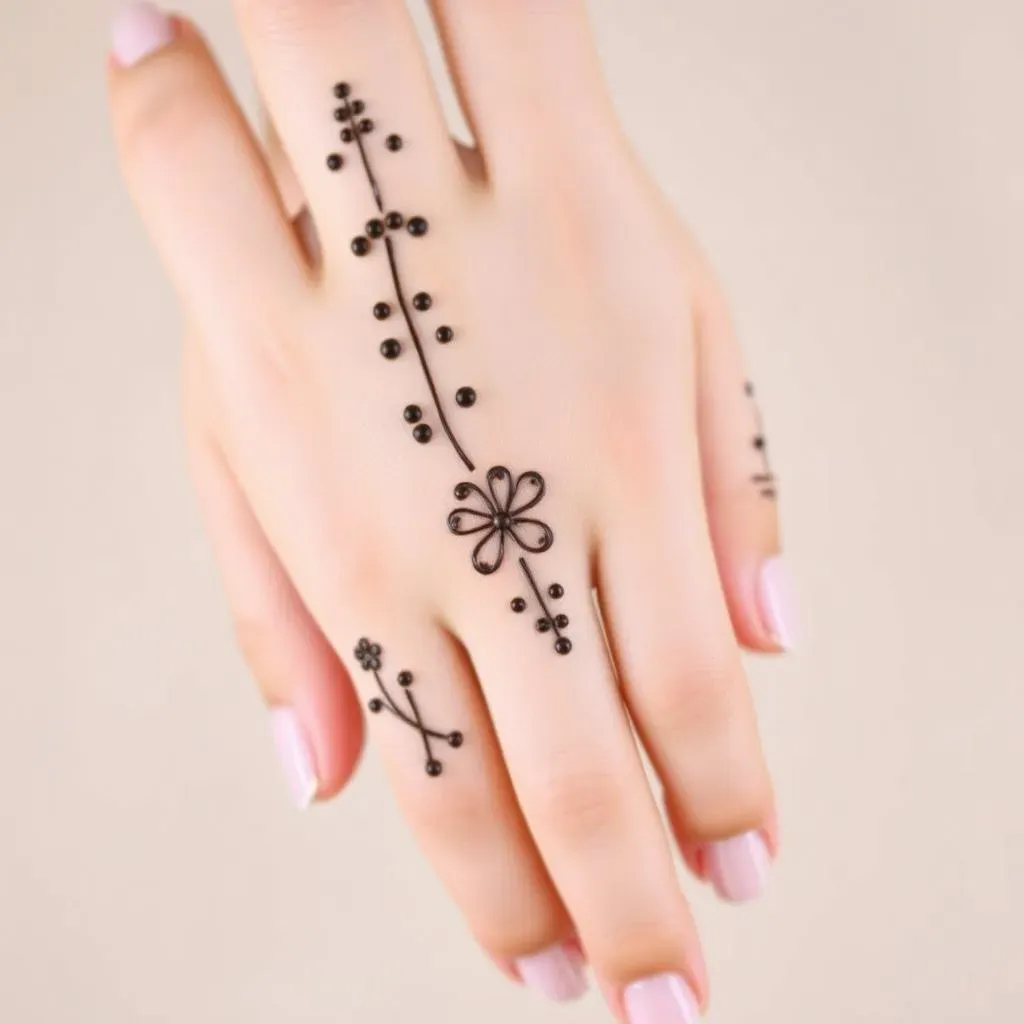
Starting Simple: Why It's Key
Okay, so you're itching to try full hand henna, but those intricate designs online seem like a whole other language, right? Don’t worry. I get it. When I first started, I tried to copy a super fancy bridal design and ended up with something that looked like a toddler had gone wild with a marker. The key is to start simple. Think basic shapes: dots, lines, small petals, and simple swirls. These are your building blocks. You don't need to become a henna master overnight, and honestly, those complex designs? They're usually just a bunch of simple patterns repeated and combined. Learning the basics well means your simple designs will look clean and intentional, which is way better than a messy attempt at something too advanced.
Another reason to begin with simple designs is that it helps you get a feel for the henna cone. It’s like learning to use a new pen; you need to understand how much pressure to apply and how the paste flows. The simpler the design, the easier it is to control your lines and avoid those dreaded blobs. Trust me, your future self will thank you. Plus, it's so satisfying to look at your hand and think, "Hey, I did that!", even if it's just a few basic lines and dots. It’s all about building confidence, one simple line at a time. And that is something we can all appreciate.
Design Element | Description | Why It's Beginner-Friendly |
|---|---|---|
Dots | Small, circular shapes | Easy to control, great for filling spaces |
Lines | Straight or slightly curved strokes | Simple to create, good for borders |
Swirls | Curving, spiral-like lines | Gentle curves are easier than sharp angles |
Small Petals | Basic flower shapes | Simple to make, can be used repeatedly |
Easy Patterns for Full Hand Coverage
Now that we're on the same page about starting simple, let’s talk about easy patterns that cover your whole hand. Think of dividing your hand into sections. You could do a simple line down the middle of your palm and then fill each side with basic patterns. For example, one side could have a series of dots and the other a series of short lines. Or you could create a simple grid pattern using lines and fill the squares with small dots, or tiny petals. Another great option is to create a basic vine pattern. Just draw a curved line and add small leaves along it. It's surprisingly effective and looks way more complex than it is. The goal here is to fill the space without making it look cluttered or overwhelming.
Remember, symmetry can be your best friend, especially when you are starting out. If you do one pattern on one part of your hand, try to mirror it on the other part. It doesn’t have to be perfect, but the overall balance will make your design look more polished. Don't be afraid to experiment with the spacing between your patterns too. Sometimes, leaving some skin showing enhances the design. In the end, your hand is your canvas, and it's all about having fun and making something you’re happy with. So grab your henna cone, and let’s get designing!
- Divide and Conquer: Section your hand for easier pattern placement.
- Symmetry is Your Friend: Mirror patterns for a balanced look.
- Spacing Matters: Don't overcrowd; let some skin show.
- Mix and Match: Combine simple elements for variety.
StepbyStep Guide to Easy Full Hand Henna Application
StepbyStep Guide to Easy Full Hand Henna Application
Prepping Your Skin and Supplies
Alright, before we jump into the fun part of drawing, let’s make sure we’re all set up for success. Think of this like prepping your canvas before painting. First, you’ll want to wash your hands thoroughly with soap and water. No greasy lotions or oils allowed, they can act like a barrier and stop the henna from staining properly. Next, gather your supplies: your henna cone, some tissue paper or paper towels, and maybe a small bowl of water with a cotton swab nearby. The water is handy if you need to fix any little mistakes as you go. It's also a great idea to have your design idea in front of you, either printed or on your phone. This helps keep you on track and prevents those “where was I going with this?” moments.
Now, about the henna cone. If you bought a pre-made cone, you’re good to go. If you made your own, make sure the tip is small and even for precise lines. Test it out on a piece of paper first, just to get a feel for the flow of the paste. You’re looking for a nice, smooth line that’s not too thick or too thin. The right consistency is key to a good design. Now that you're all prepped, you're ready to start applying the henna, and trust me, that feeling of excitement when you finally start is the best. It's like the first step of a fun journey.
Applying the Henna Paste: Technique and Tips
Okay, the moment we’ve been waiting for! When applying your henna, it’s all about controlled pressure and consistent movement. Hold the cone like a pen, and apply gentle, even pressure to release the henna paste. If you press too hard, you'll get a blob; too light, and it won't come out properly. Start at one point of your design and work your way through, following your chosen pattern. Try to keep your lines smooth and connected, but don’t stress if they’re not perfect. Remember, this is your first time, and even seasoned henna artists sometimes have wobbly lines. The key is to keep practicing and learning from each attempt. Also, try to avoid stopping mid-line if you can, as that can create little bumps in the design.
If you make a mistake, don't panic. Grab that cotton swab and gently wipe away the unwanted henna paste. Don’t rub, just a light dab. You can always go back over that area once you've cleaned it. Once you’ve finished your design, let it dry for about 20 to 30 minutes. You'll know it's dry when the paste starts to look cracked. It might feel tempting to touch it, but resist that urge! Patience here is key. After the paste is dry, keep it on for a few hours, or even overnight if you can manage it. The longer it’s on, the darker and longer-lasting your stain will be. So, find a good movie, relax, and let the magic happen!
Step | Action | Why it's important |
|---|---|---|
1 | Wash Hands | Removes oils and lotions for better stain |
2 | Gather supplies | Ensures smooth and efficient application |
3 | Test Henna Cone | Checks paste consistency for a smooth line |
4 | Apply Henna | Use gentle, even pressure |
5 | Dry and Keep | Allow stain to develop fully |
Maintaining Your Easy Full Hand Henna Design
Maintaining Your Easy Full Hand Henna Design
The First 24 Hours: Crucial Care
Okay, so you’ve got your beautiful, easy full hand henna design, and you're probably feeling pretty proud, as you should be! But the work isn't quite over. The first 24 hours after you remove the dried henna paste are super important for getting a good stain. Avoid washing your hands or applying any lotions or oils during this time. Water is the enemy here, and it can prevent the henna from oxidizing properly, which means a lighter and less long-lasting stain. Instead, try to keep your hands dry and cool. Think of it like letting a new tattoo heal; you want to give it the best chance to set properly. This might mean wearing gloves while doing dishes or skipping the hand cream for a day. It might feel a little inconvenient, but trust me, it's worth it for a rich, dark henna stain.
Another thing to keep in mind is to avoid any harsh chemicals or cleaning products. They can also interfere with the staining process. If you absolutely must clean, wear gloves and try to minimize the contact with water and cleaning agents. Also, don’t go scrubbing your hands like you just wrestled a mud monster. Be gentle! The henna stain is delicate in the first 24 hours, so treat it with care. Think of it like a delicate piece of art – you wouldn't scrub a painting, would you? No. You would handle it with care. So, be patient, keep your hands dry, and avoid harsh chemicals. Your henna design will thank you for it.
Long-Term Care for a Lasting Stain
Alright, you've made it through the crucial first 24 hours, and your henna stain is looking good! Now, let's talk about long-term care to keep that design vibrant. Moisturizing is your new best friend. Once the initial 24 hours are up, start applying a natural oil, like coconut or olive oil, to your hands. This will help keep your skin hydrated and prevent the henna stain from fading too quickly. Dry skin can cause the stain to crack and fade faster, so keeping it moisturized is key. I know it's tempting to just let it be, but a little bit of oil goes a long way. It's like watering a plant; it needs that extra care to stay healthy and vibrant.
Also, try to avoid excessive hand washing and prolonged exposure to water. Every time you wash your hands, you’re slowly fading the stain. So, when you do have to wash, use a gentle soap and pat your hands dry instead of rubbing them. And if you are going swimming or doing the dishes, gloves are your best friend! If you’re a fan of long, hot showers, that can also fade the design faster, so perhaps try to keep the water temperature a bit cooler on your hands. It’s about making small adjustments to your routine to prolong the life of your beautiful henna design. It's not about making huge sacrifices, just being a little more mindful of how you treat your hands. And remember, the more you care for your design, the longer you get to enjoy it.
Care Tip | Action | Why it Matters |
|---|---|---|
Avoid Water | Keep hands dry for 24 hours | Prevents stain from lightening |
Gentle Cleaning | Use mild soap, pat dry | Reduces fading from washing |
Moisturize | Apply natural oil daily | Keeps skin hydrated, prolongs stain |
Limit Exposure | Wear gloves for cleaning, dishes | Protects design from water and chemicals |
Wrapping Up Your Henna Journey
So, there you have it – creating beautiful, full hand henna designs doesn’t have to be a daunting task. With a little practice and the right approach, you can achieve stunning results. Remember, the key is to start simple, be patient with yourself, and most importantly, have fun with it! Whether you’re getting ready for a special occasion or just want to try something new, these easy techniques will empower you to express your creativity. Don't be afraid to experiment and add your own personal touch to the designs. Now go ahead, grab your henna cone, and create some magic!