Table of Contents
Ever looked at those intricate henna designs and thought, "Wow, I wish I could do that?" Well, guess what? You absolutely can, especially when we're talking about henna designs easy fingers! Forget about complicated patterns that look like they belong in a museum. We're diving into the world of simple, fun, and totally doable henna art that you can rock on your own fingertips. This article is your go-to guide for mastering easy henna designs for fingers, whether you're a complete beginner or just looking for some fresh ideas. We'll start with the basics, showing you how to get the hang of simple lines and dots, then we'll move on to step-by-step instructions for creating cute little patterns. Finally, we'll explore some cool ideas to inspire you, so you can make your henna finger art totally unique. So grab your henna cone, maybe a friend, and let’s get started on this creative journey!
Simple Henna Designs for Fingers: Getting Started
Simple Henna Designs for Fingers: Getting Started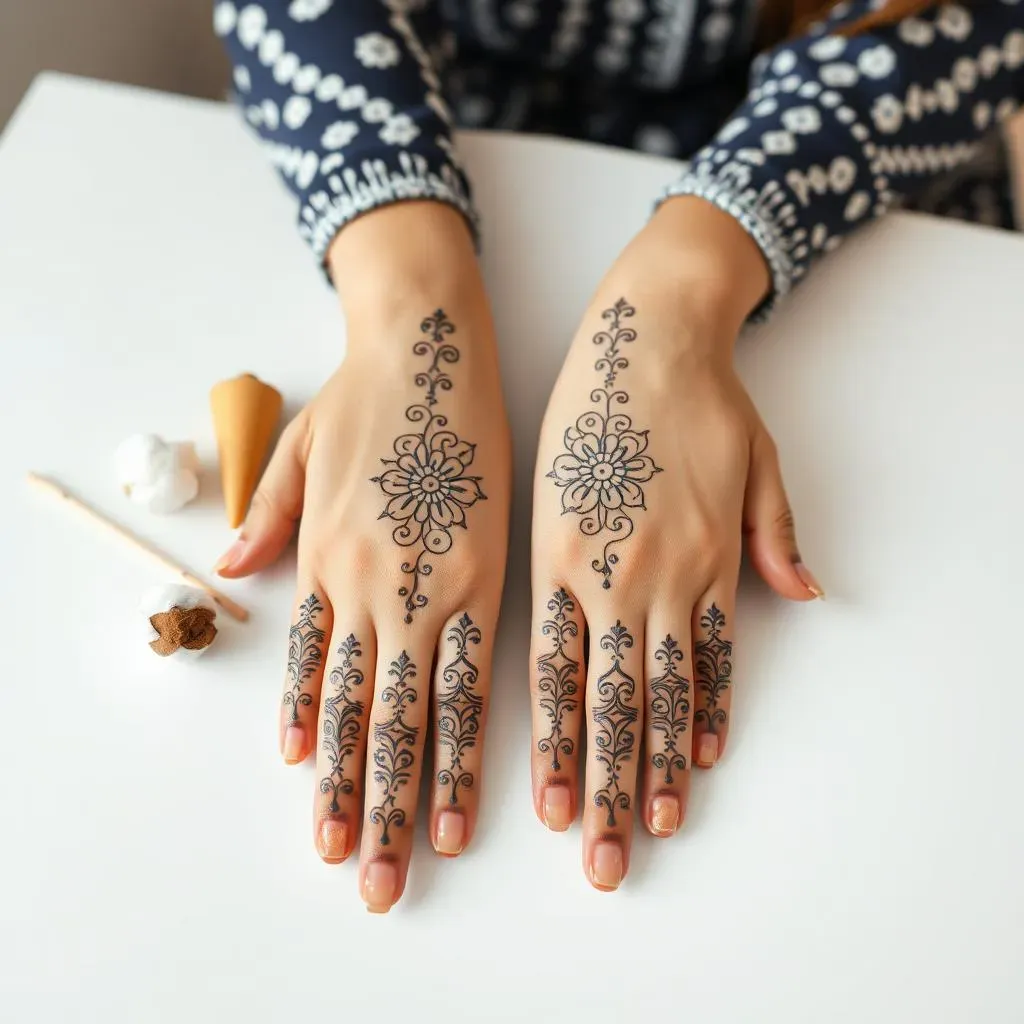
Why Fingers are the Perfect Canvas
Okay, let's be real, sometimes the idea of a full hand henna design is, well, a little intimidating. That's where finger henna designs come in to save the day. They're like the perfect mini-projects – low commitment, super cute, and a great way to get comfortable with henna if you're just starting out. Plus, your fingers are always on display, so these little designs can add a touch of awesome to your everyday look. Think of your fingers as tiny canvases just waiting for some artistic flair. It's all about starting small, gaining confidence, and having fun while you're at it.
Gathering Your Supplies
Before we get all artsy, we need to make sure we have the right tools. You don't need a fancy art studio to do henna. A good quality henna cone is your best friend. Look for one that uses natural henna; it's way better for your skin. You'll also want some cotton swabs or wipes handy for mistakes. Don't worry, we all make them! And a little bowl of water to keep your cone tip from drying out. That’s pretty much it. Oh, and maybe some paper towels to protect your work surface. See? Not so scary after all.
Supply | Why You Need It |
|---|---|
Henna Cone | For applying the henna paste |
Cotton Swabs/Wipes | For correcting mistakes |
Small Bowl of Water | To keep the cone tip moist |
Paper Towels | To protect your work area |
Basic Shapes: Your Henna Building Blocks
Now, for the fun part! When you start with henna on your fingers, don't try to do too much right away. It's all about the simple shapes. Think dots, lines, curves, and tiny circles. These are your building blocks for all the cool designs you'll be making later. Practice making these shapes on some paper before you try them on your skin. The key is to get a feel for how the henna flows from the cone. Don't worry if your lines aren't perfect at first. It's about the process, not perfection. Once you get comfortable with the basics, you'll be amazed at what you can create.
StepbyStep Guide to Creating Easy Henna Finger Patterns
StepbyStep Guide to Creating Easy Henna Finger Patterns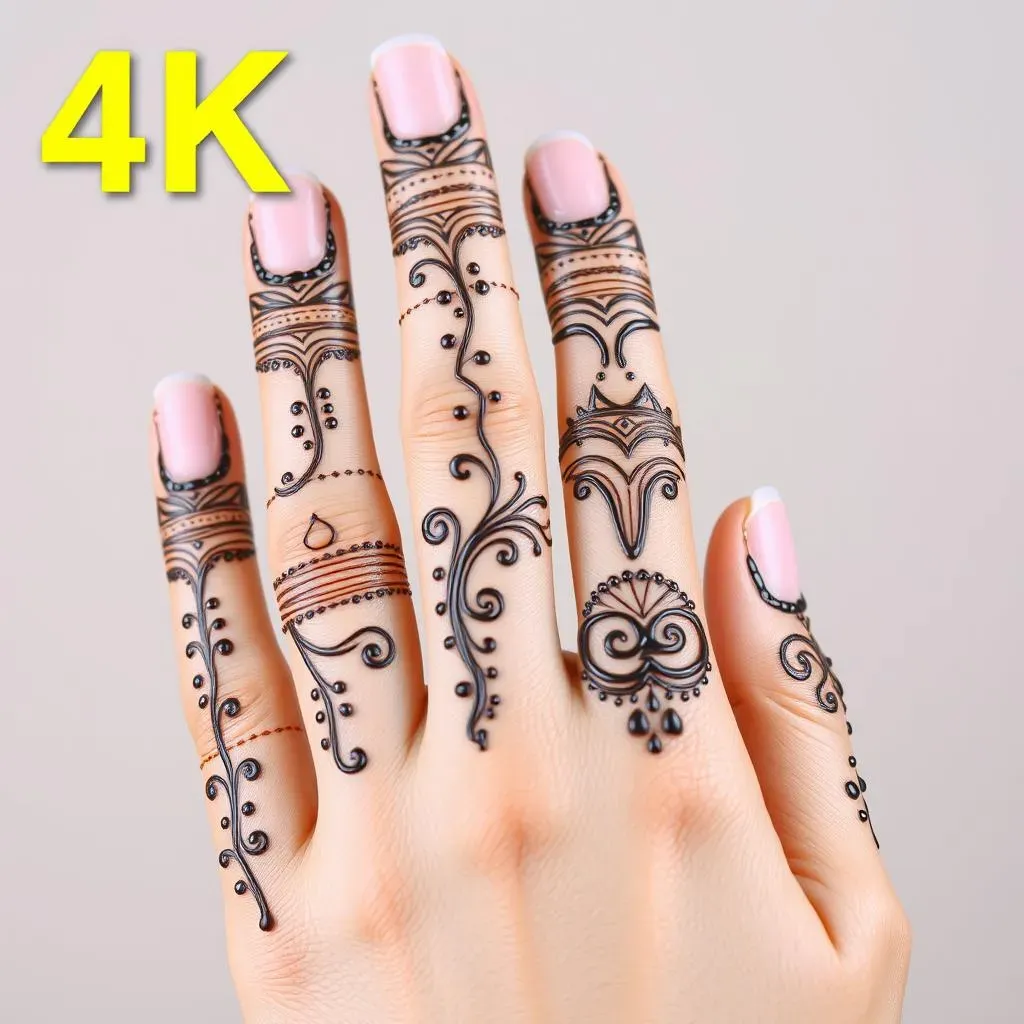
Starting with Simple Lines and Dots
Okay, so you've got your henna cone and you're ready to go? Awesome! Let's start super simple. The easiest way to begin is by practicing straight lines down your finger. Don’t worry about them being perfectly straight. Just focus on getting a feel for the pressure you need to apply to the cone. Then, try making dots. Small dots, big dots – experiment! You can line them up, make patterns, or just sprinkle them around. It’s like finger-painting but with henna. It's all about getting comfortable with the flow of the henna.
I remember when I first started, my dots looked more like blobs! But with a little practice, they started to look like actual dots. The key is to be patient and not rush. Think of it like learning to write your name for the first time. It takes a bit of practice, but it gets easier every time you try.
Creating Basic Patterns: The Vine
Now that you’ve got the hang of lines and dots, let’s put them together to create a simple vine pattern. Start with a line down the center of your finger. Then, add small, curved lines branching out from the main line, like little leaves on a vine. You can add dots at the end of the lines or in between the curves to give it some extra flair. This is a great pattern because you can make it as simple or as detailed as you want. It’s like building with LEGOs, each piece adds to the overall design.
I love this pattern because it's so versatile. You can make the leaves big and bold or tiny and delicate. You can also add different shapes like tiny circles or diamonds to make it even more unique. And if you mess up, no biggie! Just wipe it off and try again. It's all part of the fun.
Pattern | Description | Tips |
|---|---|---|
Simple Line | A straight line down the finger. | Practice the pressure on the cone. |
Basic Dots | Small or large dots placed randomly or in patterns. | Experiment with different dot sizes. |
Vine Pattern | A line with curved lines branching out like leaves. | Add dots for extra flair. |
Adding Details: Swirls and Spirals
Ready to take it up a notch? Let’s add some swirls and spirals. These might seem tricky at first, but they’re not as hard as they look. Start by making a small circle and then continue the line around and around until you form a spiral. You can make them big or small, tight or loose. Try adding swirls to the end of your vine patterns or use them as a base for other designs. They add a really nice touch of elegance to your finger henna.
I think spirals are really cool because they can be anything. They can be playful, elegant, or even a little bit edgy. I’ve even seen some people make spirals that look like little galaxies on their fingers. It’s all about using your imagination and seeing what you can create. Don't be afraid to experiment with different sizes and shapes. The more you play around, the better you'll get.
Inspiration and Ideas for Unique Henna Designs on Fingers
Inspiration and Ideas for Unique Henna Designs on Fingers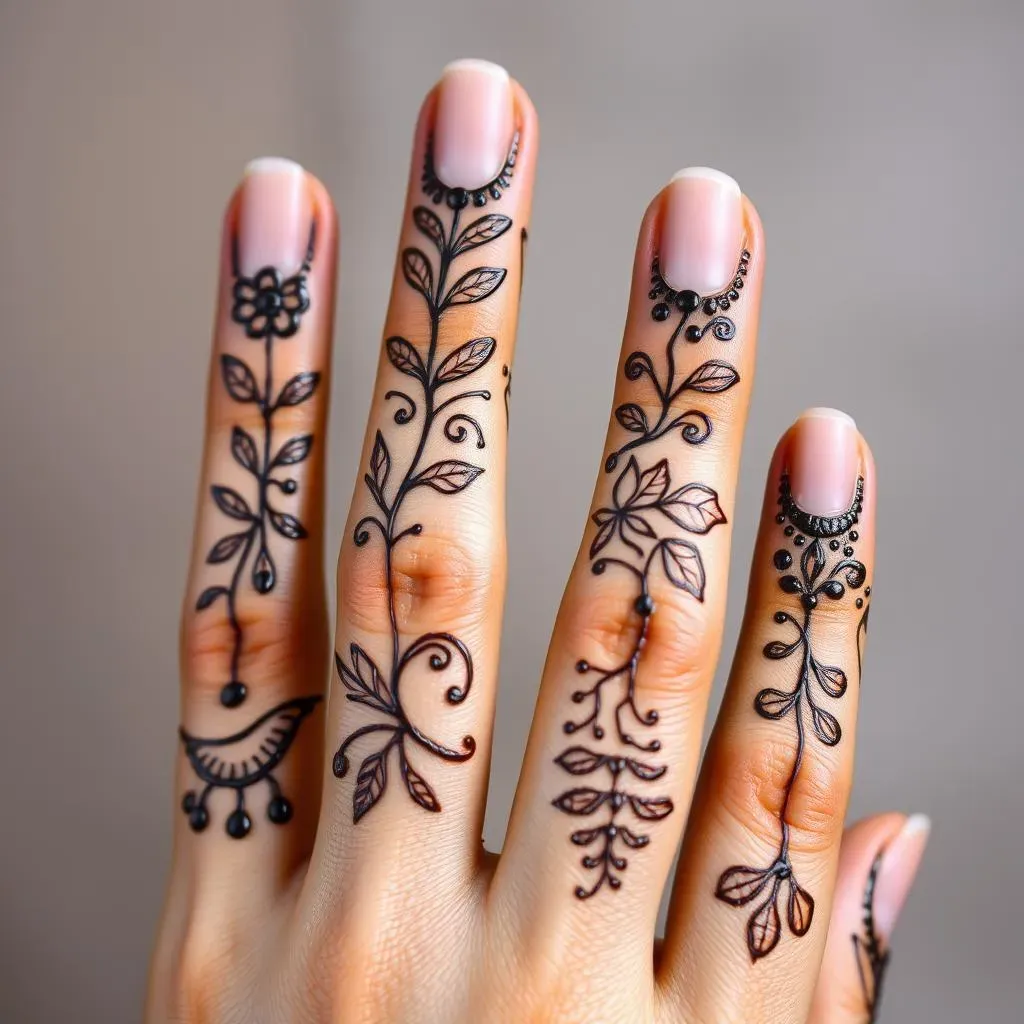
Nature-Inspired Designs
Okay, let's get inspired by the world around us! Think about leaves, flowers, and even tiny little vines. Nature provides endless ideas for henna designs. You can create a small flower on the tip of your finger, or a delicate leaf pattern that wraps around your finger. I love how nature designs look so organic and flowy, they're just perfect for henna. It’s like bringing a piece of the outdoors right onto your fingertips. And the best part? No two nature-inspired designs will ever be exactly the same, making your henna art uniquely yours.
I remember one time I was hiking and saw a really cool fern. I took a picture of it and then tried to recreate the pattern on my finger. It wasn't perfect, but it was so fun to try! That's the beauty of henna; it's all about experimenting and seeing what you can come up with. It’s like having a little nature journal right on your hands. You can even mix and match different elements, like a leaf with a swirl or a flower with some dots.
Geometric Patterns
If you're into something a bit more structured, give geometric patterns a try. Think about simple shapes like triangles, squares, and diamonds. You can arrange them in rows, create repeating patterns, or even make a geometric border around your finger. These designs are super versatile and can look both modern and traditional, depending on how you arrange them. I find these patterns are surprisingly easy to do, and they always look super polished and stylish.
One time, I was playing around with some different shapes and ended up creating a geometric pattern that looked like a tiny little cityscape on my finger. It was so cool! I realized that even simple shapes can create amazing designs if you just let your creativity flow. And if you’re feeling extra adventurous, you can even add some dots or swirls to break up the geometric lines and create even more unique look.
Design Type | Description | Example Elements |
|---|---|---|
Nature-Inspired | Designs based on natural elements. | Leaves, flowers, vines, ferns |
Geometric | Designs based on shapes and patterns. | Triangles, squares, diamonds, lines |
Mix and Match: Combining Elements
Why choose just one style when you can have them all? Try mixing different elements from nature and geometric designs. Combine a vine with some geometric dots or add a few swirls to a floral pattern. This is where you can really get creative and come up with something totally unique. The possibilities are endless. Don't be afraid to try new things and see what happens. It's all about having fun and expressing yourself through your henna art.
I often find that the best designs come from experimenting with different elements. Sometimes, I’ll start with a simple vine and then add a few geometric shapes, and then maybe a few dots. It’s like creating a little story on your fingers. And the best part is that it’s all up to you. You can make it as simple or as complex as you want, and you can always change it up the next time you do henna. It's all about having fun and letting your creativity flow.
Personalize Your Designs
The coolest thing about henna is that it’s totally personal. You can add elements that are meaningful to you, like a symbol, a letter, or even a tiny little drawing. Think about things you love or that represent you, and incorporate them into your henna designs. This will make your henna art even more special and unique. It’s a way to tell your story through art, right on your fingertips.
I once saw someone who had incorporated a tiny music note into their henna design because they loved to play the guitar. It was so unique and meaningful. It made me realize that henna is more than just a pretty design, it’s a way to express yourself and tell your story. So, don’t be afraid to add a personal touch to your henna designs. It’s what makes them truly special and unique.