Table of Contents
Ever looked at those intricate henna designs on legs and thought, "Wow, I wish I could do that"? Well, guess what? You totally can! Forget the idea that henna art is only for pros. This article is your friendly guide to creating gorgeous henna designs easy leg, even if you've never held a henna cone before. We're breaking down the process into simple, manageable steps. First, we'll explore some basic patterns that are perfect for beginners. Then, I'll walk you through a step-by-step process to apply these designs, so you won't feel lost or overwhelmed. And because everyone loves a bit of inspiration, we'll also look at some cool ideas to get your creative juices flowing. Think of this as your henna adventure, and I'm here to show you that it’s not only achievable but also super fun. So, grab your henna, let’s get started and transform those legs into works of art!
Simple Henna Patterns for Legs: Getting Started
Simple Henna Patterns for Legs: Getting Started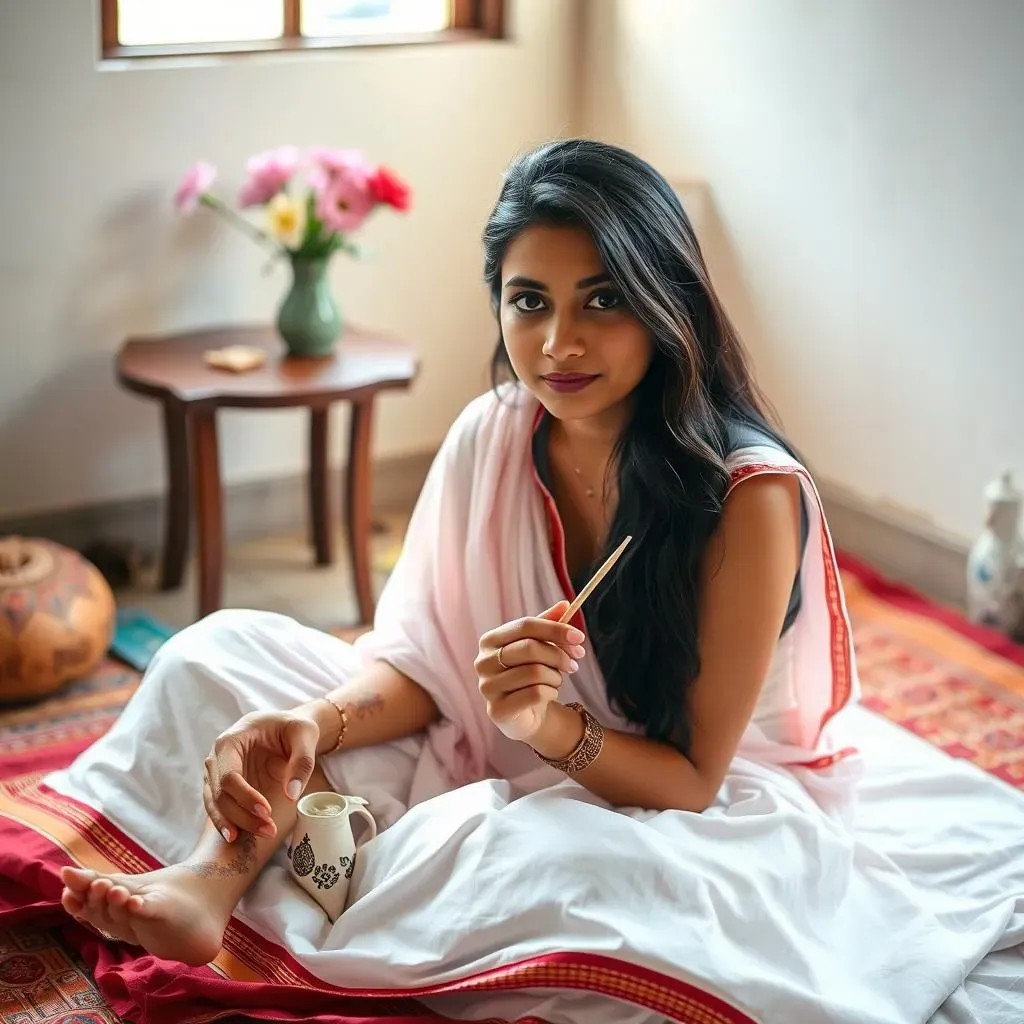
Why Start Simple?
Okay, so you're itching to create some awesome leg henna, right? I get it! But before you go all-in with super complex designs, let's talk about why starting simple is actually the smartest move. Think of it like learning to ride a bike. You wouldn't start on a unicycle going downhill, would you? No way! You start with training wheels, get the hang of balance, and then slowly work your way up. Same deal with henna. Simple patterns help you get a feel for the henna paste, the pressure you need, and how it flows. Plus, it's way less stressful when you're not trying to nail a super detailed design right off the bat.
I remember my first attempt at henna. I went straight for a super intricate pattern I saw online, and let me tell you, it was a hot mess! Lines were wobbly, the paste was everywhere, and I ended up looking like I'd been attacked by a rogue octopus. Trust me, starting with simple patterns will save you from that same fate and will build your confidence.
Essential Beginner Shapes
So, what exactly do I mean by "simple"? I'm talking about shapes you probably already know and maybe even doodle. Think dots, lines, circles, and basic curves. These might seem too easy, but they're actually the building blocks of all henna designs. Practice creating straight lines, even pressure is key here, try doing it on paper first if you need to. Then move on to dots of different sizes, and circles, which can be surprisingly tricky to get perfect. Once you are comfy with these, try combining them. A line of dots, a circle with a line coming off it, you get the idea. These simple elements are the foundation for all the more complex designs you will see later. It’s like learning the alphabet before writing a novel.
And don't worry if they aren't perfect at first. That's totally normal! The goal here is to get comfortable with the tools and the techniques. No one becomes an expert overnight, and every henna artist, even the ones you see online, started with these very basic shapes. It's all about building a solid base.
Shape | Description | Practice Tip |
|---|---|---|
Lines | Straight, curved, or wavy. | Try different lengths and thicknesses. |
Dots | Small, medium, and large. | Experiment with consistent pressure. |
Circles | Perfect or imperfect. | Start with small circles, then work on larger ones. |
Curves | Gentle or sharp. | Practice smooth, continuous movements. |
First Design Ideas
Now that you've got the basic shapes down, let's think about how to put them together to make your first henna design on your leg. Start simple. A line of dots around your ankle, a series of small curves down your shin, or a simple pattern of circles and lines on your calf. You can even try a small flower with a few petals made of curves and a dot in the center. These are all great ways to start without feeling overwhelmed. Don’t try to make the same design on both legs, just go with the flow and try different designs, it’s all about practicing and experimenting.
Don't feel pressured to create something mind-blowing right away. The point is to get comfortable and have fun with it. Once you are comfortable with the basics, you can start to incorporate more complex elements and move on to more intricate patterns. This is your henna journey, so enjoy every step of it. Remember, each dot, line, and circle is a step towards creating amazing henna designs easy leg.
Easy Henna Designs for Legs: StepbyStep
Easy Henna Designs for Legs: StepbyStep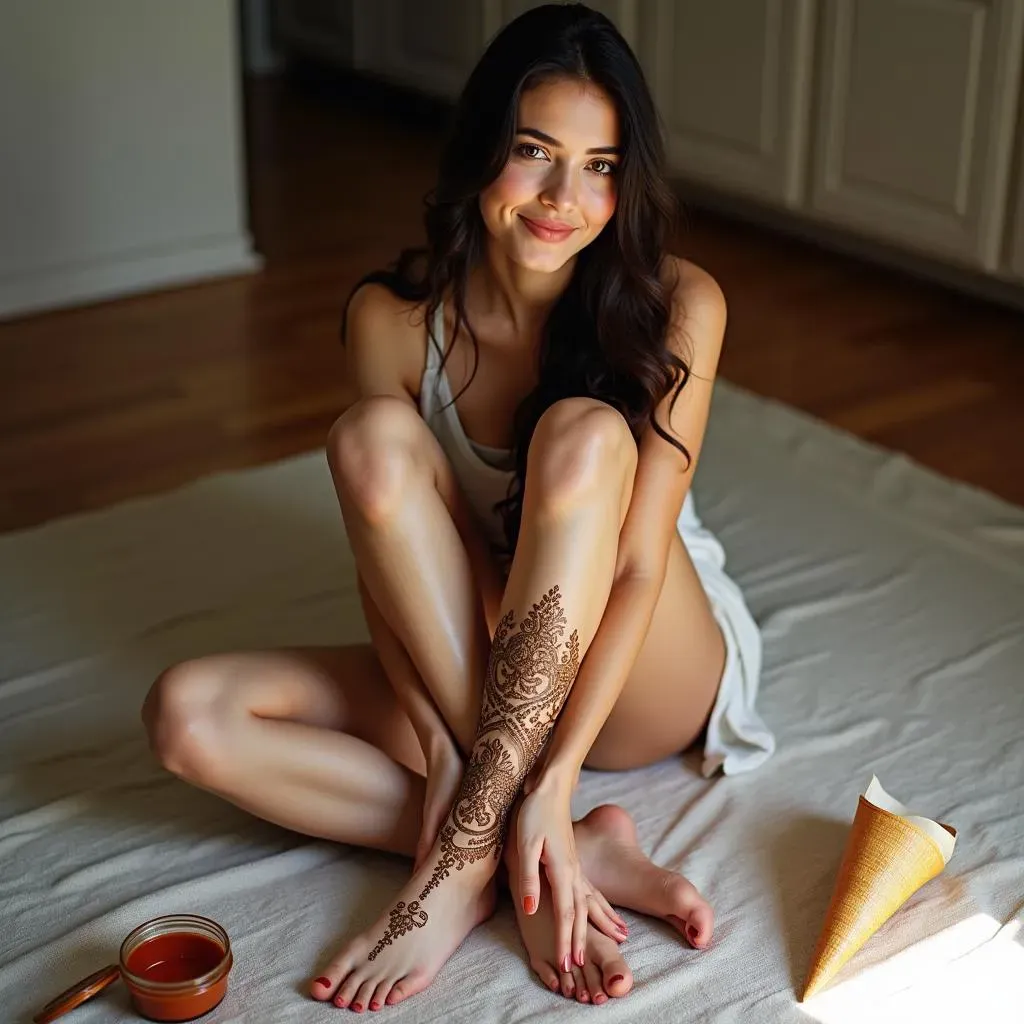
Alright, you've mastered the basic shapes, now let's get to the exciting part: applying those easy henna designs for legs step-by-step! First things first, you'll need your henna cone, some paper towels, and maybe a damp cloth for any oops moments. Find a comfy spot, get your leg in a position that feels good, you might want to sit on the floor or on a chair, whatever works for you. Before starting, make sure that your skin is clean and dry. If you have any lotion or oils on your skin, the henna might not stick as well. This is also a good time to have a reference image in front of you, this will help you to stay on track, even if it’s a simple design.
Now, hold your henna cone like you would a pen. Start with light pressure, practice on a paper towel first to get a feel for how the henna is flowing. Start with the outline of your design, this is the most important part, it will guide the rest of the design. Then, fill in the design, keeping consistent pressure, and a steady hand. If you make a mistake, don’t panic! Use the damp cloth to wipe it off quickly. It’s not a big deal, and it’s all part of the learning process. Remember, the goal isn’t perfection, it’s about enjoying the process and creating something you are proud of. Once you are done, let the henna paste dry completely. This can take anywhere from 30 minutes to an hour, depending on the thickness of the paste and the weather.
Once the henna is dry, gently scrape off the dried paste. Avoid washing the area with water for a few hours, this will allow the stain to develop properly. The longer you leave the paste on, the darker the stain will be. After a few hours, you can wash the area with water, and you will see your beautiful henna design. The color will continue to darken over the next 24-48 hours. And that’s it! You’ve successfully applied your first henna design. How awesome is that?
"The journey of a thousand miles begins with a single step." - Lao Tzu
Step-by-Step Henna Application
- Prep Your Skin: Clean and dry your leg.
- Practice Flow: Test the henna cone on paper towels.
- Outline First: Start with the basic shape.
- Fill In: Apply consistent pressure.
- Mistake Fix: Use a damp cloth for quick corrections.
- Dry Time: Let the henna paste dry completely.
- Remove Paste: Gently scrape off the dried paste.
- Avoid Water: Don't wash the area for a few hours.
- Enjoy: Watch your design darken and enjoy your art!
Leg Henna Designs: Inspiration and Ideas
Leg Henna Designs: Inspiration and Ideas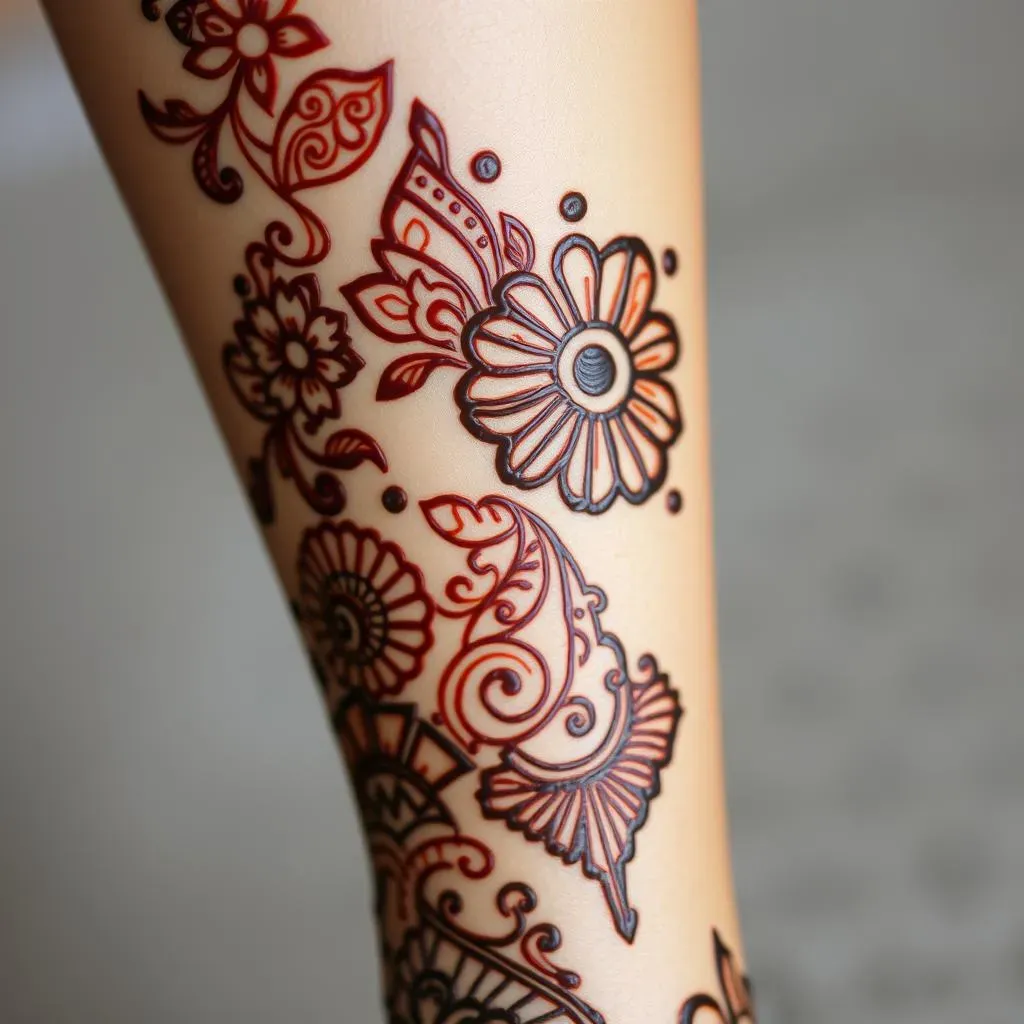
Okay, so you've got the basics down, you've practiced your lines and circles, and you've even tried a simple design. Now, let’s talk about taking your leg henna game to the next level with some inspiration. Think of this section as a virtual mood board, a place where you can gather ideas and see what's possible. There's a whole world of amazing leg henna designs out there, and I want to show you some of my favorites. From simple and elegant to bold and intricate, there is something for everyone. Remember, the goal is not to copy exactly, but rather to get inspired and create something that is uniquely yours. So, let’s explore some ideas, shall we?
First up, let’s talk about floral patterns. Flowers are a classic choice for henna, and for good reason. They are beautiful, versatile, and can be adapted to fit any style. You can go for delicate, small flowers scattered across your leg, or a bold, large flower that makes a statement. Think roses, lotus flowers, or even simple daisies. The beauty of floral designs is that you can make them as simple or complex as you like. Another popular style is geometric designs. These patterns use lines, shapes, and angles to create a modern and stylish look. Think triangles, diamonds, and intricate patterns that repeat. Geometric designs are great for those who want a clean and edgy look. You can also combine floral and geometric elements for a unique design, the sky is the limit!
Let’s move into some cultural influences, many people draw inspiration from different cultures when creating their designs. Arabic designs often feature flowing lines and intricate patterns, while Indian designs are known for their detailed motifs and paisleys. You can incorporate elements from these styles into your own designs, or you can find inspiration in other cultures as well, like Moroccan or African patterns. The key is to explore and find what resonates with you. Remember that you can also personalize your henna designs by incorporating symbols that are meaningful to you. Maybe it’s a symbol of strength, love, or peace. Or perhaps you want to add a small animal or a celestial element. The possibilities are endless, and it’s all about making your design a reflection of your personality and style.
When looking at inspiration, don't just focus on the overall look, pay attention to the small details. Notice how the lines are drawn, how the patterns are connected, and how the different elements come together. This will help you understand the techniques used and will give you ideas on how to create your own designs. Remember that it’s all about practice and experimenting. So, grab your henna cone, get inspired, and start creating! And if you have some doubts, don't worry, just relax and enjoy the process. You might surprise yourself with what you can create. It’s always fun to see how your skills improve over time, and the more you practice, the more confident you will become. So, what are you waiting for? Let’s get those legs decorated!
Inspiration Ideas
- Floral Frenzy: Roses, lotuses, daisies, and more.
- Geometric Gems: Triangles, diamonds, and repeating patterns.
- Cultural Cues: Arabic, Indian, Moroccan, and African styles.
- Personal Touches: Symbols, animals, and celestial elements.
- Mix & Match: Combine different styles for unique designs.