Table of Contents
Ever looked at those intricate henna designs and thought, "I wish I could do that?" Well, guess what? You totally can, especially if we start with something manageable, like henna designs easy wrist! Forget those complicated patterns for now, we're diving into the world of simple, stunning henna that you can rock on your wrist. This article is your go-to guide, whether you're a total newbie or just looking for some quick and pretty ideas. We'll walk through some super simple patterns that even a five-year-old could (almost) do, then we'll get into a step-by-step guide, making sure you won't mess it up, plus we'll throw in some inspiration to get your creative juices flowing. Finally, we'll tackle how to keep your gorgeous henna design looking its best. So, grab your henna cone, and let’s get started with some awesome henna designs easy wrist!
Simple Henna Patterns for Your Wrist
Simple Henna Patterns for Your Wrist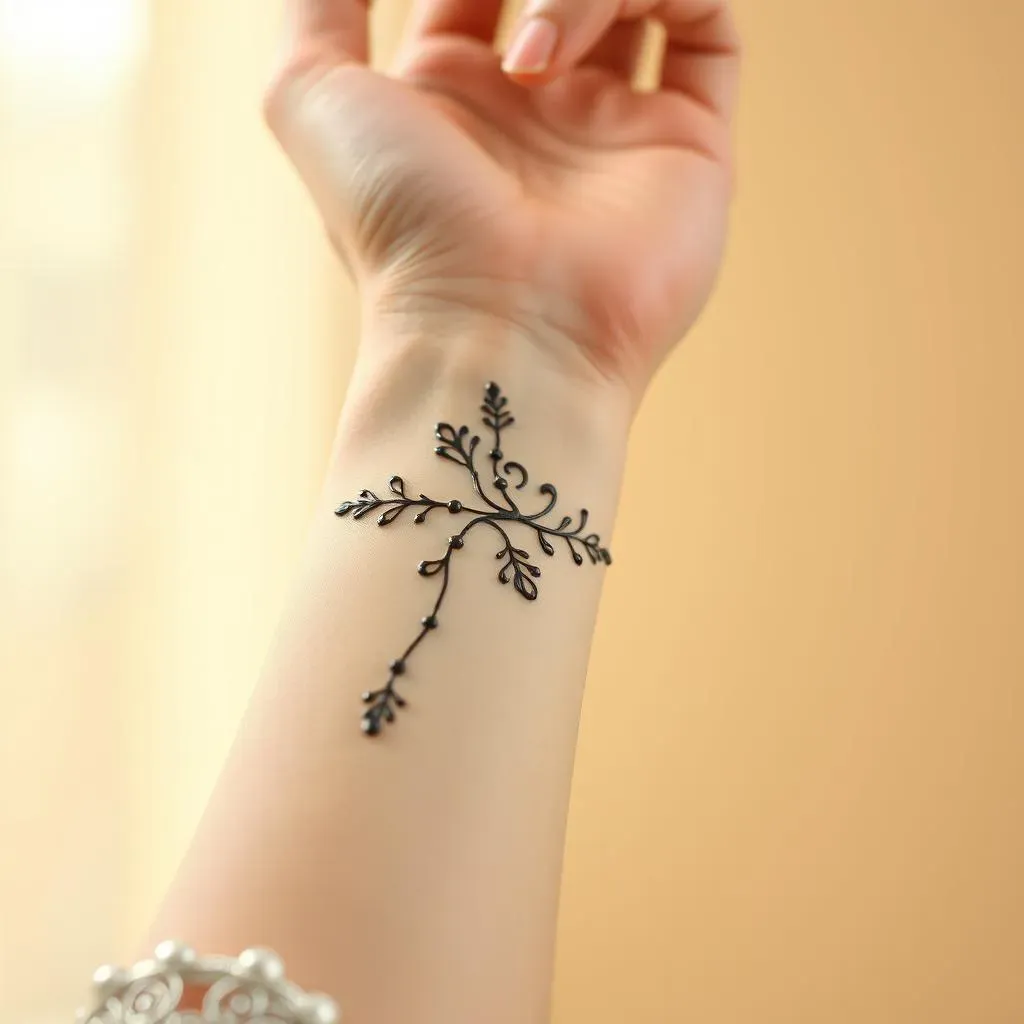
Dots and Dashes
Okay, let's start super simple, like, "I can totally do this with my eyes closed" simple. Think dots and dashes, it's like the training wheels of henna. Just make a line of dots around your wrist, or maybe some dashes, or mix it up! You can go for a single row, a double row, or even a zig-zag of dots. It's all about playing around and seeing what looks cool. Don't overthink it, just let your hand do its thing, and remember, there are no mistakes, only unique designs.
These basic patterns are not just for beginners, they are also great for adding to other designs. If you are doing a more complex design on your hand, you can add the dots and dashes on your wrist for a cohesive look. Think of it like adding a border to a painting, it brings everything together.
Simple Lines and Curves
Next up, let's try some lines and curves. It's still super easy, I promise. A simple curved line around your wrist can look really elegant, or maybe try a few wavy lines, like the ocean. You can create a bracelet effect by drawing parallel lines, or go for a spiral that starts at your wrist and ends wherever you want. There are no rules, just have fun experimenting. You can even add a little dot at the end of each curve if you're feeling fancy.
Pattern | Description | Difficulty |
|---|---|---|
Dots | Simple dots in a line or pattern | Easy |
Dashes | Short lines in a row | Easy |
Curves | Wavy or curved lines | Easy |
Spirals | Spiral starting from the wrist | Easy |
Tiny Flowers and Leaves
Alright, time to add some nature. Tiny flowers and leaves are surprisingly easy to draw, even if you're not an artist. Start with a small circle for the center of the flower, then add some simple petals around it. For leaves, just draw a teardrop shape. You can make a whole bunch of them and have a floral wristband, or scatter them around your dots and lines. These little details can add a lot of charm to your design. Don't worry about making them perfect, the charm is in the imperfections.
Remember, practice makes perfect, and even if your first few tries aren't exactly Instagram-worthy, you'll get better with each try. Just keep practicing and have fun with it, it's all about the process, not the end result.
StepbyStep Guide to Easy Wrist Henna
StepbyStep Guide to Easy Wrist Henna
Okay, so you've got some designs in mind, now let's make it happen! First things first, gather your supplies: you'll need a good quality henna cone, some paper towels or wipes, and maybe a design idea printed out if you're not feeling super confident. Start by cleaning your wrist with soap and water, and make sure it's completely dry. This is important, it helps the henna to stick better. Now, take a deep breath and start applying your henna. Remember, it’s like drawing with icing, so squeeze gently and steadily. If you mess up, just wipe it off quickly with a damp paper towel and try again. Don't worry about perfection, it's all part of the process. Once you're done, let the henna paste dry completely, this usually takes about 20-30 minutes, but it depends on the paste.
After it is dry, you will need to keep it on your skin for a few hours to stain the skin properly. The longer you keep it on, the darker the stain will be. Some people leave it overnight for a really dark stain. You can wrap it with a bandage or paper tape to keep it from smudging while you sleep. Once the time is up, gently scrape off the dried henna paste using a dull edge of a card or a spoon. Avoid using water to remove it at this stage, as it can affect the final color. Apply some natural oil or balm to the area after you have removed the paste, this will help to keep the stain moisturized and will help it last longer. Now, admire your beautiful handiwork!
Step | Action | Tip |
|---|---|---|
1 | Gather supplies | Good henna, paper towels, design reference |
2 | Clean your wrist | Soap and water, make it dry |
3 | Apply henna | Squeeze gently, wipe mistakes quickly |
4 | Let it dry | 20-30 minutes, depending on paste |
5 | Keep it on skin | For several hours or overnight |
6 | Remove dried paste | Gently scrape, avoid water |
7 | Apply oil | Keeps the stain moisturized |
Wrist Henna Designs: Inspiration and Ideas
Wrist Henna Designs: Inspiration and Ideas
Alright, let's talk inspiration! Sometimes the hardest part is figuring out what to draw, right? For wrist henna, think about designs that flow nicely around the wrist. Geometric patterns, like repeating triangles or diamonds, look super cool and are surprisingly easy to do. You could also try a vine-like design with small leaves and flowers trailing around your wrist, that gives a very natural look. If you're into something more symbolic, consider adding small mandalas or even tiny feathers. The possibilities are endless, and a quick search online can give you a ton of ideas, but remember, these are just a starting point; feel free to mix and match different elements to create something unique that is all you.
Don’t be afraid to experiment with different thicknesses of lines. A thicker line can make the design more bold, while a thinner line can add a delicate touch. You can also use different patterns to add depth and texture. For example, you can use dots to fill in the petals of a flower or use short dashes to create a textured effect on a leaf. Remember that henna is a form of self-expression, so don't be afraid to put your own spin on the designs, it’s all about making it your own. And if you are unsure, start simple and add more details as you go.
Design Style | Description | Difficulty |
|---|---|---|
Geometric | Repeating shapes like triangles, diamonds | Easy to Medium |
Floral Vine | Leaves and flowers trailing around the wrist | Easy to Medium |
Symbolic | Mandalas, feathers, or other meaningful symbols | Medium |
Abstract | Free-flowing lines and shapes | Easy to Medium |
Caring for Your Easy Wrist Henna Design
Caring for Your Easy Wrist Henna Design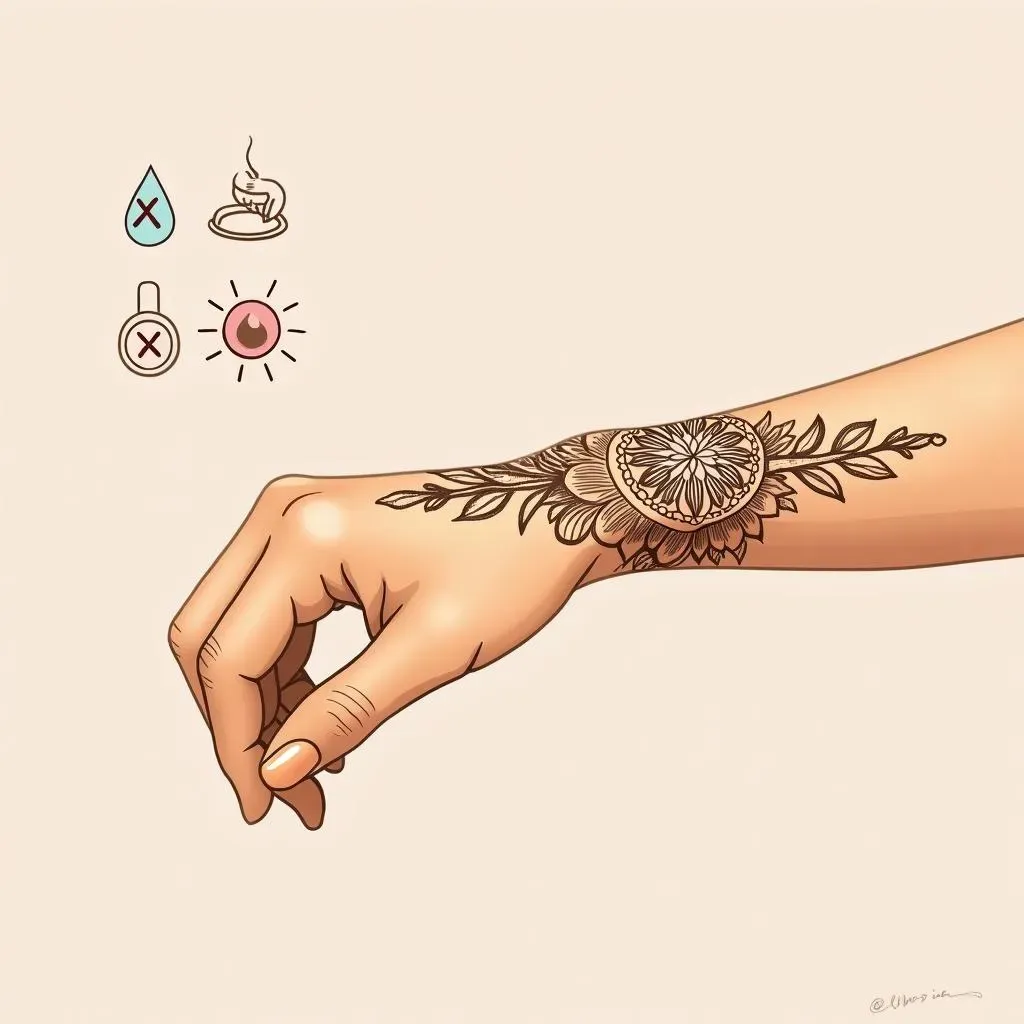
The First 24 Hours
Okay, so you've got your awesome henna design, now what? The first 24 hours are super important for a dark and long-lasting stain. First off, avoid water like the plague. I know, it's hard, but seriously, keep that wrist dry! Water can mess with the henna as it sets, making it fade faster. Also, try not to touch it too much, resist the urge to poke and prod, you’ll just risk smudging the design. If you have to wash your hands, use a water-resistant cream or balm to protect the henna, and make sure to gently pat the area dry, not rub. And for the love of all that is henna, do not use soap on it!
Another pro tip: avoid any kind of harsh chemicals or cleaning products that might come into contact with your henna. This is not the time to be doing dishes or scrubbing the bathroom. Think of your henna as a delicate piece of art that needs your TLC. If you are going to be doing any kind of activity that can potentially smudge the henna, consider covering it with a loose bandage or some paper tape. And remember, patience is key, the stain is going to get darker over the next couple of days, so don't panic if it looks pale at first.
Long-Term Care
After the first 24 hours, you can relax a bit, but you still need to be mindful. Keep moisturizing your henna with natural oils like coconut or olive oil. This will help keep the stain vibrant and prevent it from drying out too quickly. Remember, dry skin makes the henna fade faster, so keep it nice and hydrated. Also, avoid any kind of exfoliation on the area, no scrubbing with loofahs or exfoliating scrubs. You want that skin nice and smooth, so the henna stays put for as long as possible.
And lastly, the sun is your henna’s enemy, so try to keep it out of direct sunlight. If you have to be in the sun, cover your henna with clothing or a bandage. The more you protect it, the longer it will last. With proper care, your henna design should last for a week or two, sometimes even longer, depending on your skin type and how well you take care of it. So, enjoy your beautiful henna, and remember, a little care goes a long way!
Care Aspect | Action | Why |
|---|---|---|
Water | Avoid for 24 hours | Prevents fading |
Touching | Minimize touching | Prevents smudging |
Moisturizing | Use natural oils | Keeps stain vibrant |
Exfoliation | Avoid scrubbing | Prevents fading |
Sun | Avoid direct sunlight | Prevents fading |