Table of Contents
Ever looked at intricate henna designs and thought, "Wow, I wish I could do that"? Well, guess what? You totally can! This guide is your friendly starting point to the beautiful world of henna, specifically crafted for beginners like you. Forget those complicated patterns that look like they belong in an art museum. We're diving into super easy henna designs that anyone can master, even if you’ve never held a henna cone before. We'll start with the basics, like simple shapes and lines, then move on to fun, achievable designs like flowers and vines. I'll share my favorite tips and tricks that I wish I knew when I started, so you can avoid the common beginner mishaps. Think of this as your henna cheat sheet, designed to make the process fun, not frustrating. Get ready to unleash your inner artist and create some awesome henna art, because with these super easy henna designs for beginners, you'll be rocking stunning temporary tattoos in no time!
Getting Started: Simple Shapes and Lines for Henna Beginners
Getting Started: Simple Shapes and Lines for Henna Beginners
Okay, so you're ready to jump into the world of henna? Awesome! Forget those super detailed designs for now; we're starting with the basics, like learning to draw a straight line. Think of it like learning to write, you wouldn't start with cursive, right? Henna is the same. We're going to play with simple shapes: dots, lines, curves, and small circles. These are your building blocks. Imagine you're just doodling on paper, but instead of a pen, you've got a henna cone. Don't worry about perfection, it's all about getting a feel for the flow of the henna paste. It's kinda like icing a cake, but on your skin. The goal here isn't to create a masterpiece, it's to get comfortable with the cone and the paste. So, let's grab that cone and start practicing those simple shapes!
Now that you've got your cone ready, let's talk about how to make those basic shapes. For lines, try to keep a steady hand and consistent pressure on the cone. If the line comes out a little wobbly, that's totally okay! It's all part of the learning process. For dots, just gently press the tip of the cone onto your skin and lift it straight up. You'll get the hang of it after a few tries. Curves are just lines that bend, so keep practicing those lines and you'll nail the curves too. And circles, those can be a little tricky, start slow and try to connect the line back to the starting point. Think of it as drawing a 'C' and then a backwards 'C' to form the circle. It’s okay if your circles look more like blobs at first, it takes practice and that's what we're here for!
Shape | How to Make It | Tips |
|---|---|---|
Lines | Steady pressure, consistent hand movement | Practice on paper first |
Dots | Gentle press, lift straight up | Vary pressure for different sizes |
Curves | Bend your line smoothly | Start slow, don't rush |
Circles | Connect the line back to the start | Practice drawing C's and backwards C's |
I remember when I first started, my lines looked more like squiggles and my dots were all different sizes. But, you know what? That's totally normal. It's like learning to ride a bike, you're going to wobble a bit before you find your balance. The key is to keep practicing and not get discouraged. One of the best things I did was to practice on paper first. It helped me get a feel for the cone and the paste without the pressure of messing up my skin. And remember, henna is temporary, so even if you don't like a design, it will fade away in a week or two. Think of it as a temporary tattoo that you can experiment with!
Easy Henna Design Ideas: Flowers, Vines, and Basic Patterns
Easy Henna Design Ideas: Flowers, Vines, and Basic Patterns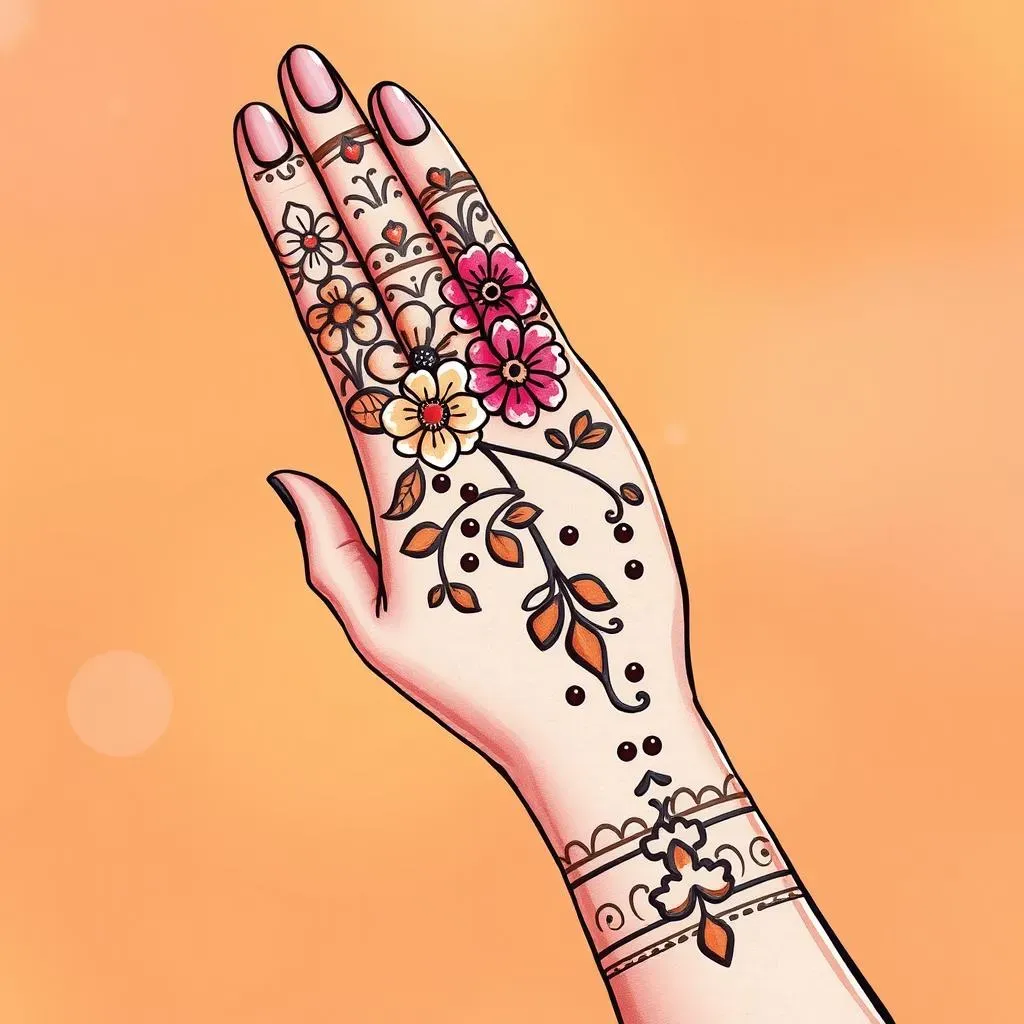
Alright, now that you've got the hang of basic shapes, let's move onto some super fun designs! We're talking flowers, vines, and patterns that are totally doable for beginners. Forget trying to draw a super realistic rose, we're keeping it simple and stylish. Think of flowers as a bunch of connected circles or teardrop shapes. Vines are just curvy lines with leaves branching off them, and those leaves? They're just little teardrops or ovals. Basic patterns could be anything from repeating dots, to simple geometric shapes like triangles or diamonds. The key here is repetition; once you get the hang of one element, you just keep repeating it. This is where you start seeing how the basic shapes can turn into something really cool! It's like building with Lego bricks, but instead of plastic, we're using henna.
Let’s break it down even more. For flowers, start with a small circle in the center, and then add some petals around it, simple, right? Don’t worry about making each petal identical; in nature, they aren’t anyway! Vines are just long, flowing lines with little leaves sprouting off. Remember those teardrop shapes? Perfect for making leaves. And for patterns, think of something simple, like a row of dots, or a line of small triangles. You can even mix and match elements, like a vine with little flowers on it, or a pattern with dots and small diamonds. The possibilities are endless, and the best part is that it’s all about having fun and experimenting. There’s no right or wrong way to do it, just your way. I remember when I first started, I'd just draw random shapes and see what came of it. Sometimes they looked like a mess, but sometimes they turned into something awesome!
Design Element | Description | How to Create |
|---|---|---|
Flowers | Simple, stylized flower shapes | Circle center, teardrop petals |
Vines | Curving lines with leaves | Flowing lines, teardrop/oval leaves |
Basic Patterns | Repeating simple shapes | Dots, triangles, diamonds |
When I started playing with these designs, I realized how much freedom henna gives you. It's not about perfection; it's about expressing yourself. I often tell people, think of henna like a doodle that you can wear. Don't get hung up on making it look exactly like something you saw online. Instead, let your creativity flow and see what you come up with. And remember, these are just starting points. You can always add more details or combine elements to make your designs your own. It's like remixing a song; you take the basic melody and add your own flair to it.
Tips and Tricks for Super Easy Henna Application: A Beginner's Guide
Tips and Tricks for Super Easy Henna Application: A Beginner's Guide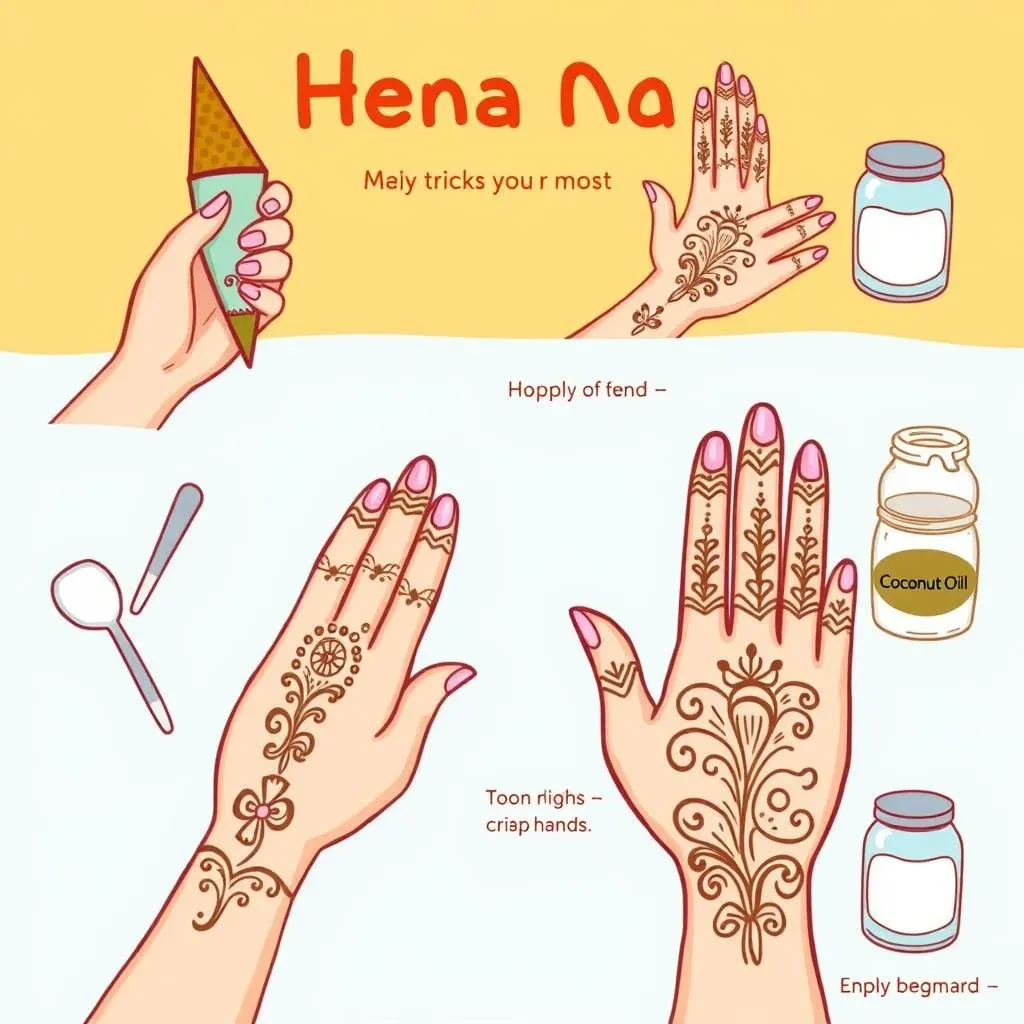
Prep Like a Pro: Skin and Cone
Alright, before you start squeezing that henna cone like it owes you money, let's talk prep. First off, make sure your skin is clean and dry. Any lotions or oils will create a barrier, and the henna won’t stain properly. A quick wash with soap and water should do the trick. Next, you've got to get your cone ready. If you bought a pre-made cone, make sure the tip is open, sometimes you gotta cut a tiny bit off the end. If you’re mixing your own henna paste, which is a whole other adventure, make sure it’s the right consistency. It should be like toothpaste, not too runny and not too thick. Trust me, runny henna is a recipe for a messy disaster. I’ve been there, it’s not pretty!
Now, about the actual application. Hold that cone like you mean it, but not like you're trying to crush it. Gentle pressure is key. Think of it like using a piping bag to decorate a cake. Start by squeezing a little bit of henna out onto a paper towel to get the flow going. Then, practice on a piece of paper first, if you're still not feeling confident. And don't be afraid to use a template, especially if you're doing a design you saw online. It's like using training wheels on a bike, it helps in the beginning. The key is to be patient and take your time, no need to rush. If you make a mistake, it’s not the end of the world, you can clean it off with a damp cloth right away.
The Aftercare Hustle: Keeping Your Henna Happy
So you’ve finished your design, it looks awesome, now what? This is where the aftercare comes in. Let the henna paste dry completely. This can take anywhere from 30 minutes to an hour, depending on how thick you applied it. The drier the paste, the better the stain will be. Avoid touching it while it’s drying. Once it’s dry, resist the urge to wash it off right away. Instead, try to keep the paste on your skin for as long as possible, at least a couple of hours, but the longer the better. I usually put on some gloves or a sock if I've done it on my hands or feet, and just let it chill overnight.
After the paste is dried, you can scrape it off with a dull edge like a spoon or a credit card. Avoid washing it off with water right away, since water can stop the staining process. Try not to use soap for the first 24 hours, if you can avoid it. The color of your henna stain will keep developing over the next day or two. Some people like to apply a little lemon juice and sugar mix on the dry paste to help it stay moist longer, but I haven't personally tried that. However, I do know that keeping your skin moisturized will help the stain last longer. So, after you remove the paste, use a bit of coconut oil or shea butter. And remember, henna is a natural dye, so the color will vary depending on your skin type, and the type of henna paste you used. Embrace the uniqueness of it!
Tip | Description | Why it Matters |
|---|---|---|
Clean skin | Wash with soap and water | Henna stains better on clean skin |
Cone prep | Check the tip, paste consistency | Proper flow for designs |
Gentle pressure | Squeeze softly, steady hand | Avoids messy lines |
Dry completely | Let the paste dry fully | Better stain development |
Keep it on | Keep paste on for hours | Longer paste time means a darker stain |
Moisturize | Apply oil or butter | Helps the stain last longer |